
Mikes Goose Stuffer 'Recipe'
Recipe and Photos by Mike Callain for SPLIT REED
Mike Callain shoots a lot of geese. He stuffs a lot of them, too. As a guide for Big Guns Waterfowl Outfitters in the PNW and an employee of Bill Saunders Calls and Gear, Mike takes few breaks from the life of a waterfowler. We asked Mike and he was willing to give us a breakdown on how he makes his own stuffer decoys- that’s right- taxidermy full body (fully feathered!) decoys. No one is saying it will be easy for the first few, but with Mikes procedural layout and photos you can give it a shot and start learning to build your own stuffer army.

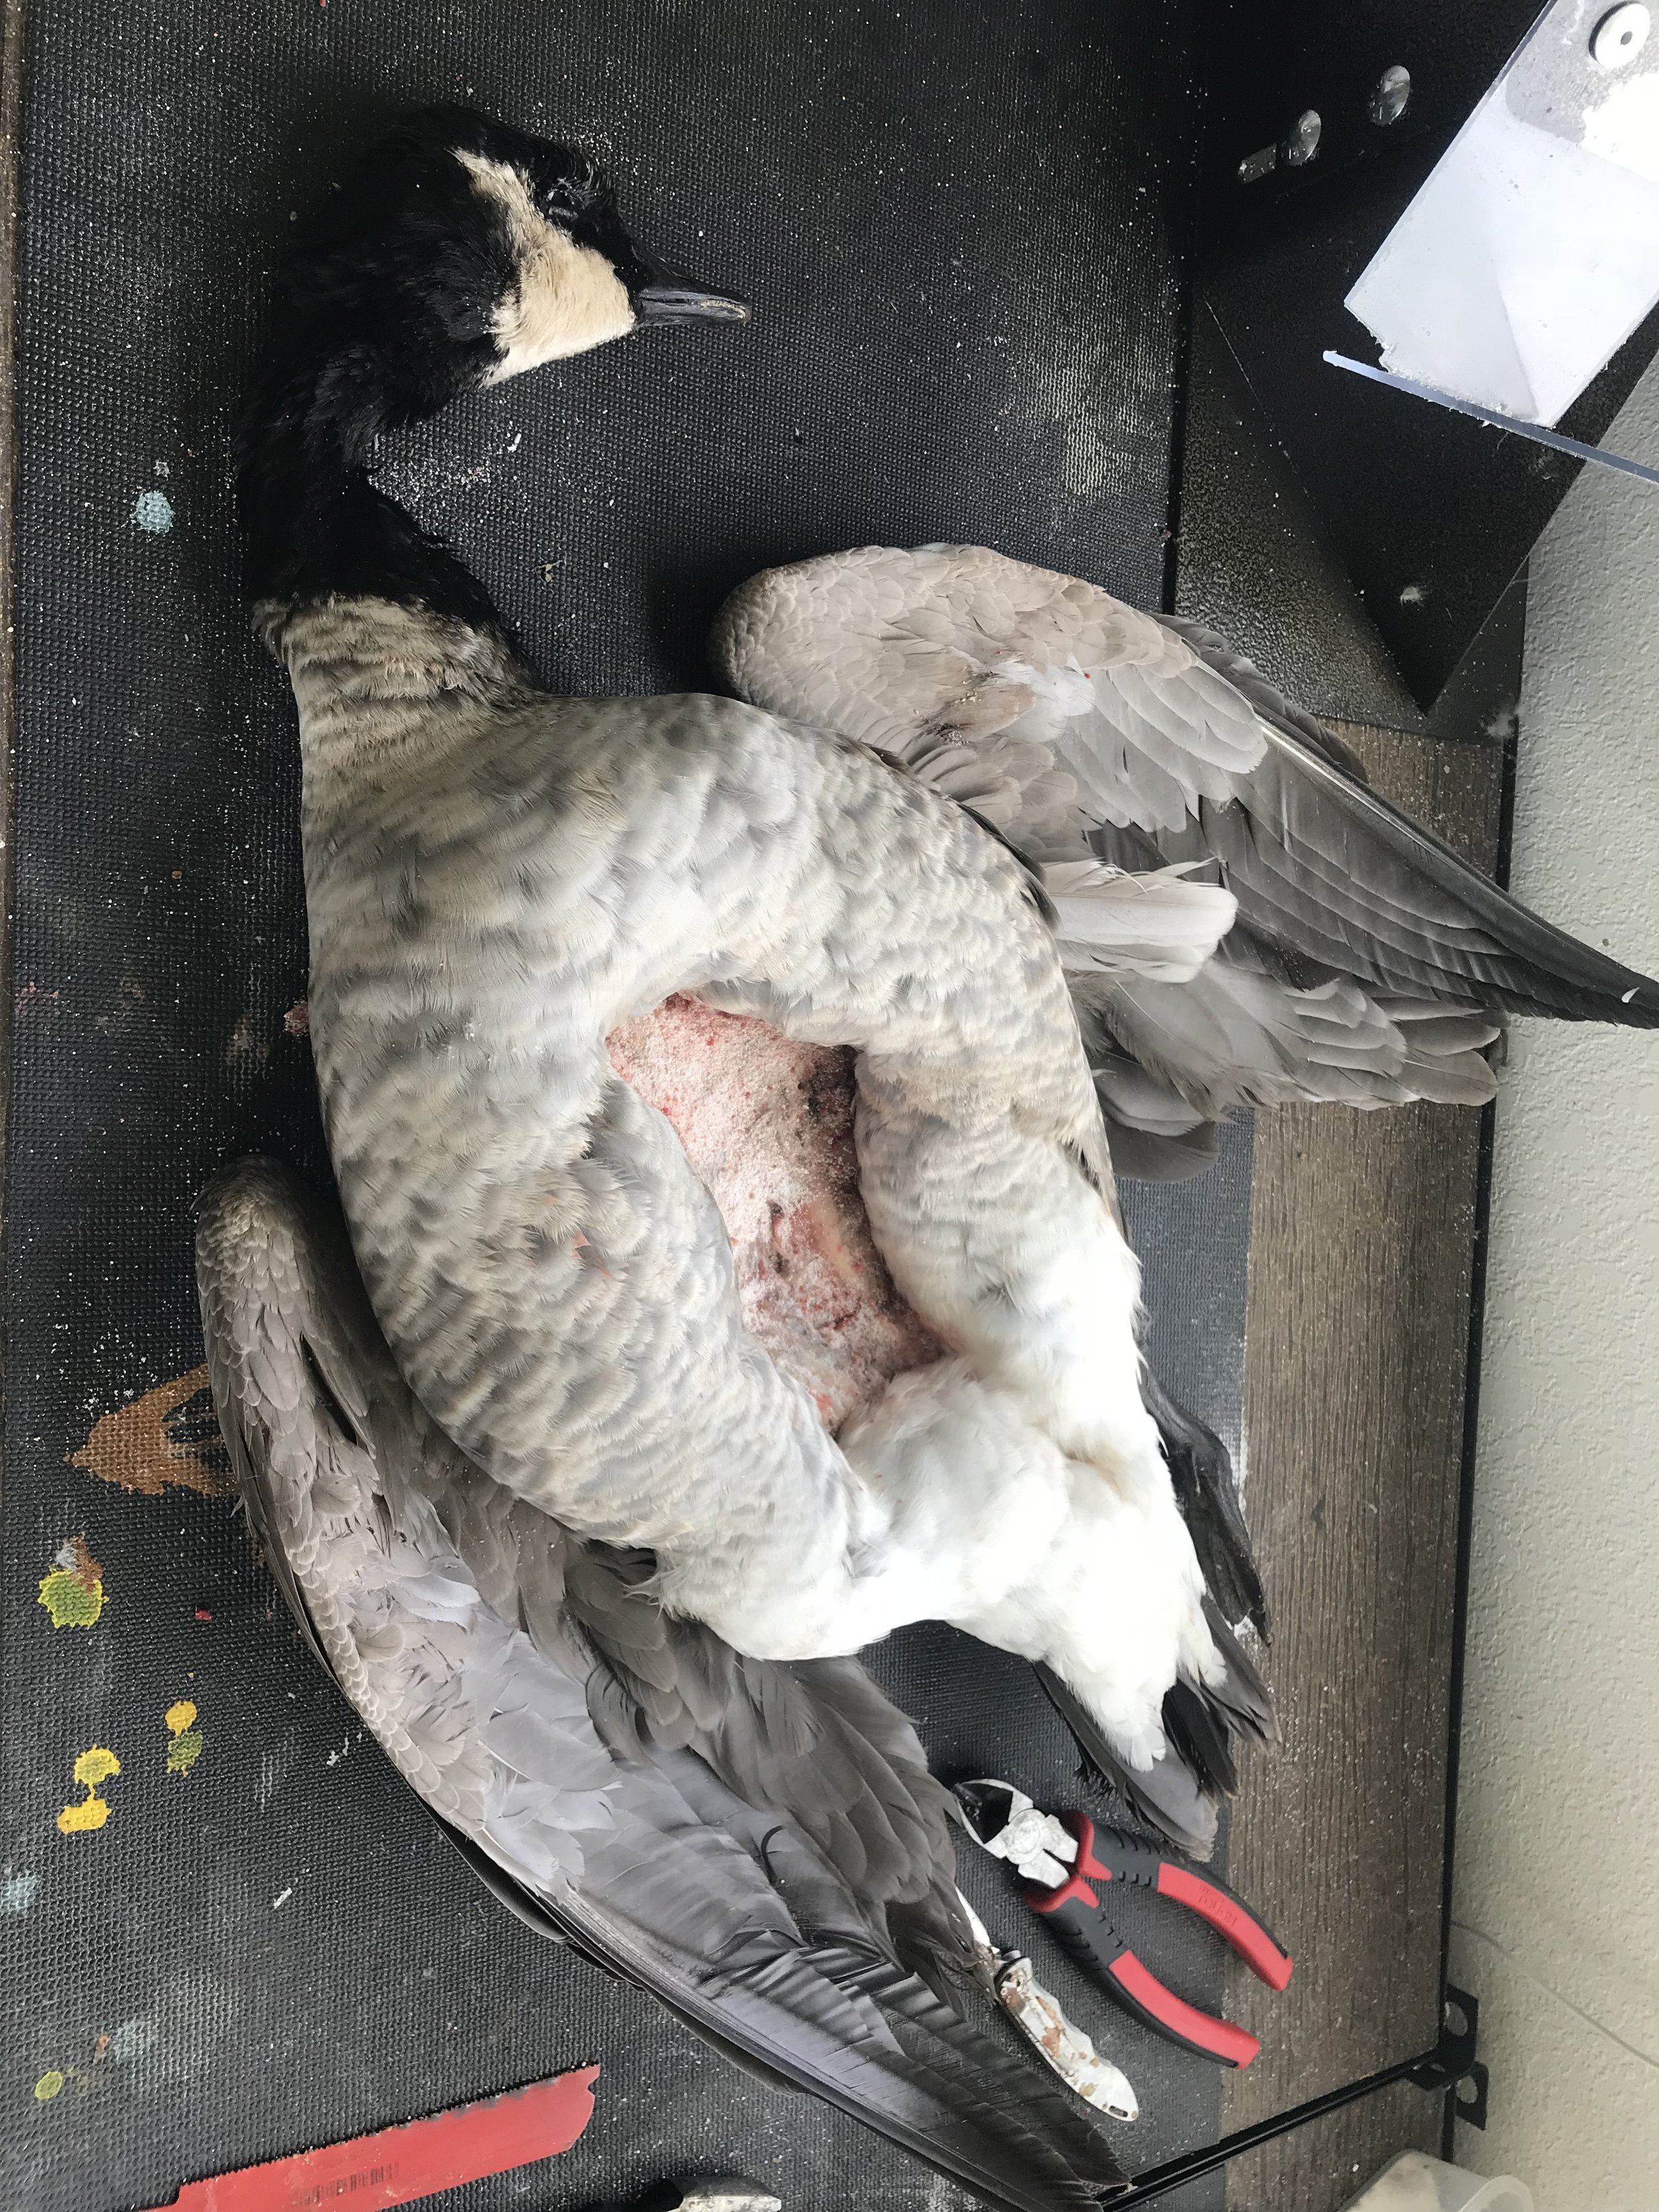
‘Swede’ retrieving a dark goose amidst fellow dark geese, turned into stuffers.
Moving to Eastern Washington to work as a goose guide was culture shock for a guy used to hunting honkers in Idaho with cheap paint chipped plastic decoys that worked every day. The lessers I was greeted with here were cagey, extremely picky, and once they hit the ground with said decoys they typically jumped out and left like they’d been scalded with hot water. My boss at Big Guns Outfitters, Bill Saunders, told me "You're gonna need a stuffer spread, you cant buy em' so you better get good at making them". The first season I saved a few birds (mostly lessers) for decoys, and at the end of the season my good friend and stuffer sensei, Brian Mehlenbacher, took me under his wing and showed me the taxidermy decoy making ropes. His spread of what seemed like a couple hundred were flawless. Birds you would expect to see on the wall rather than in a dusty cornfield. It took many tries to make something look decent enough to hunt over. I think my first goose took me most of a day to complete. It now takes about 2 hours to snap one together. Stuffers are a specialty decoy and not for every location or occasion, but when the time, weather and location is right- they are hard to beat. And just like Brian did for me, I'm going to share with you guys the Stuffer Recipe.
Supplies:
Borax
Paper towels
Electrical tape
Dental floss
Sewing needle
Air-dry clay
Marbles or glass eyes
Foam backer rod (3/4" for honkers 5/8" for lessers and medium geese) for neck
Scalpel
Wire cutters
Hand saw
Foam body (make sure it is for the correct species or subspecies)
9 gauge galvanized wire
14" x "14 plywood square
Mike gets his stuffer supplies from Research Mannikins, Home Depot/Lowes, and clay from craft stores.

Snow stuffer in a spread with Canada goose stuffers.
Procedure:
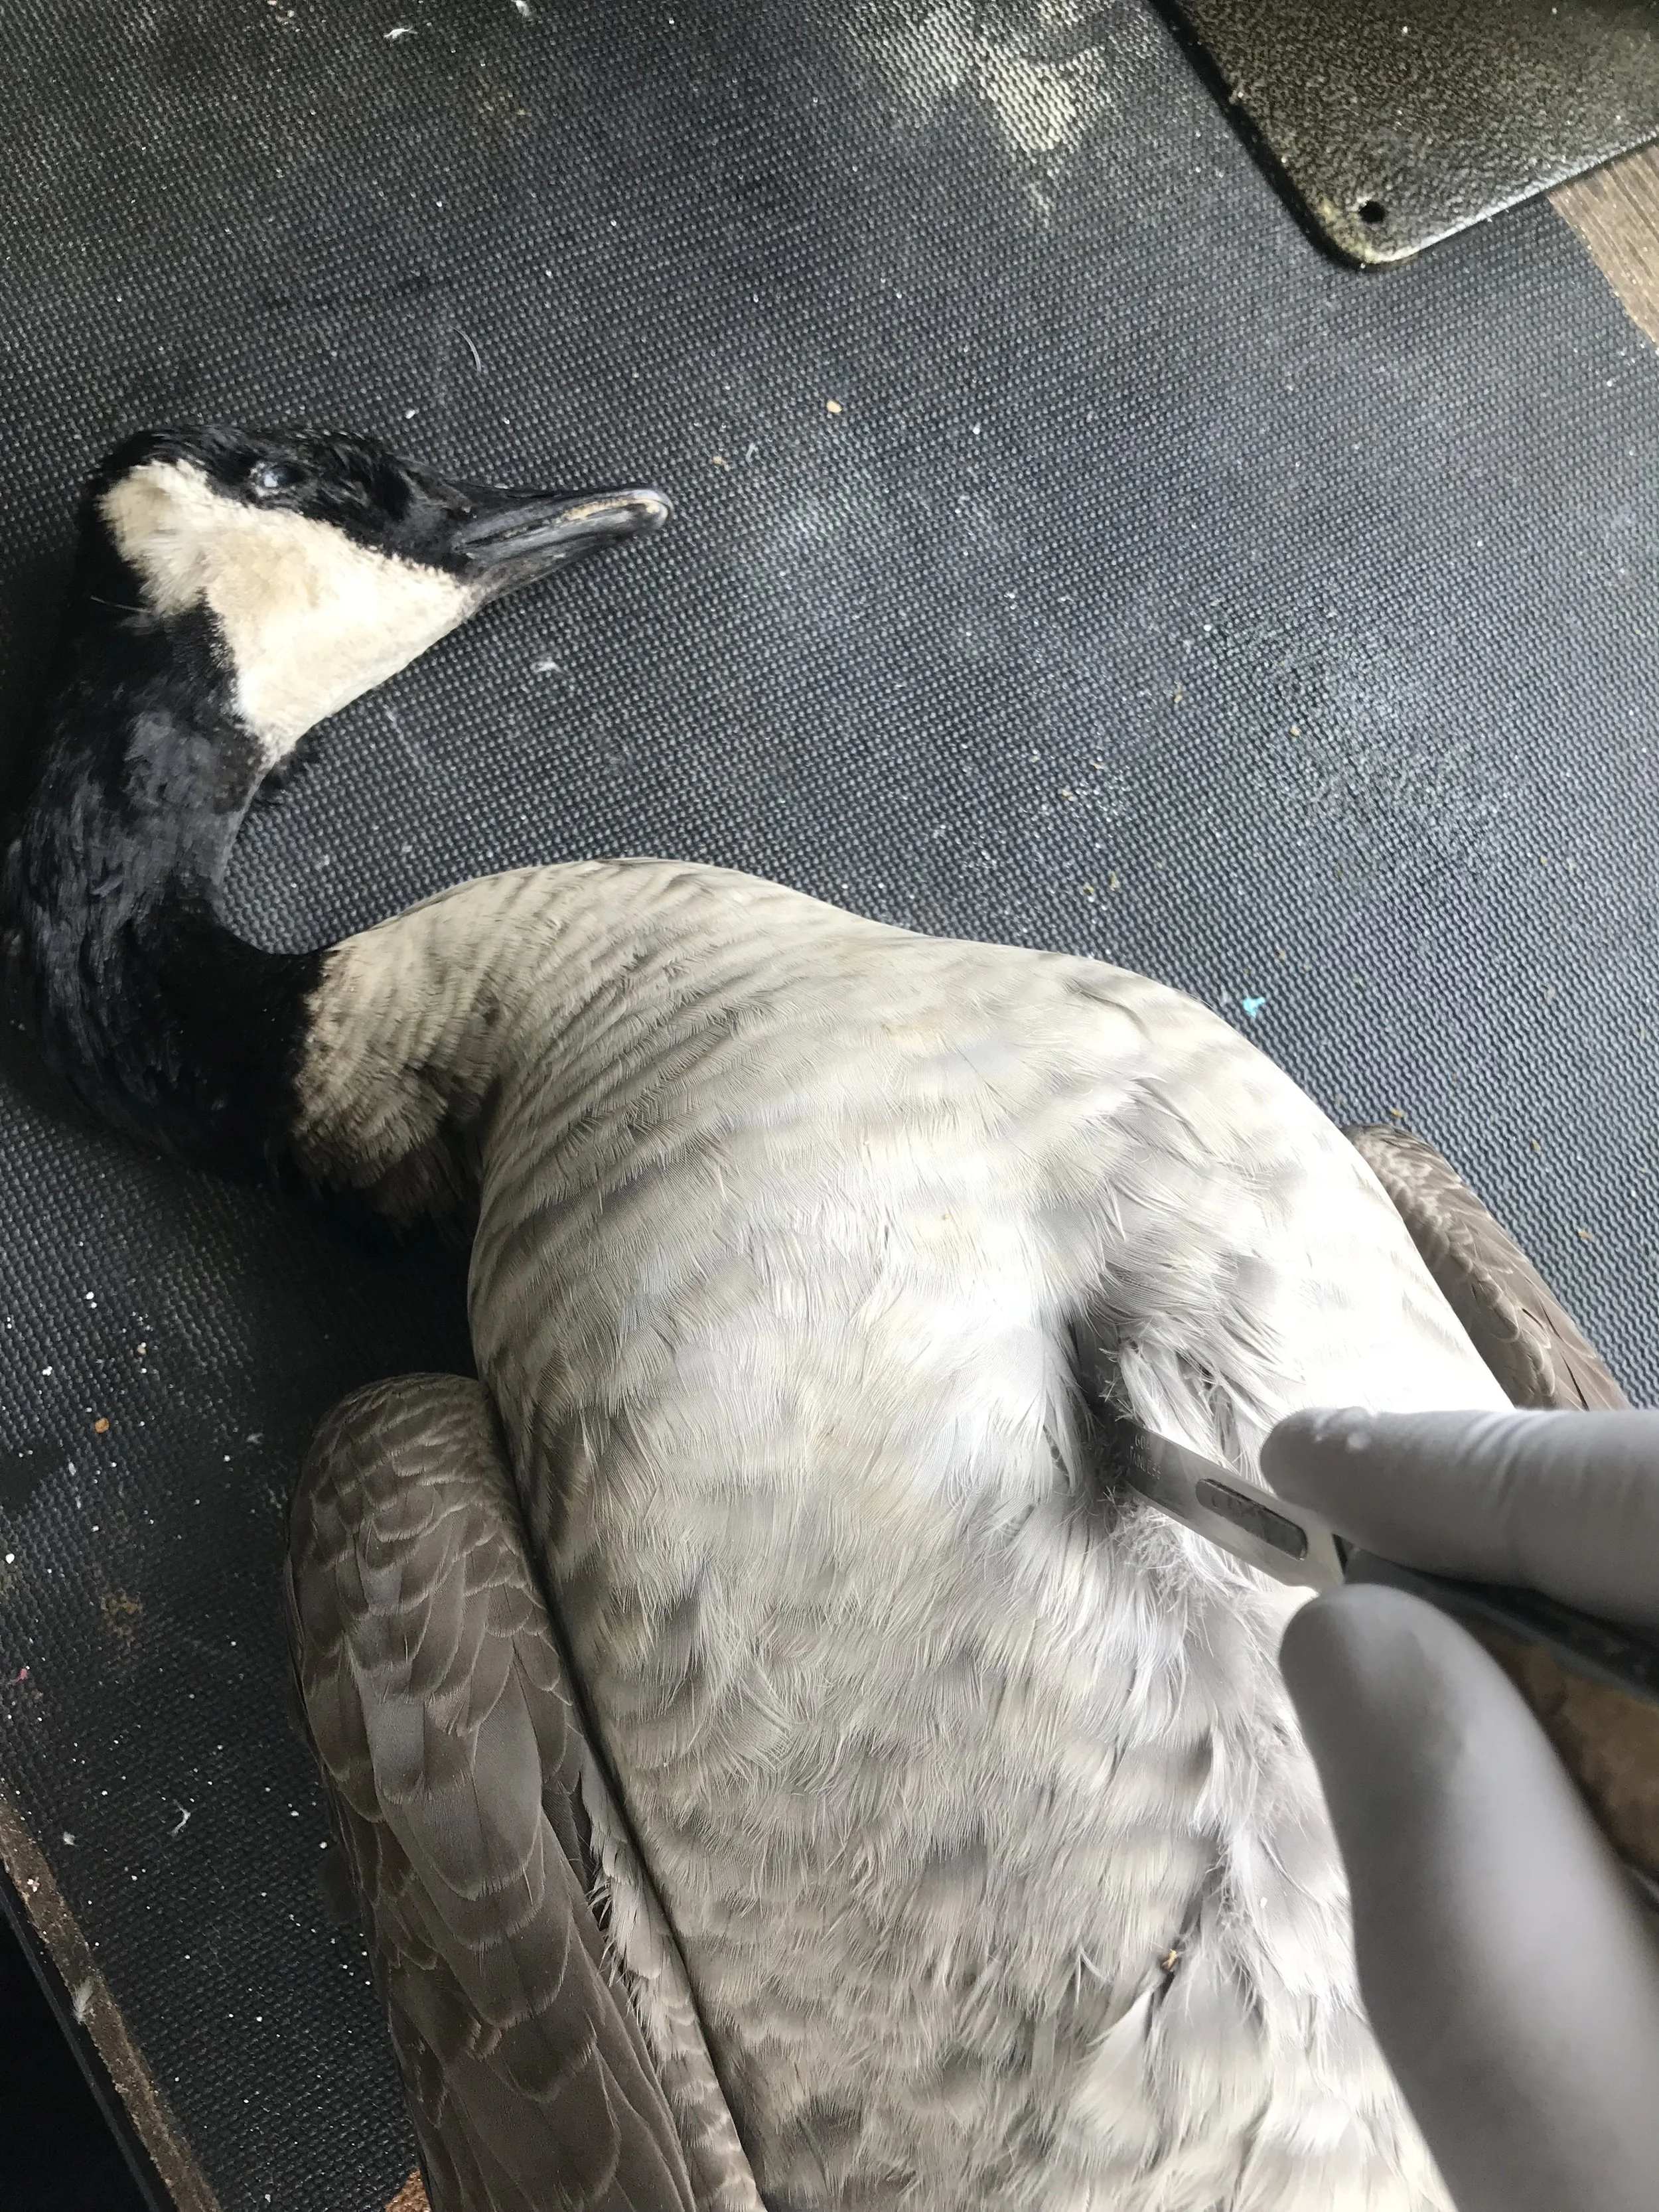
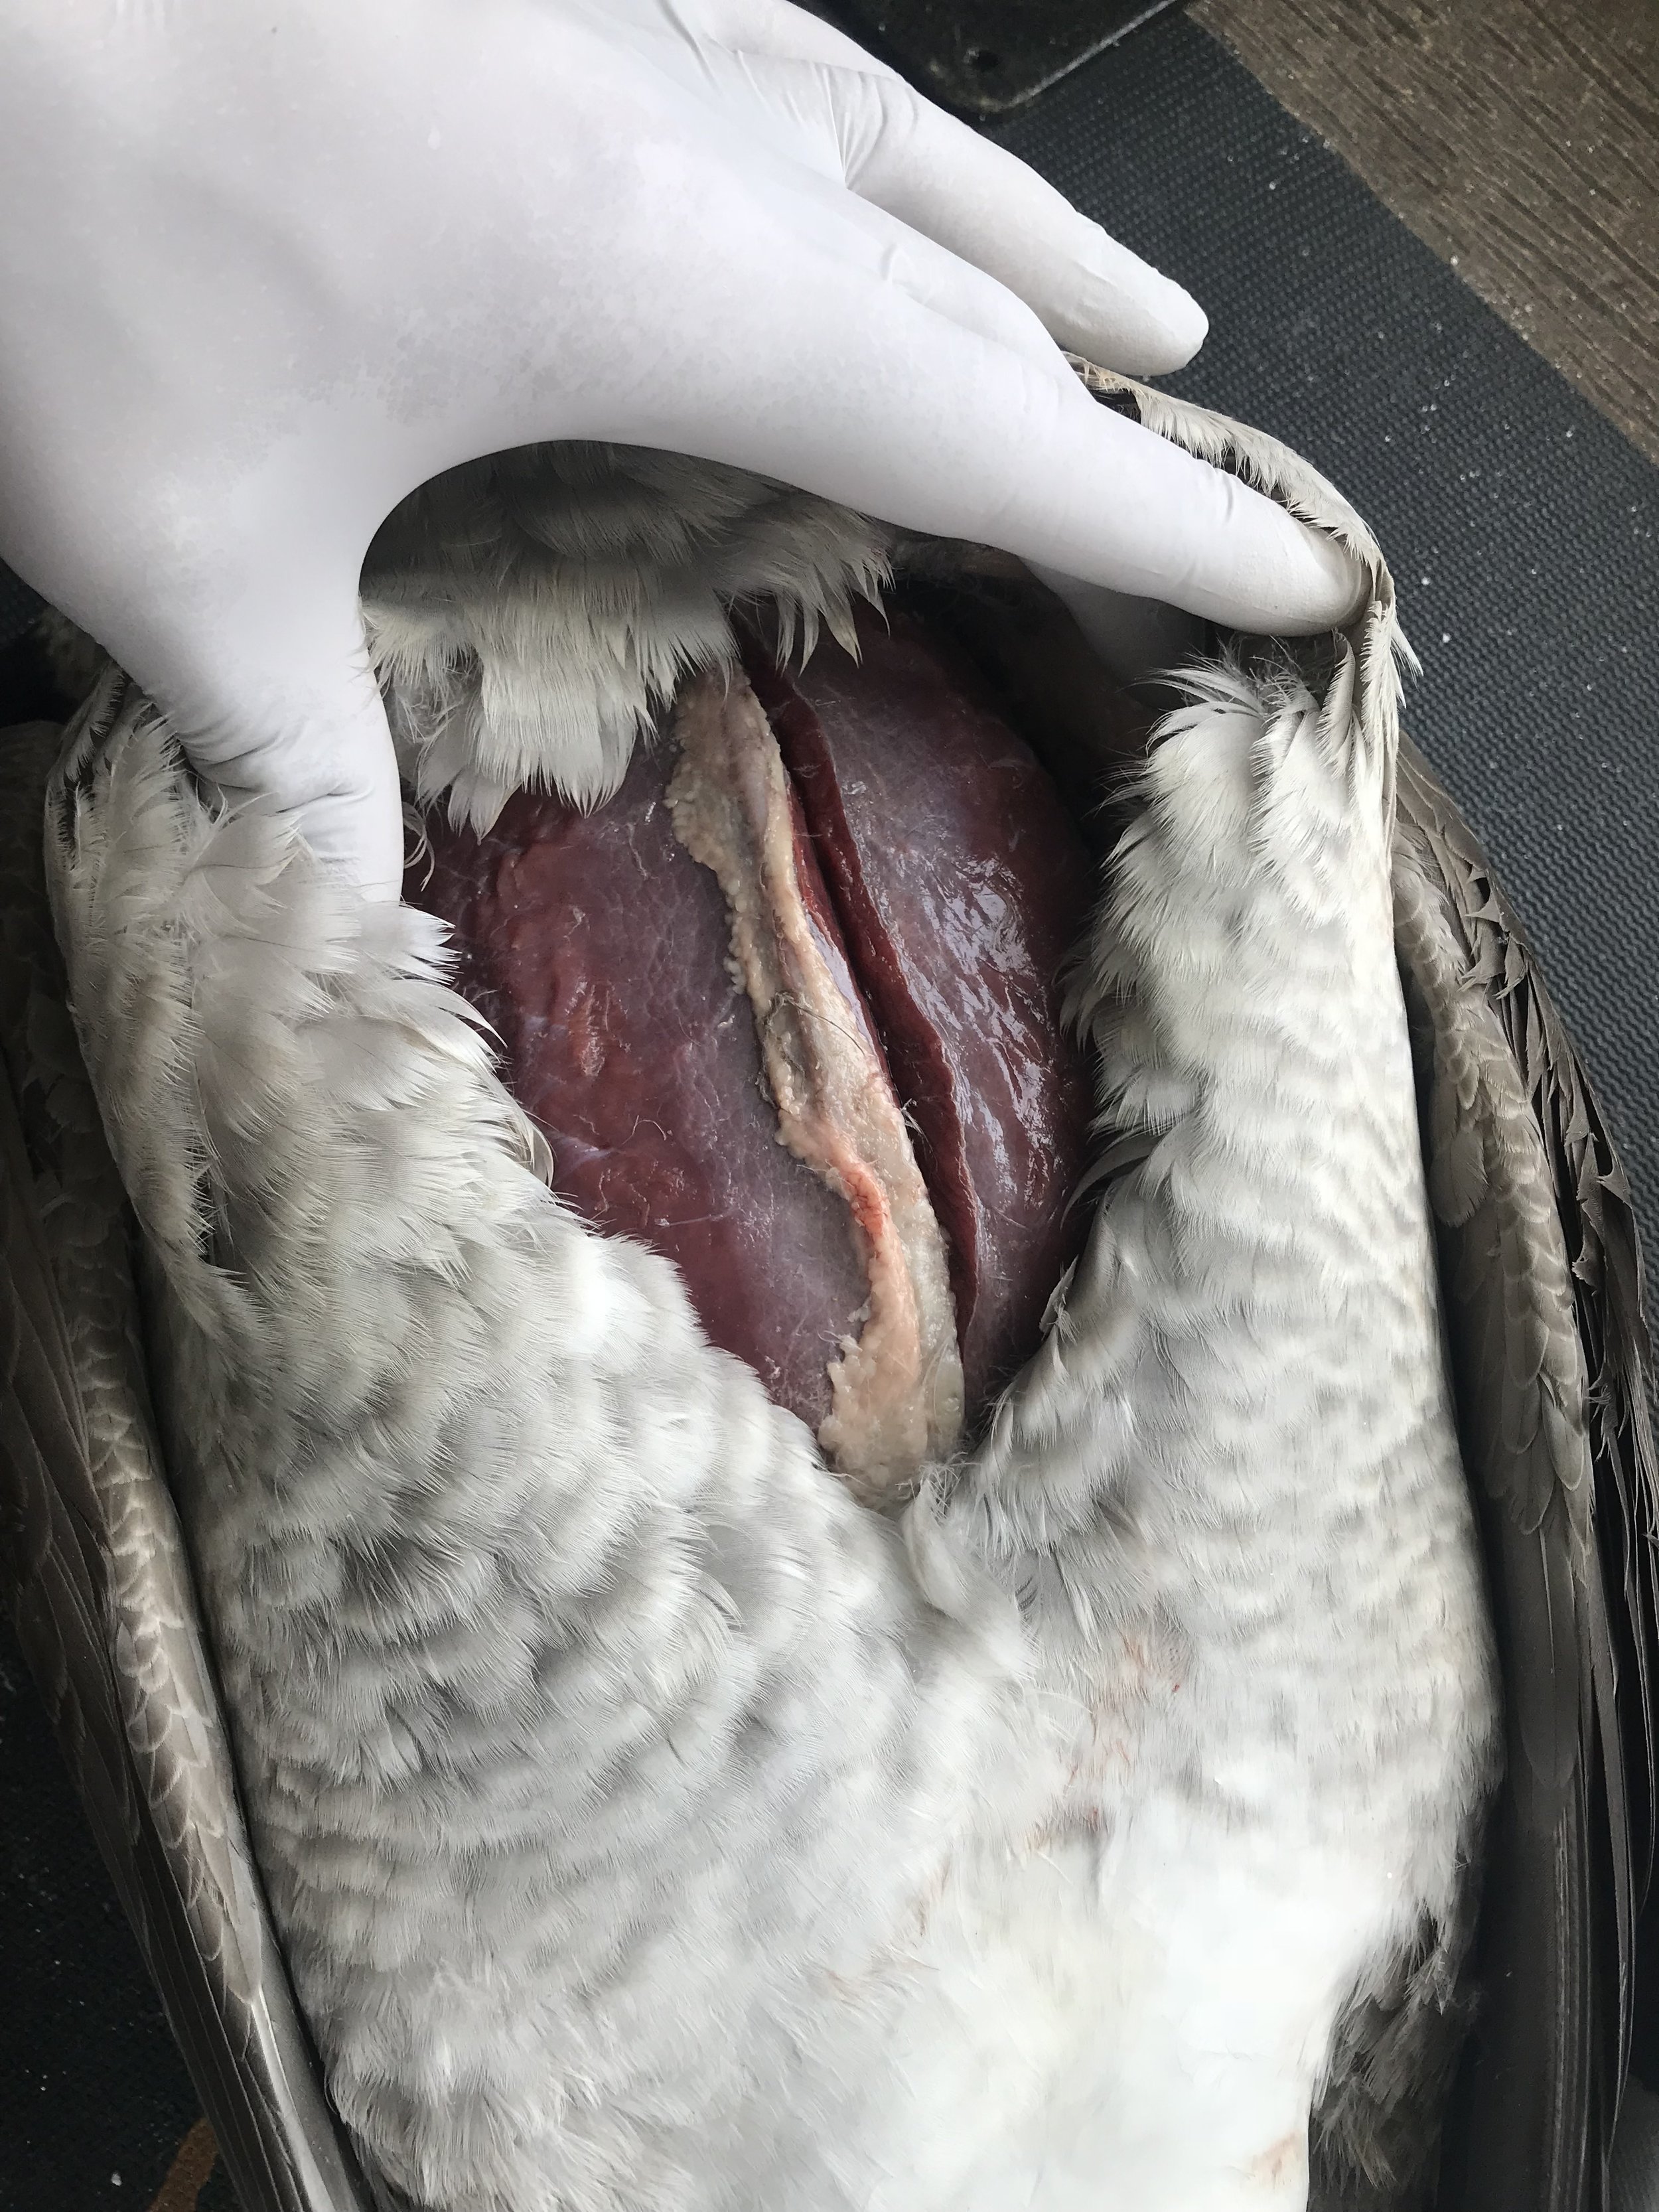
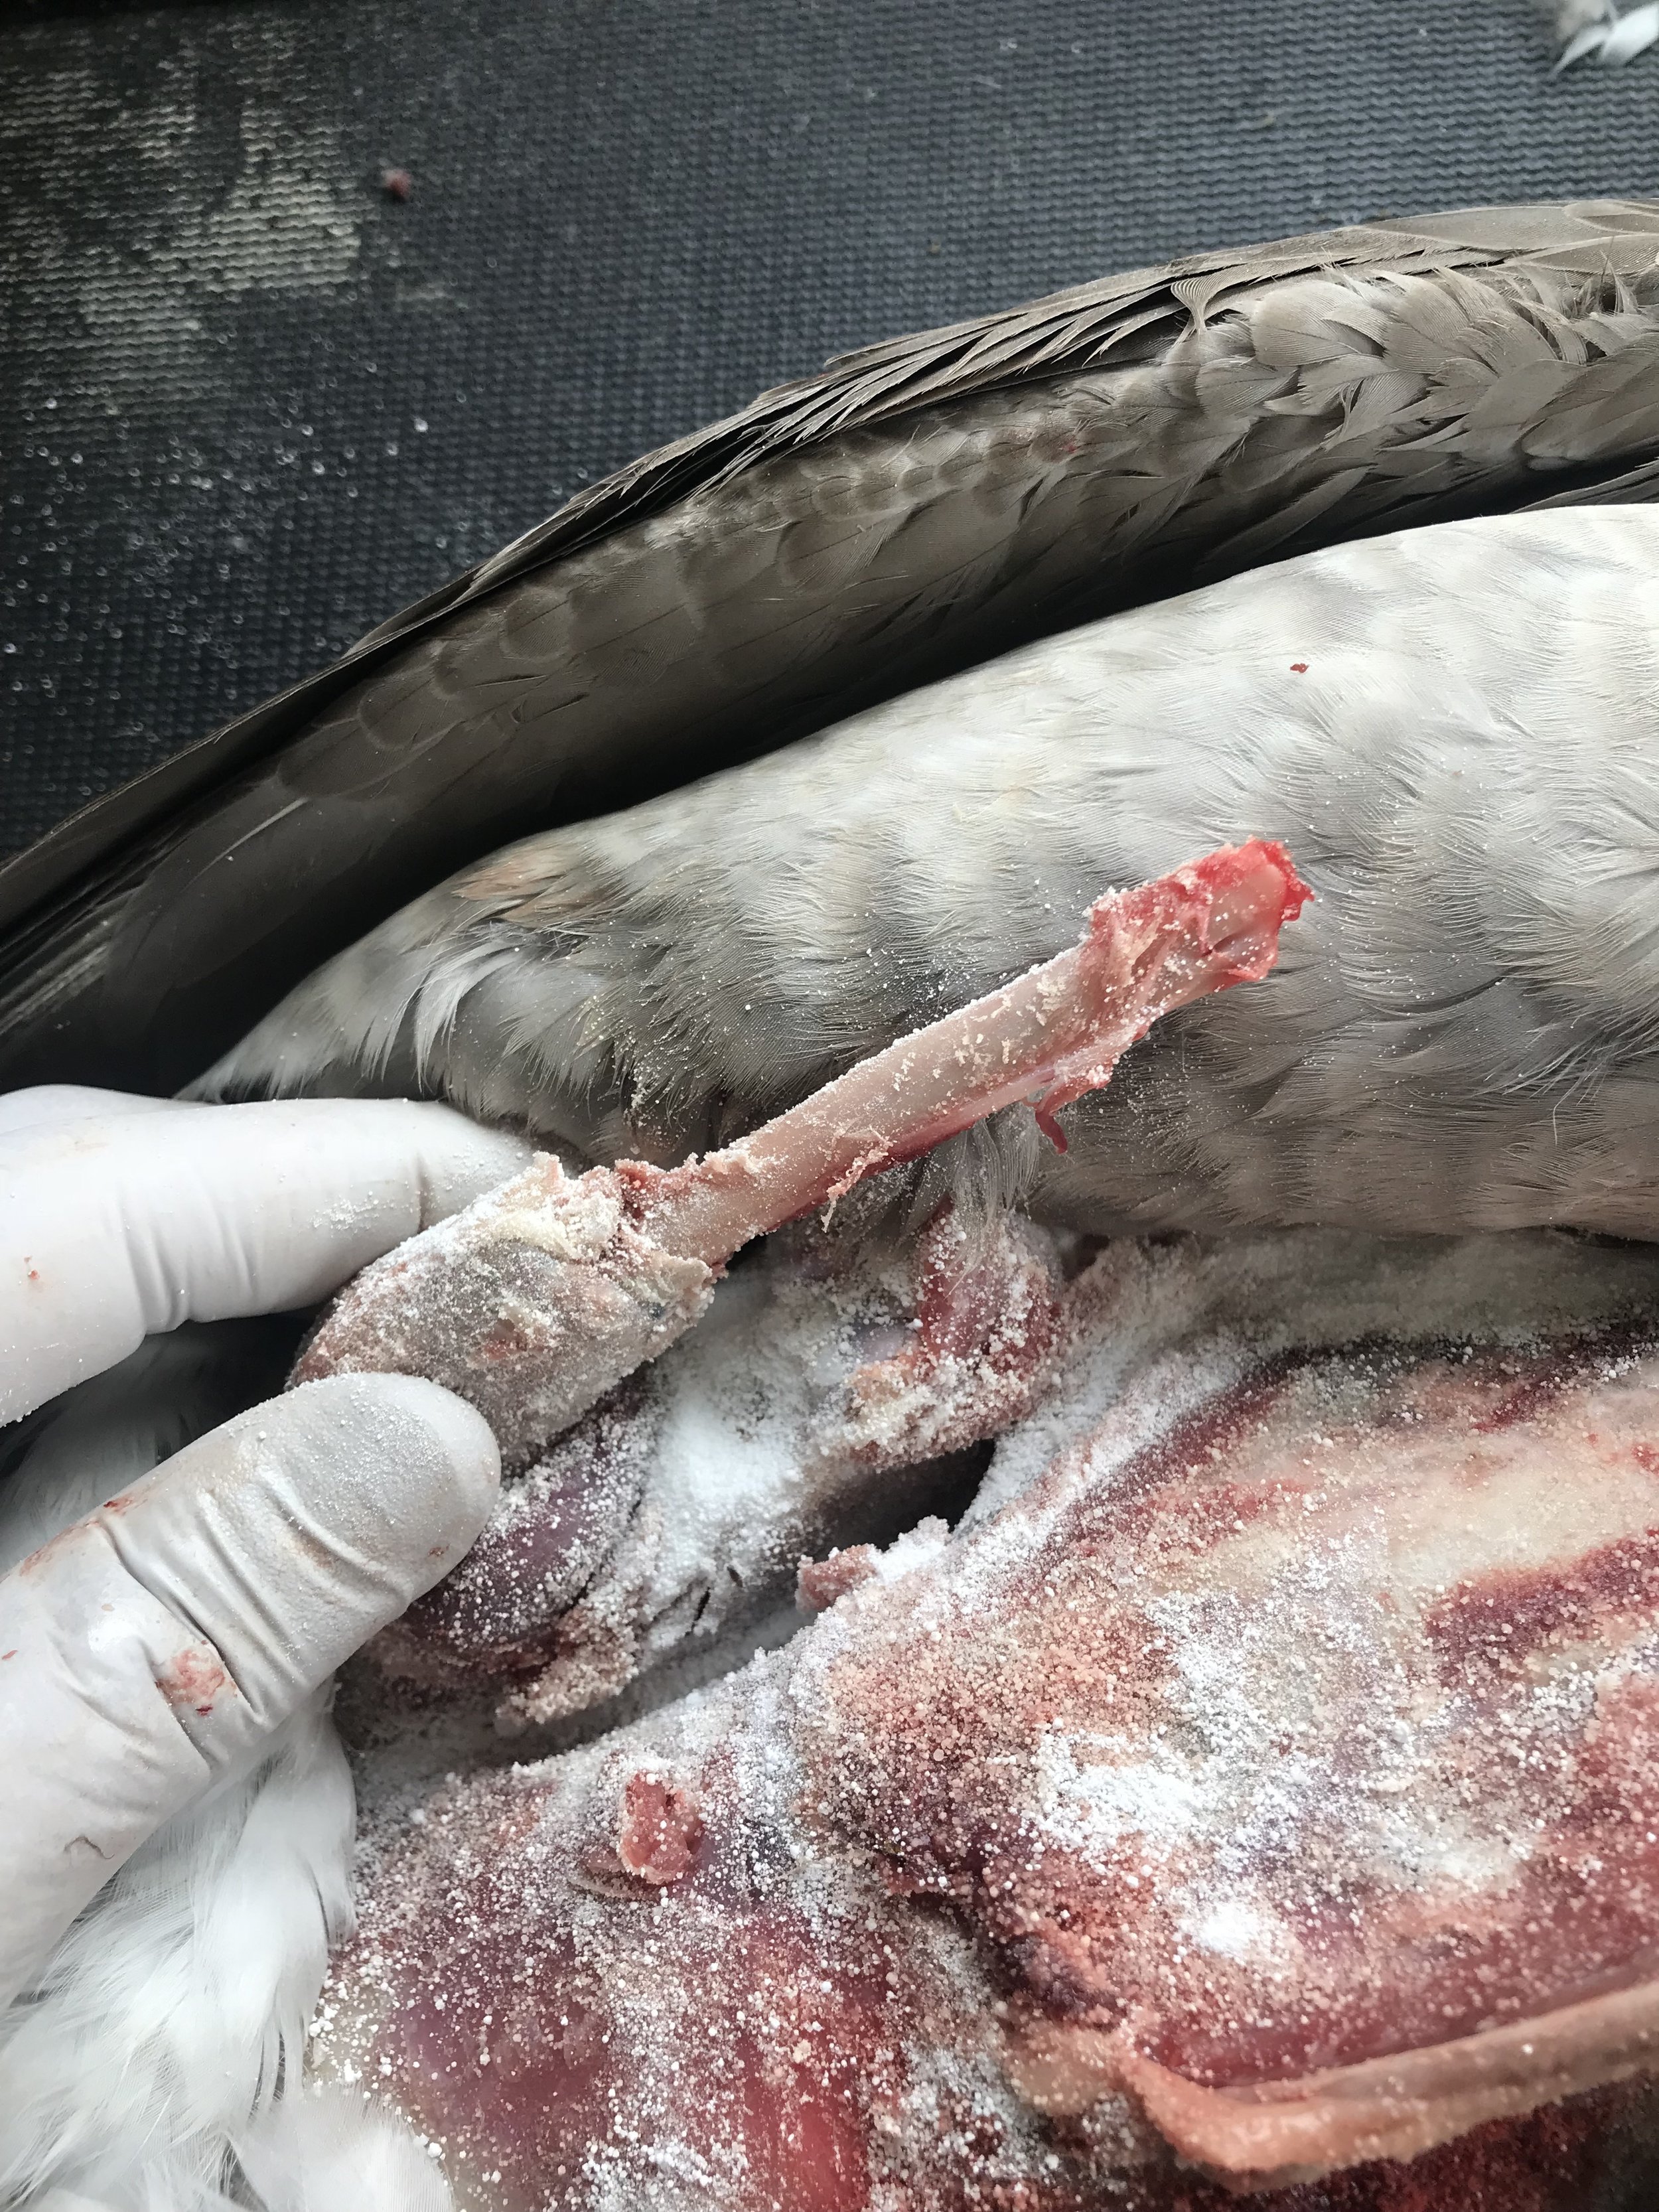
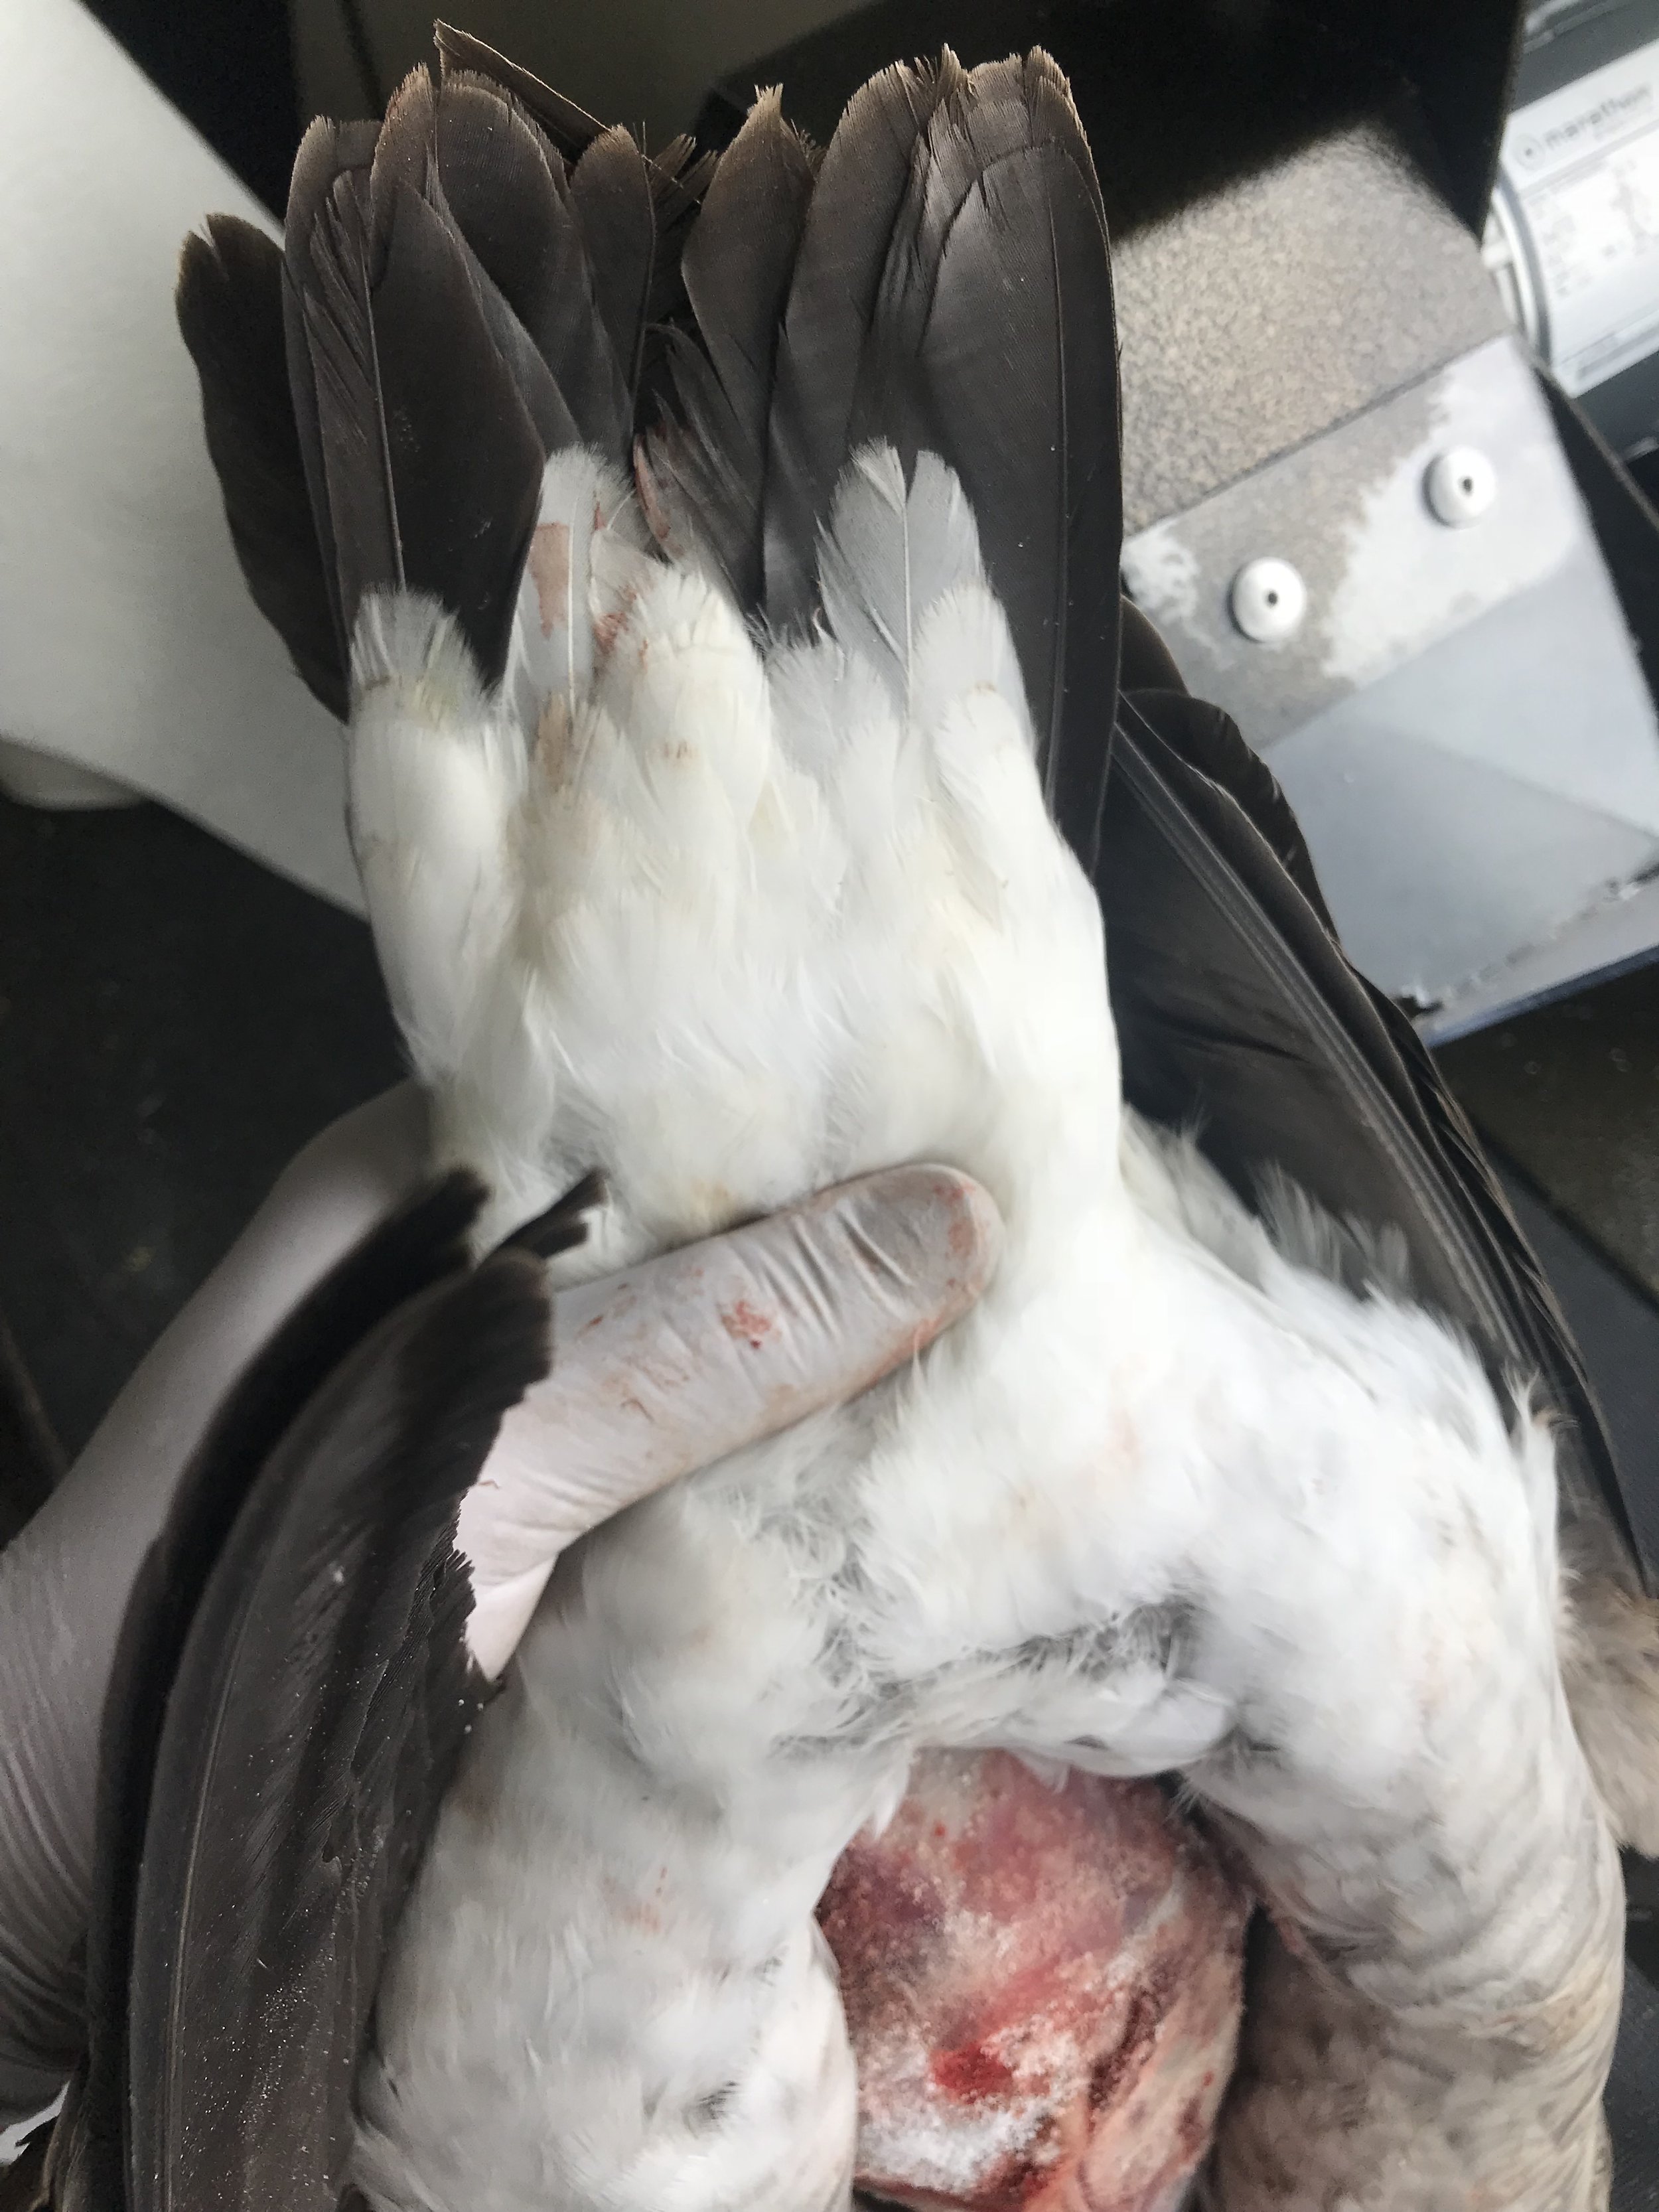
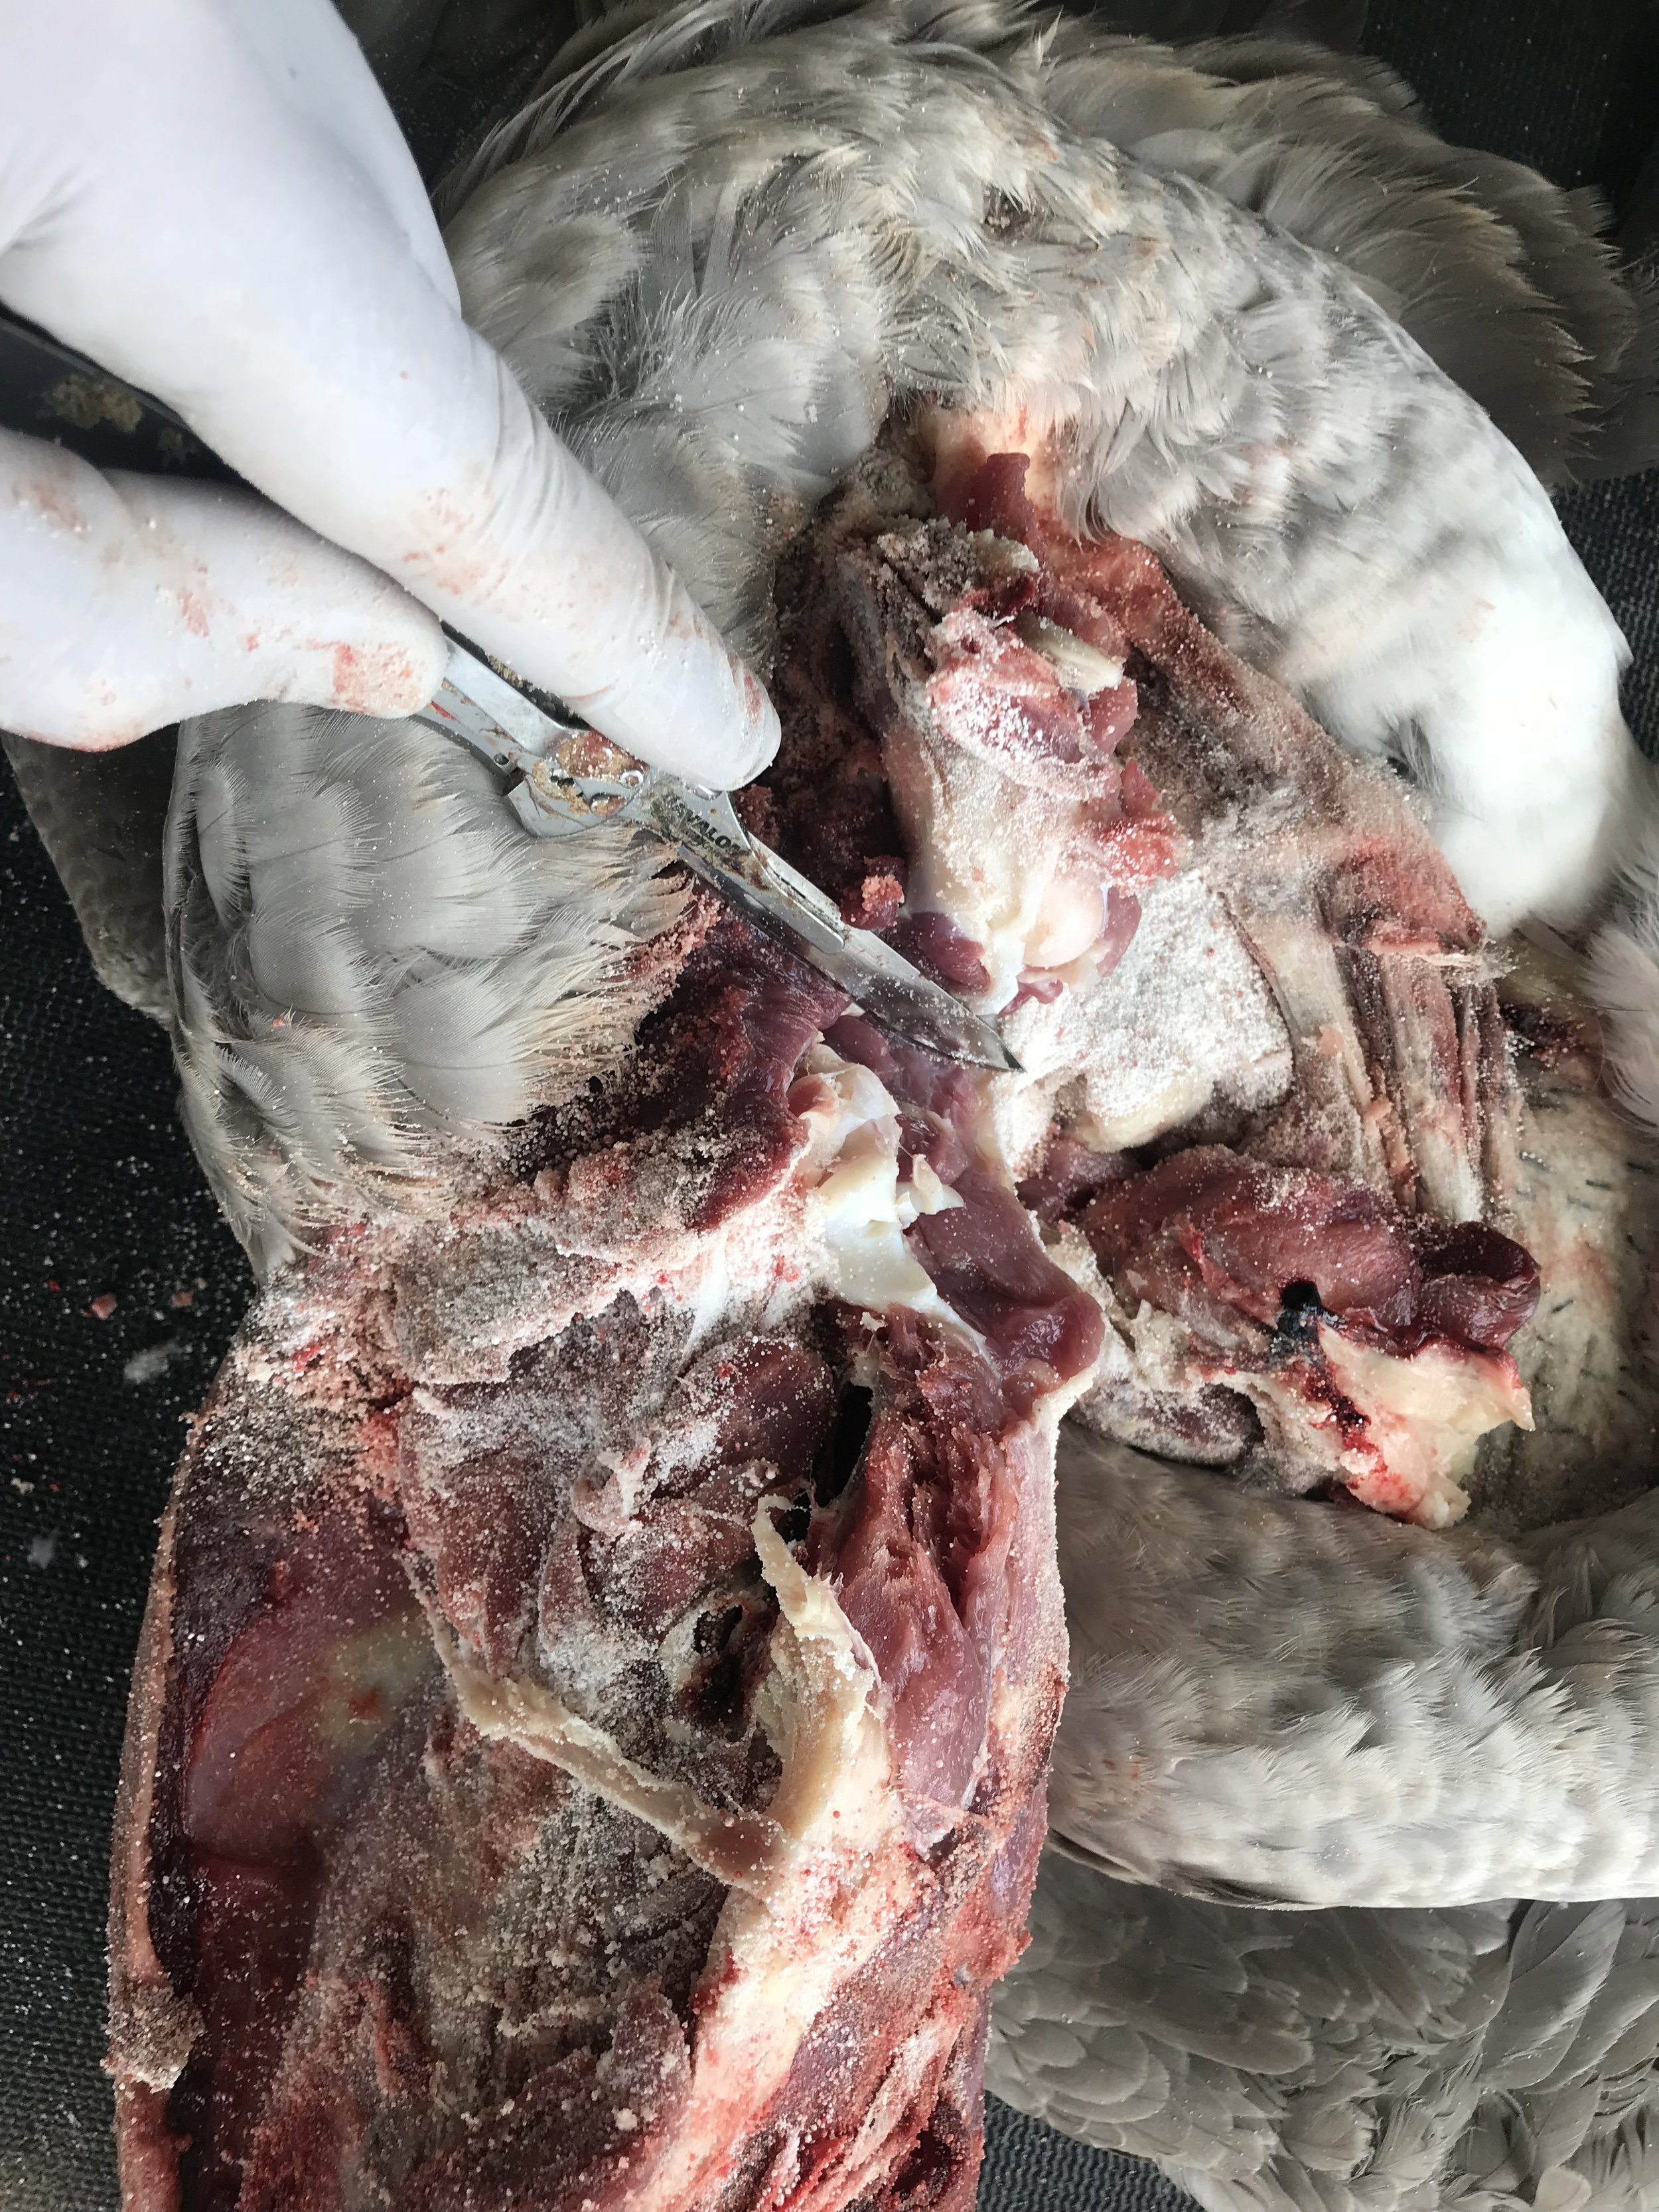
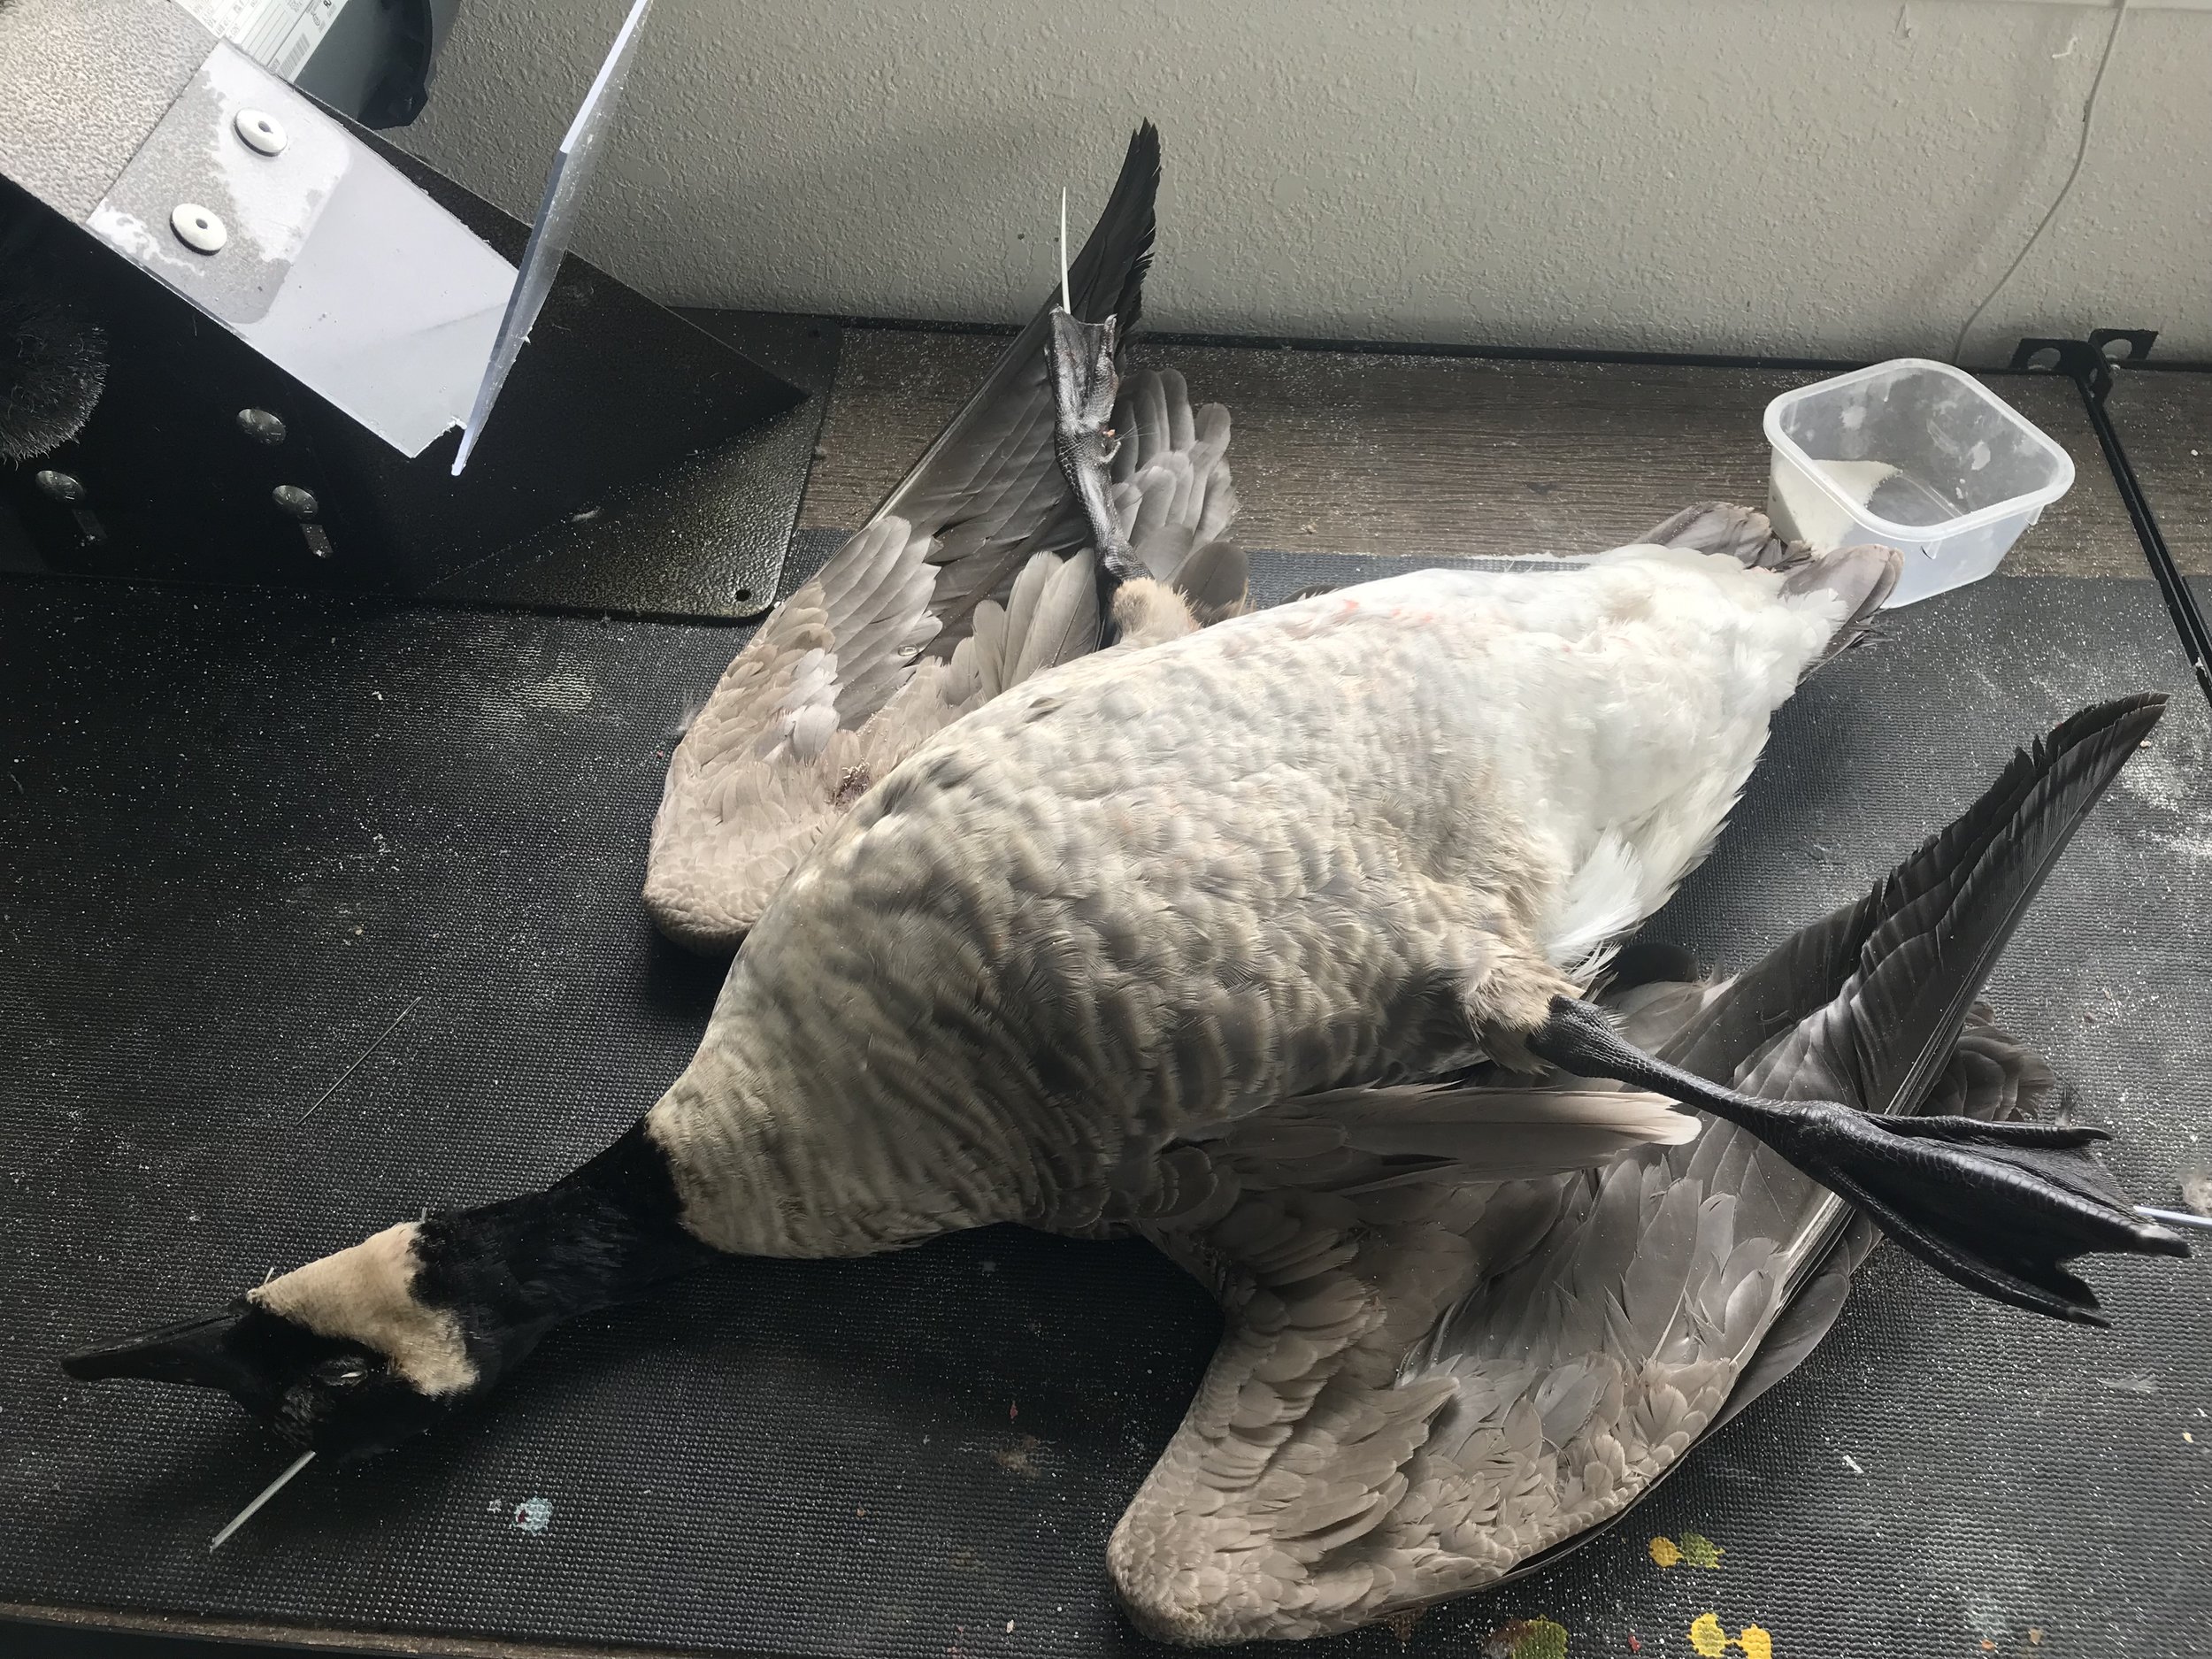
STEP 1: With your bird on its back, make your incision at the beginning of the chest keel and bring it down to the end of the keel. Starting at the top of your incision peel both sides of the skin off the meat as far into the back of the bird as you can. Work your way down to the bottom of the opening till you reach the legs. Cut both legs from the body at the knee and let the legs free float at this time.
Add borax any time the skin starts feeling slick or wet through the entire process.
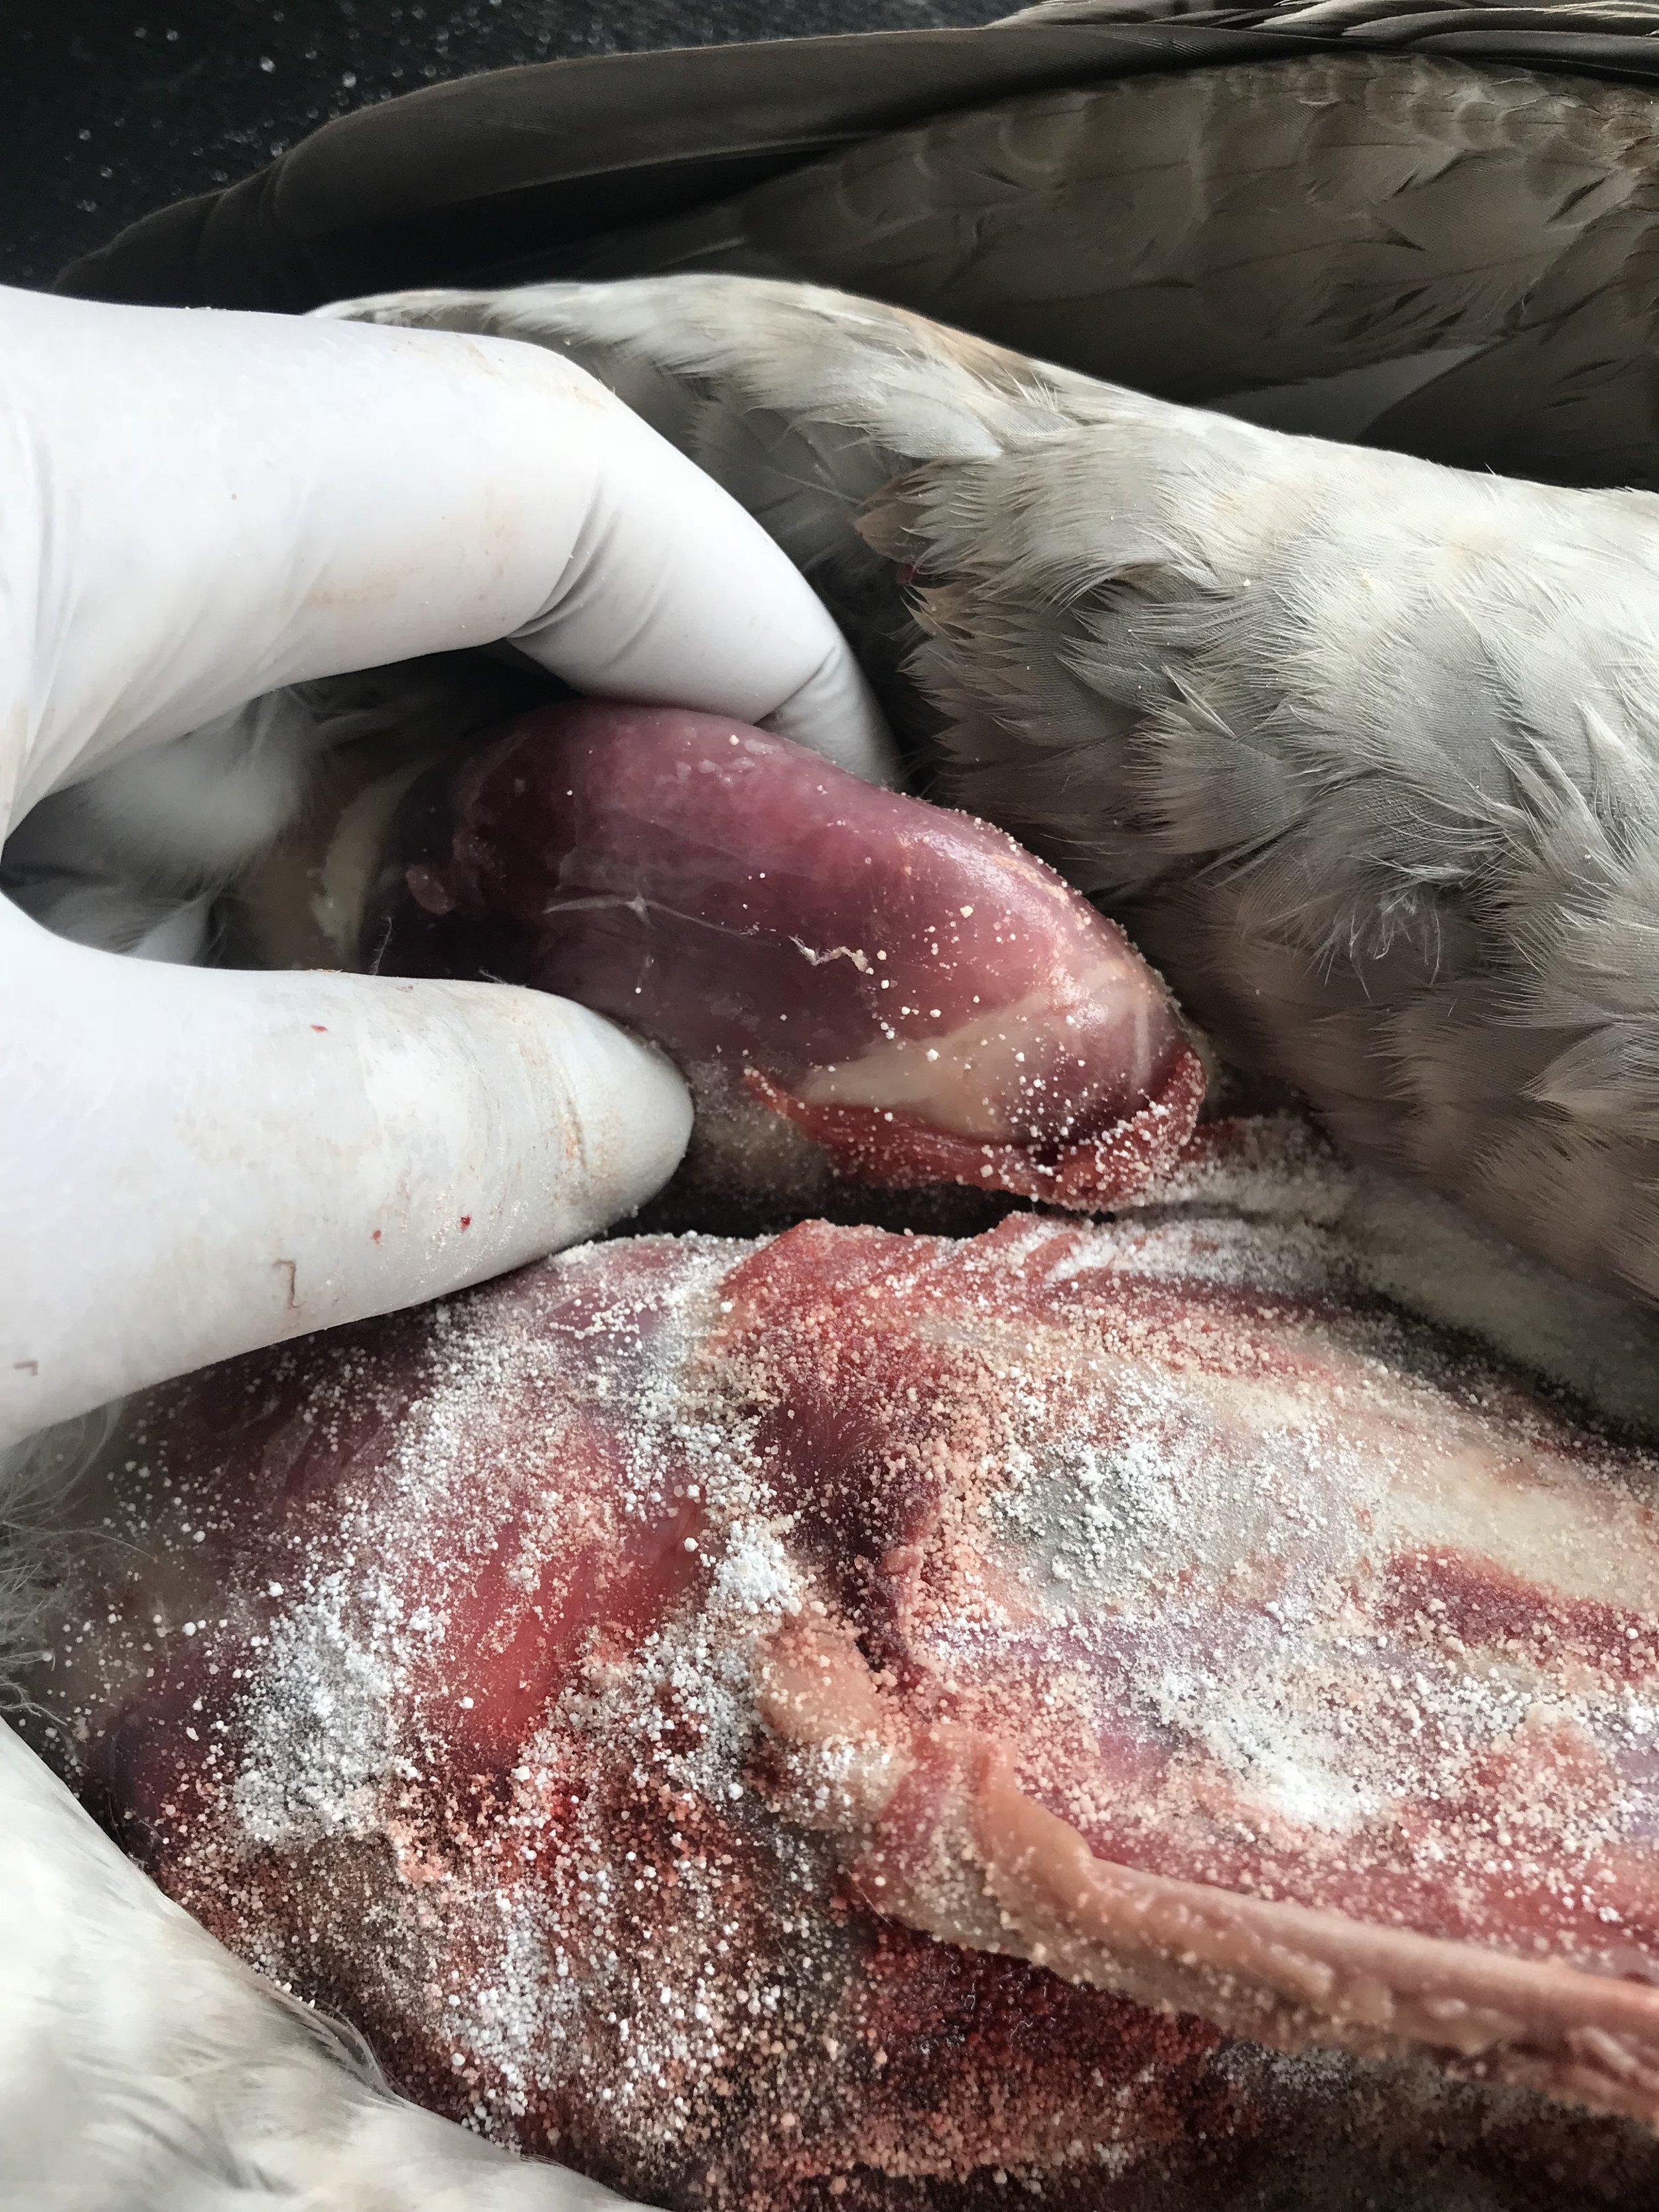
Continue slowly peeling and lengthening your incision toward the cloaca. Once the vent is reached tip the bird on its chest and pull the tail down to its back.
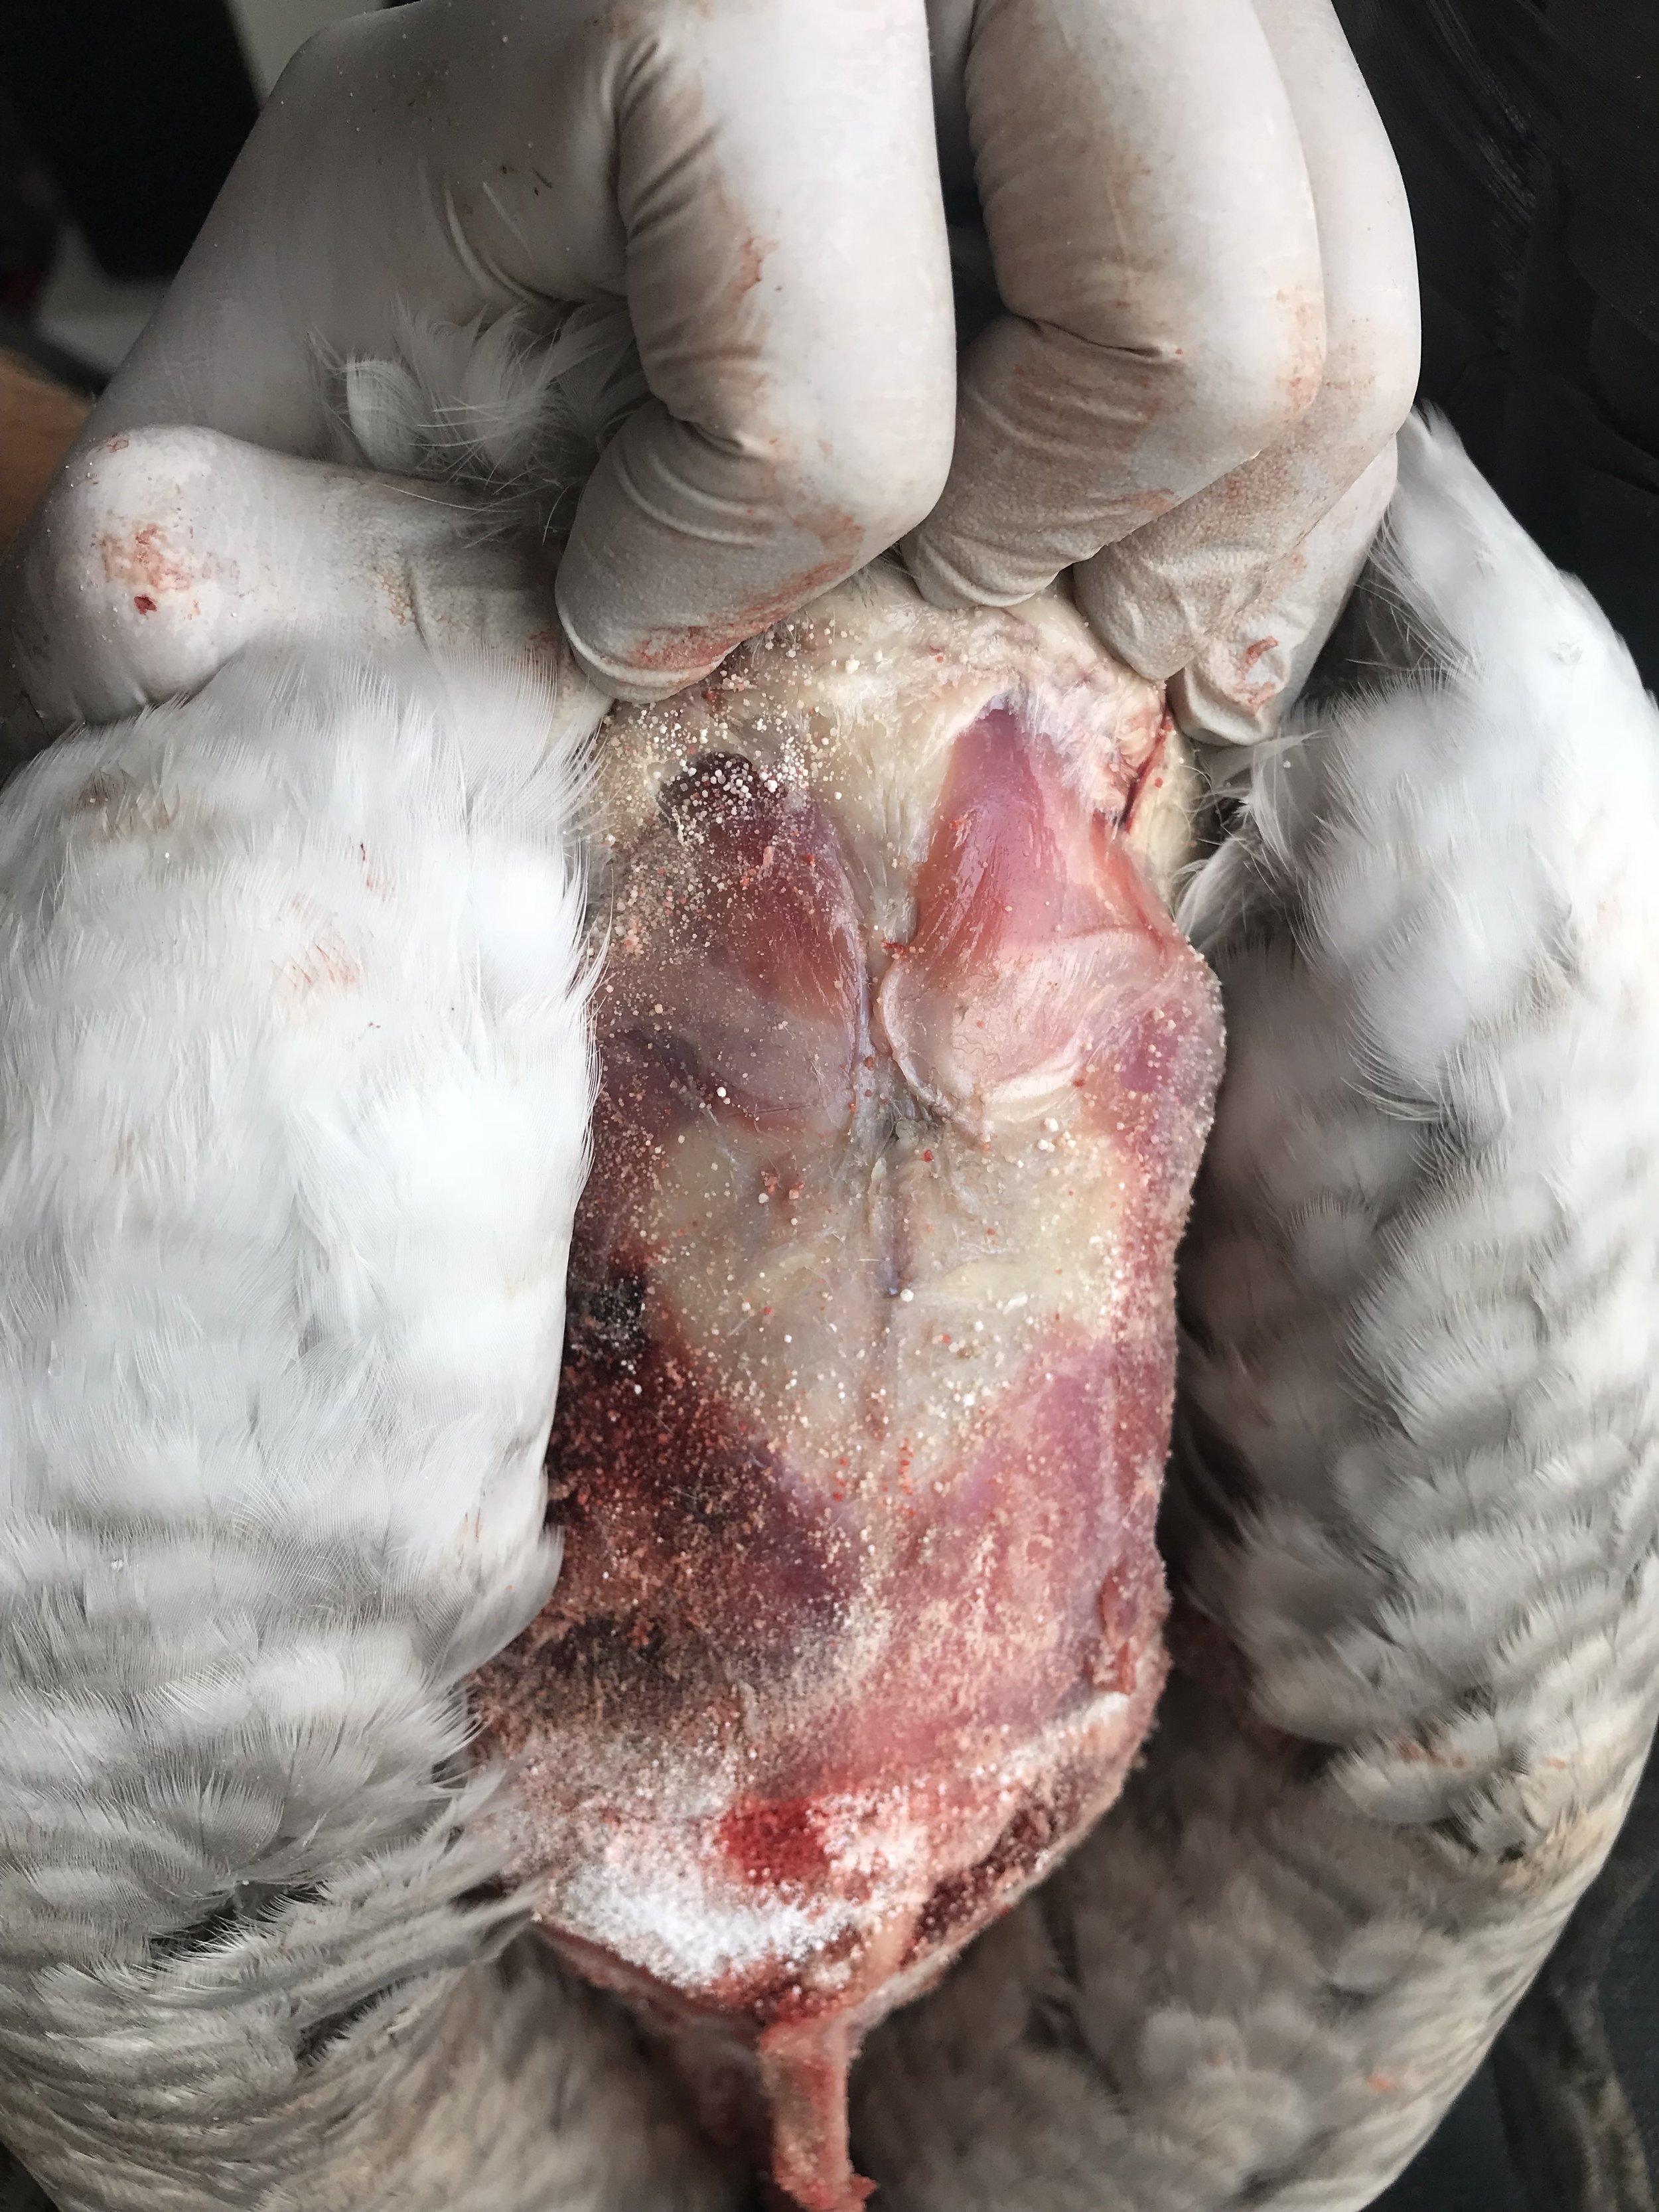
STEP 2: Cut through the vent horizontally so there is about 1" of skin left as a "lip". Cut through the back bone with your wire cutters carefully (the skin in this area is extremely thin and fragile). With the tail now free start to slowly peel the skin off the body down the back of the bird.
Take your time and use your scalpel where you need to.
STEP 3: Once you reach the wings cut at the shoulder and continue to peel to the neck. Once the body is free grab the neck pull as much of it as you can from the neck skin (think of unrolling a sock) when the maximum length is reached cut the neck off with your wire cutters or knife.
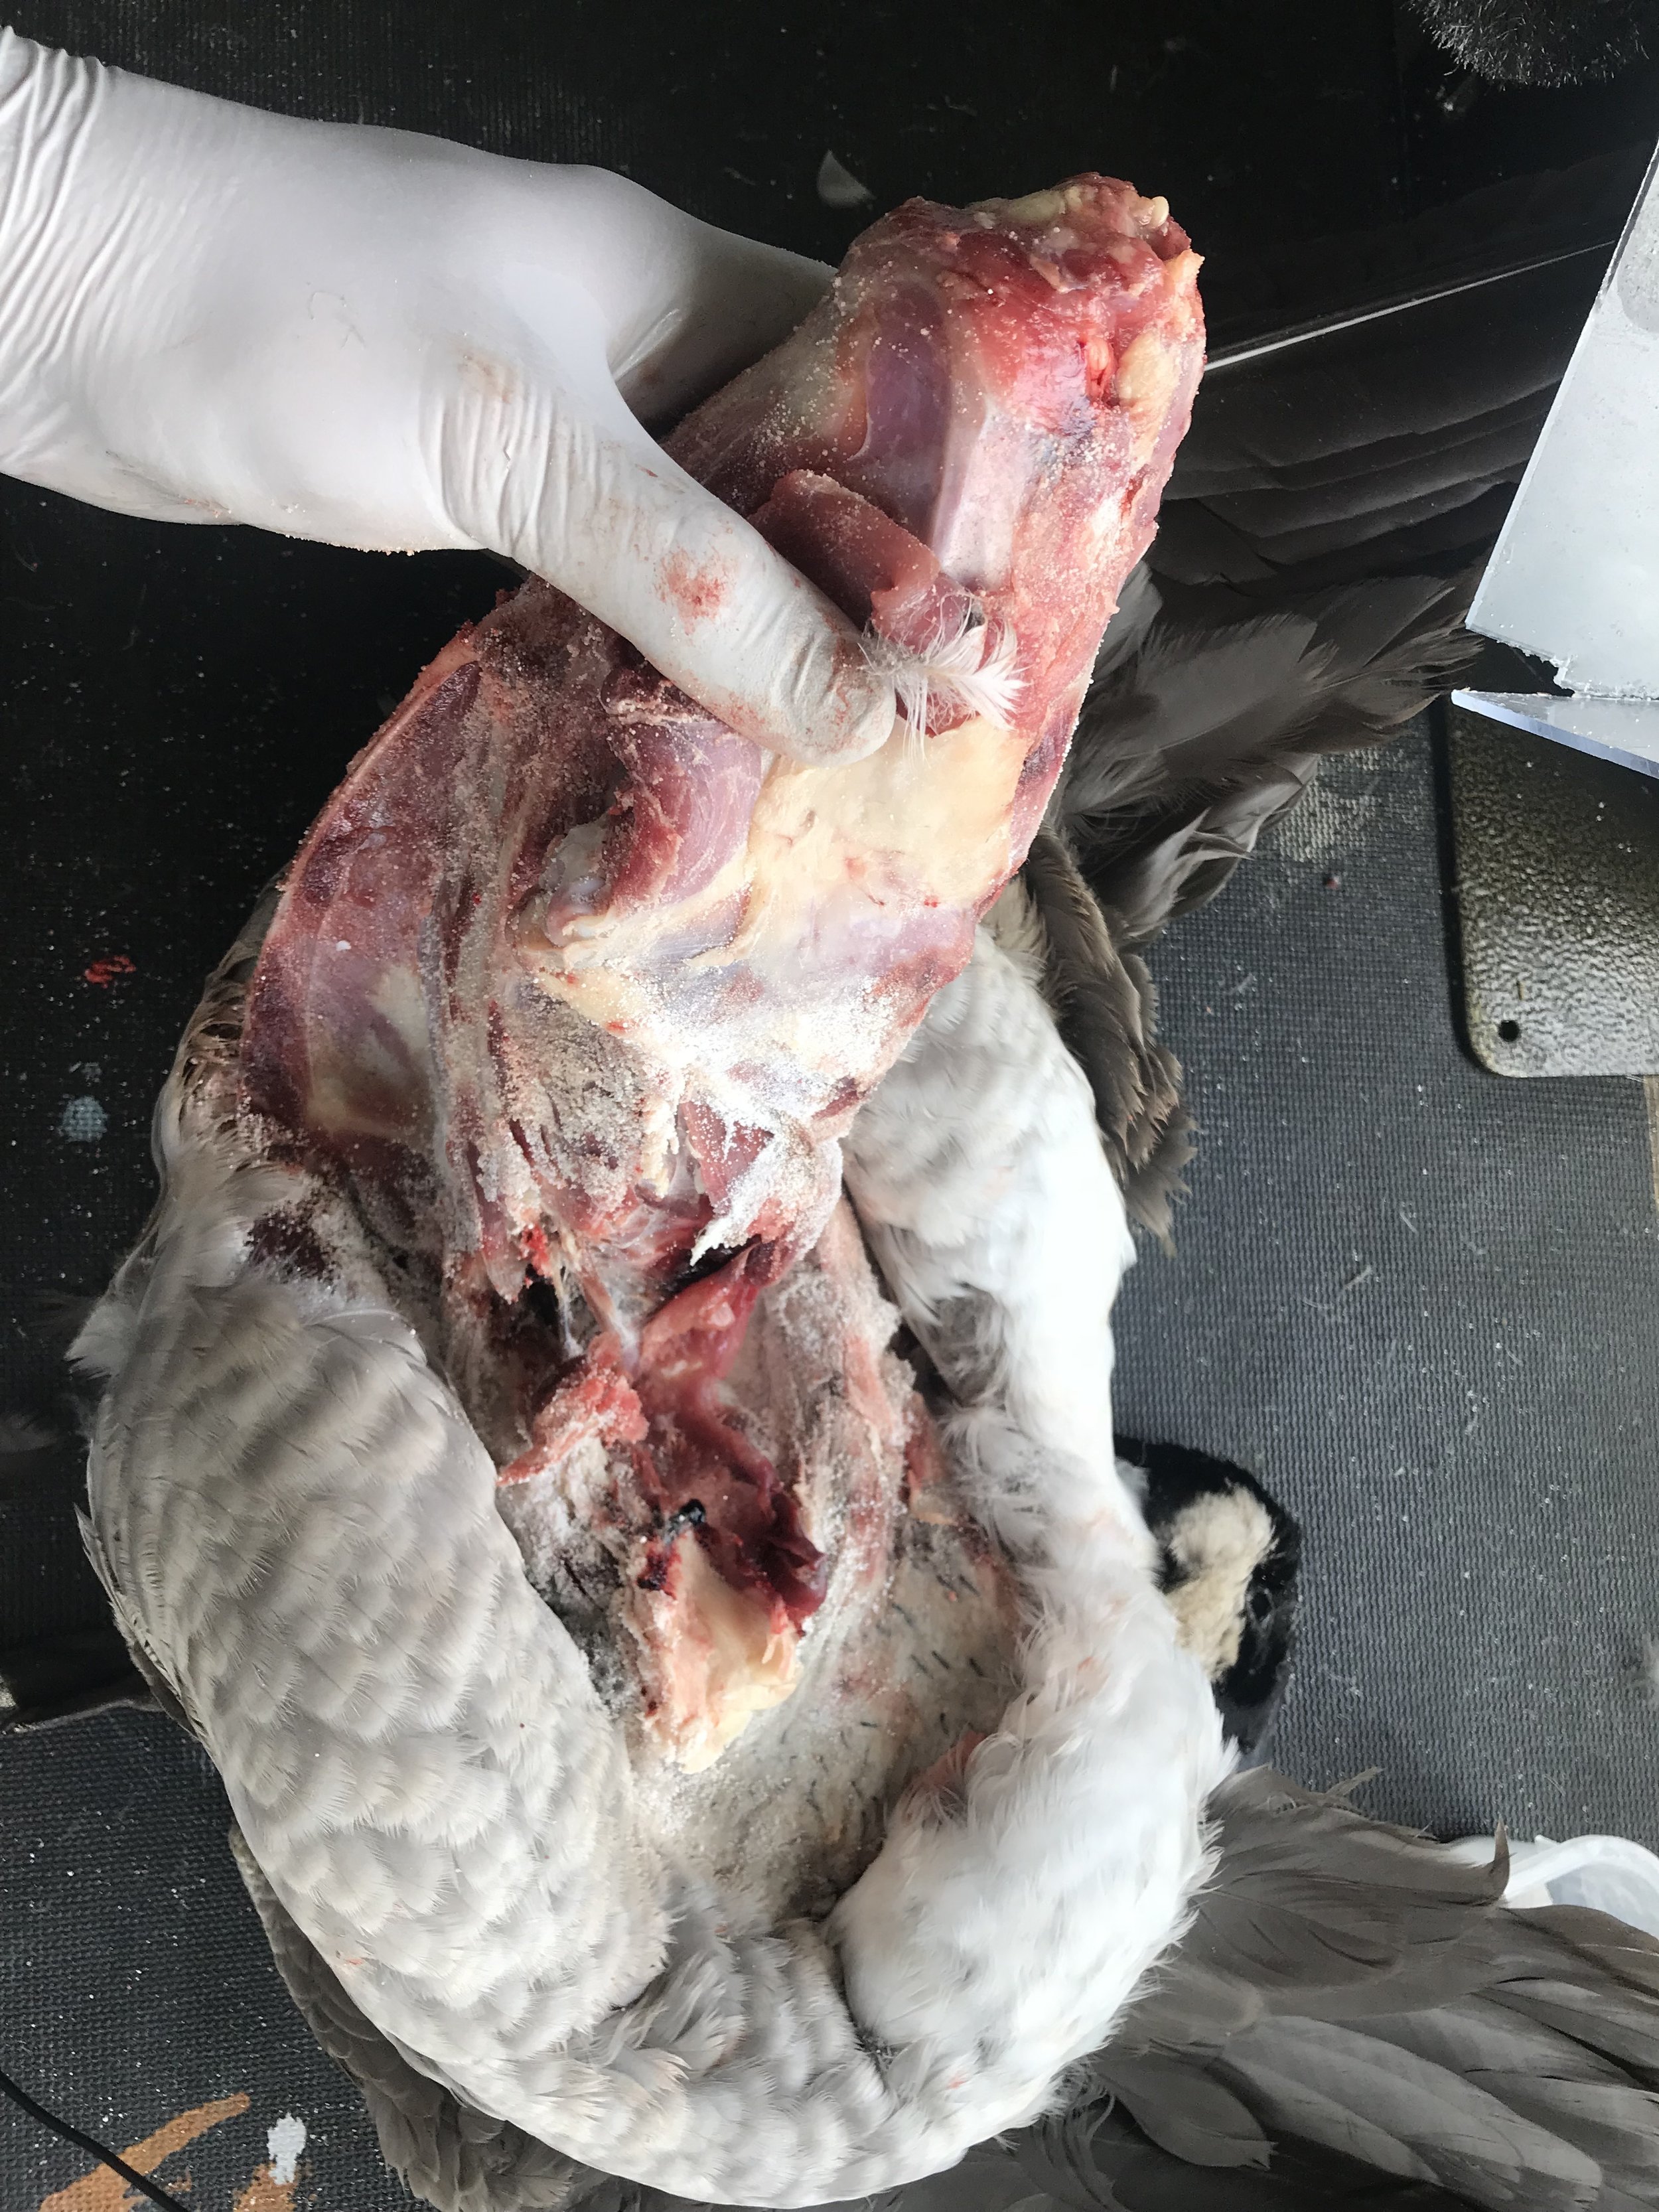
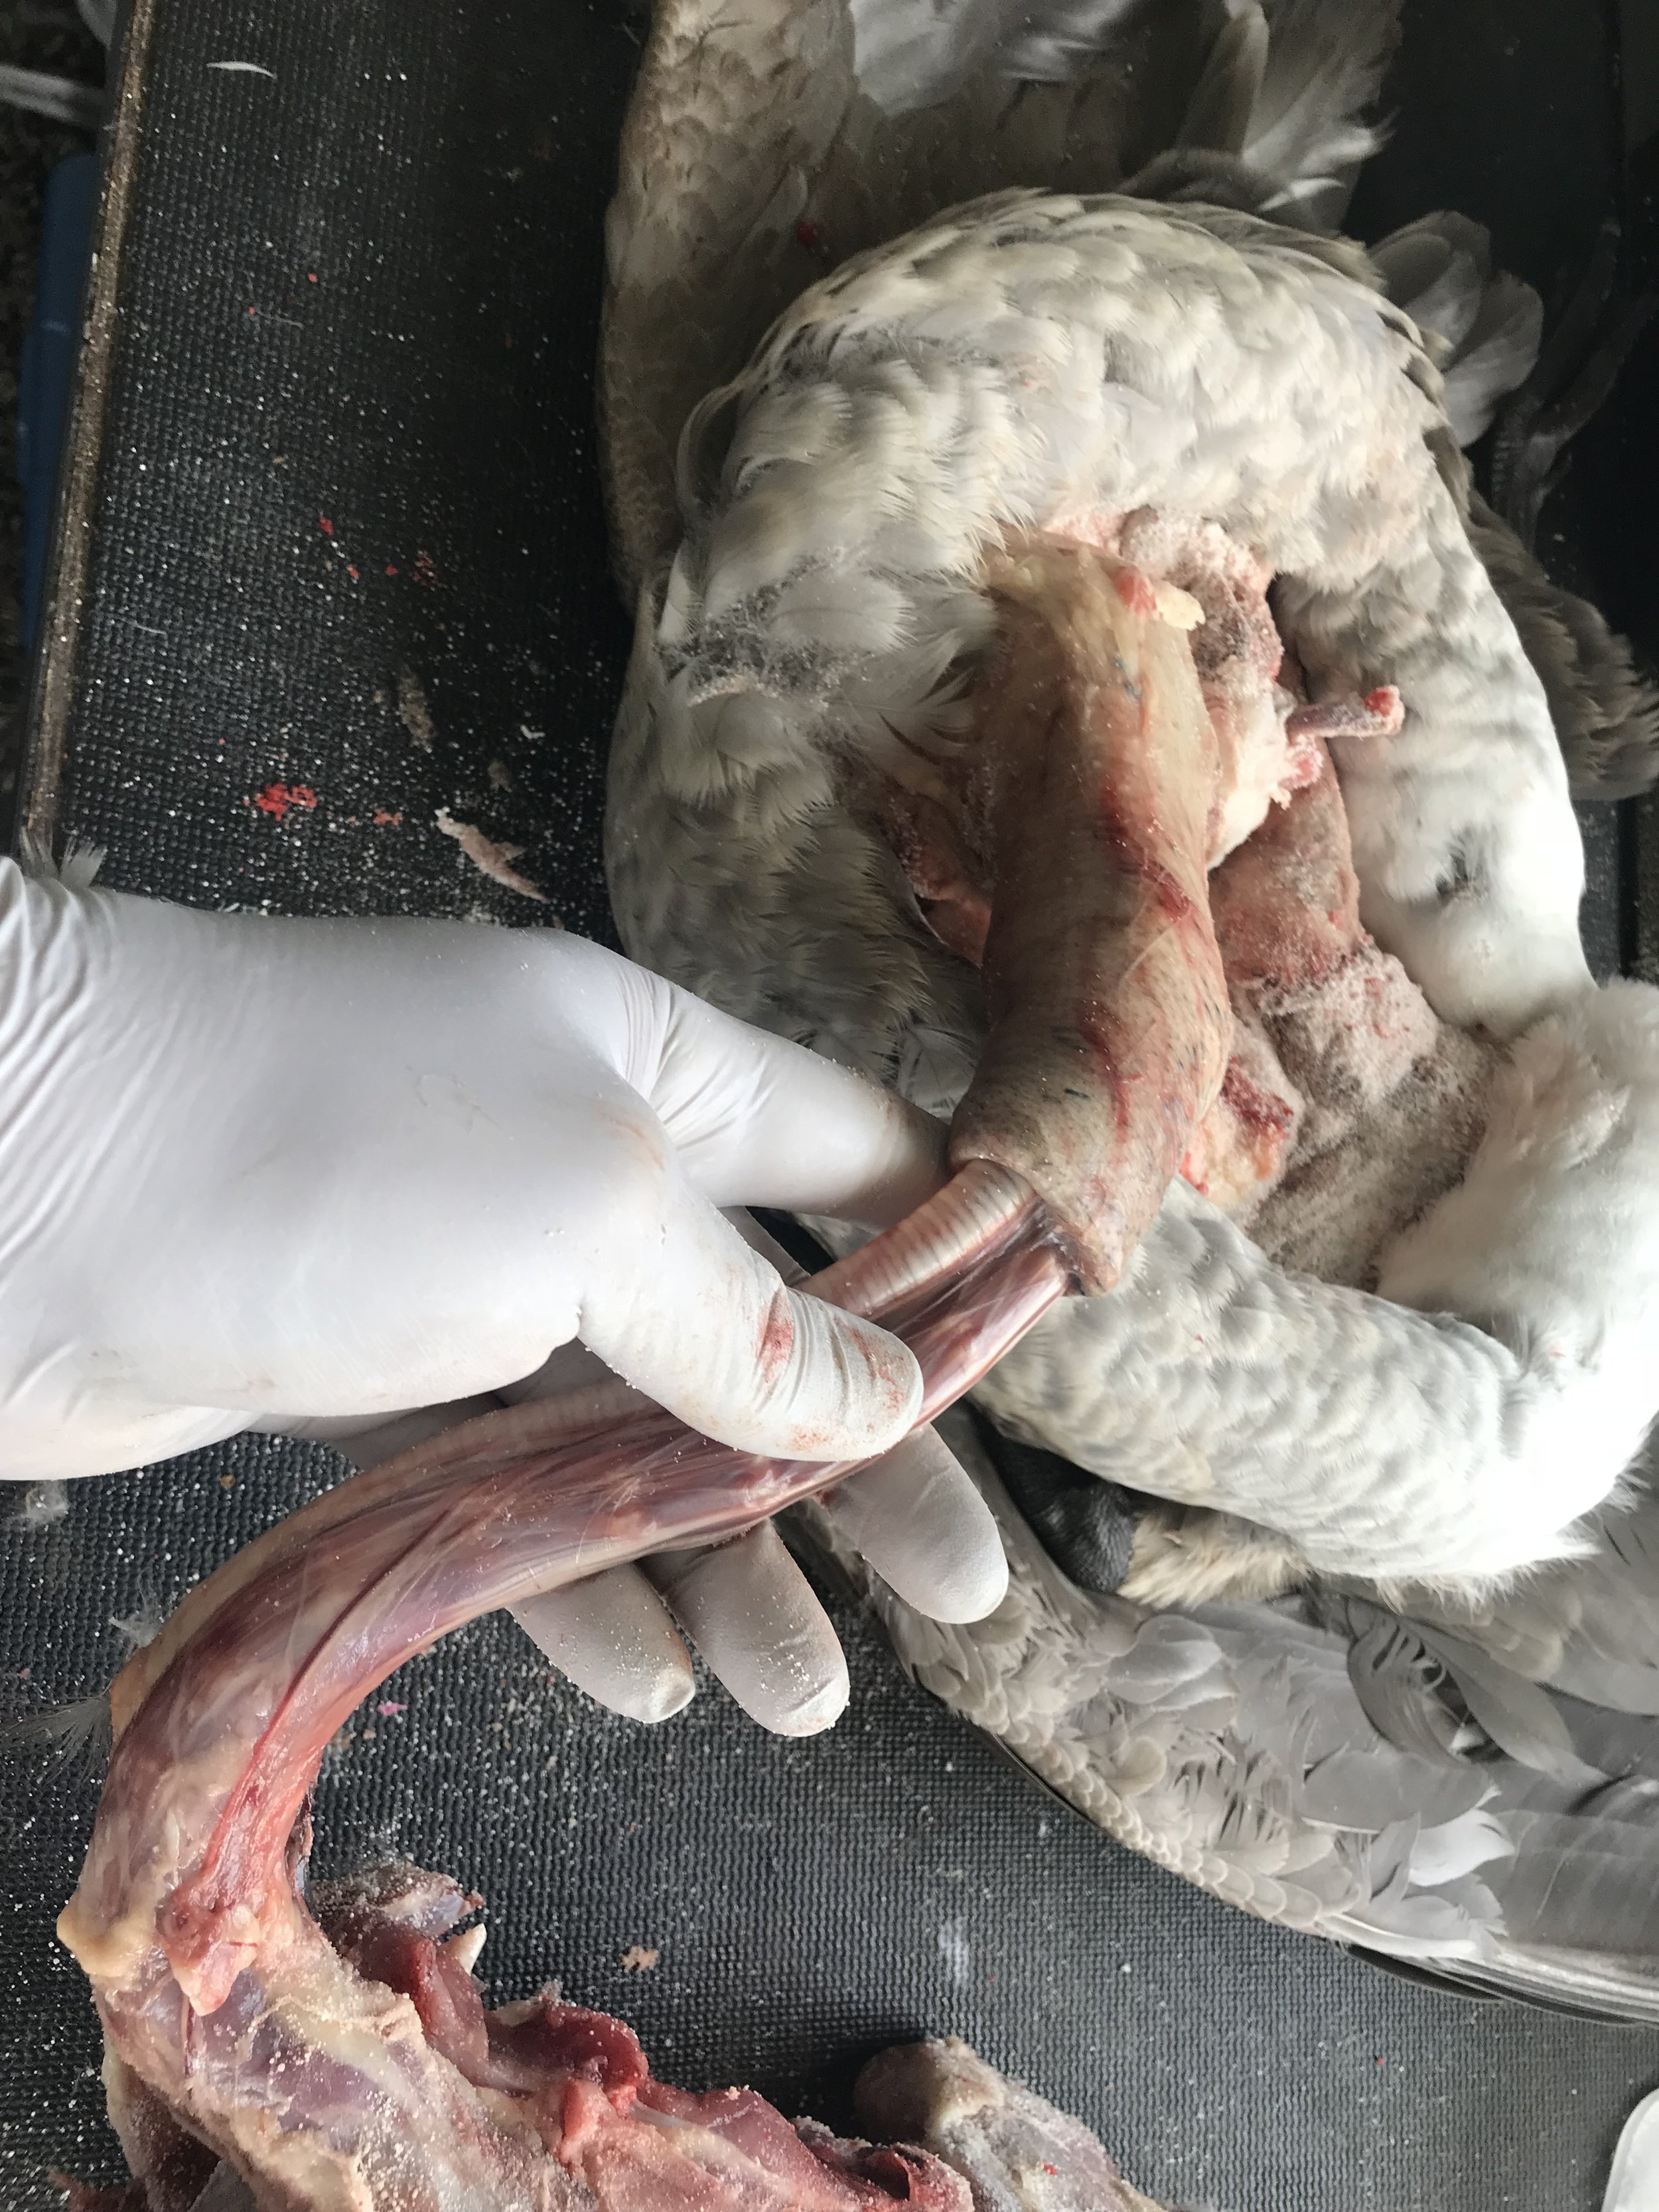
STEP 4: Remove carcass.
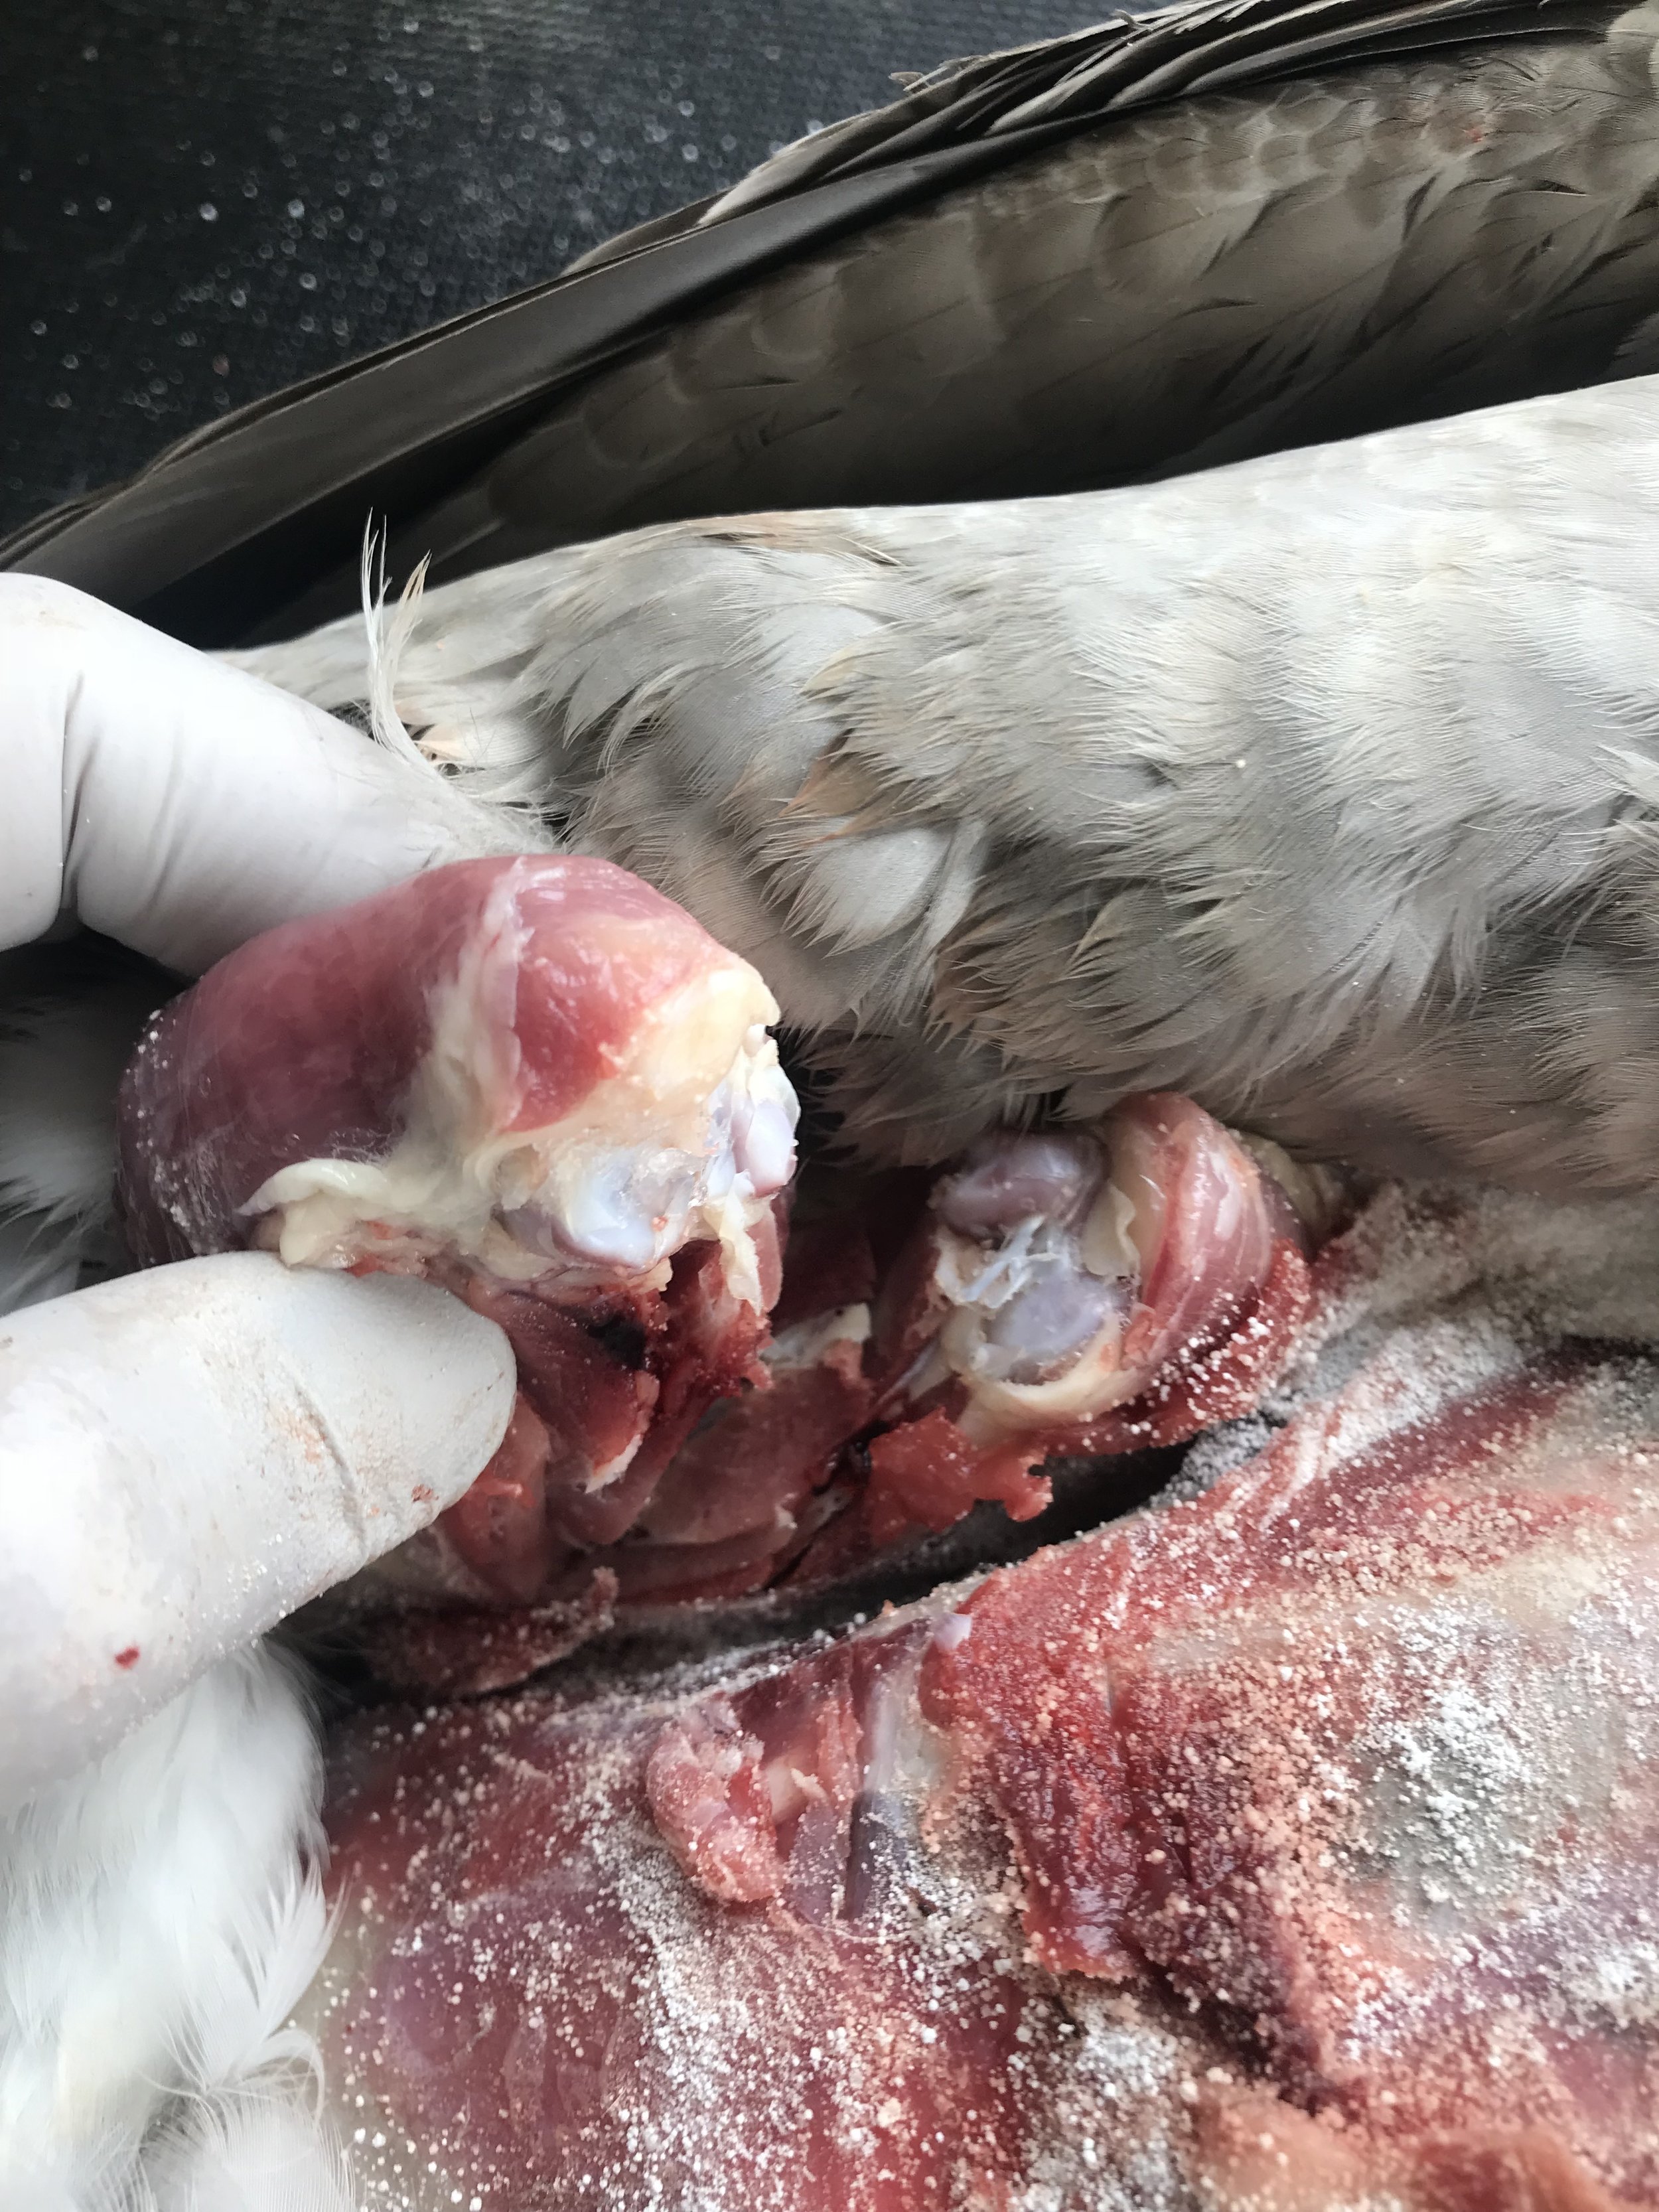
STEP 5: Go back to your leg bones and cut the top of the knee off and clean off the excess meat with your knife.
STEP 6: Now move to the wings. Invert the wings to the first joint and remove the humerus bone.
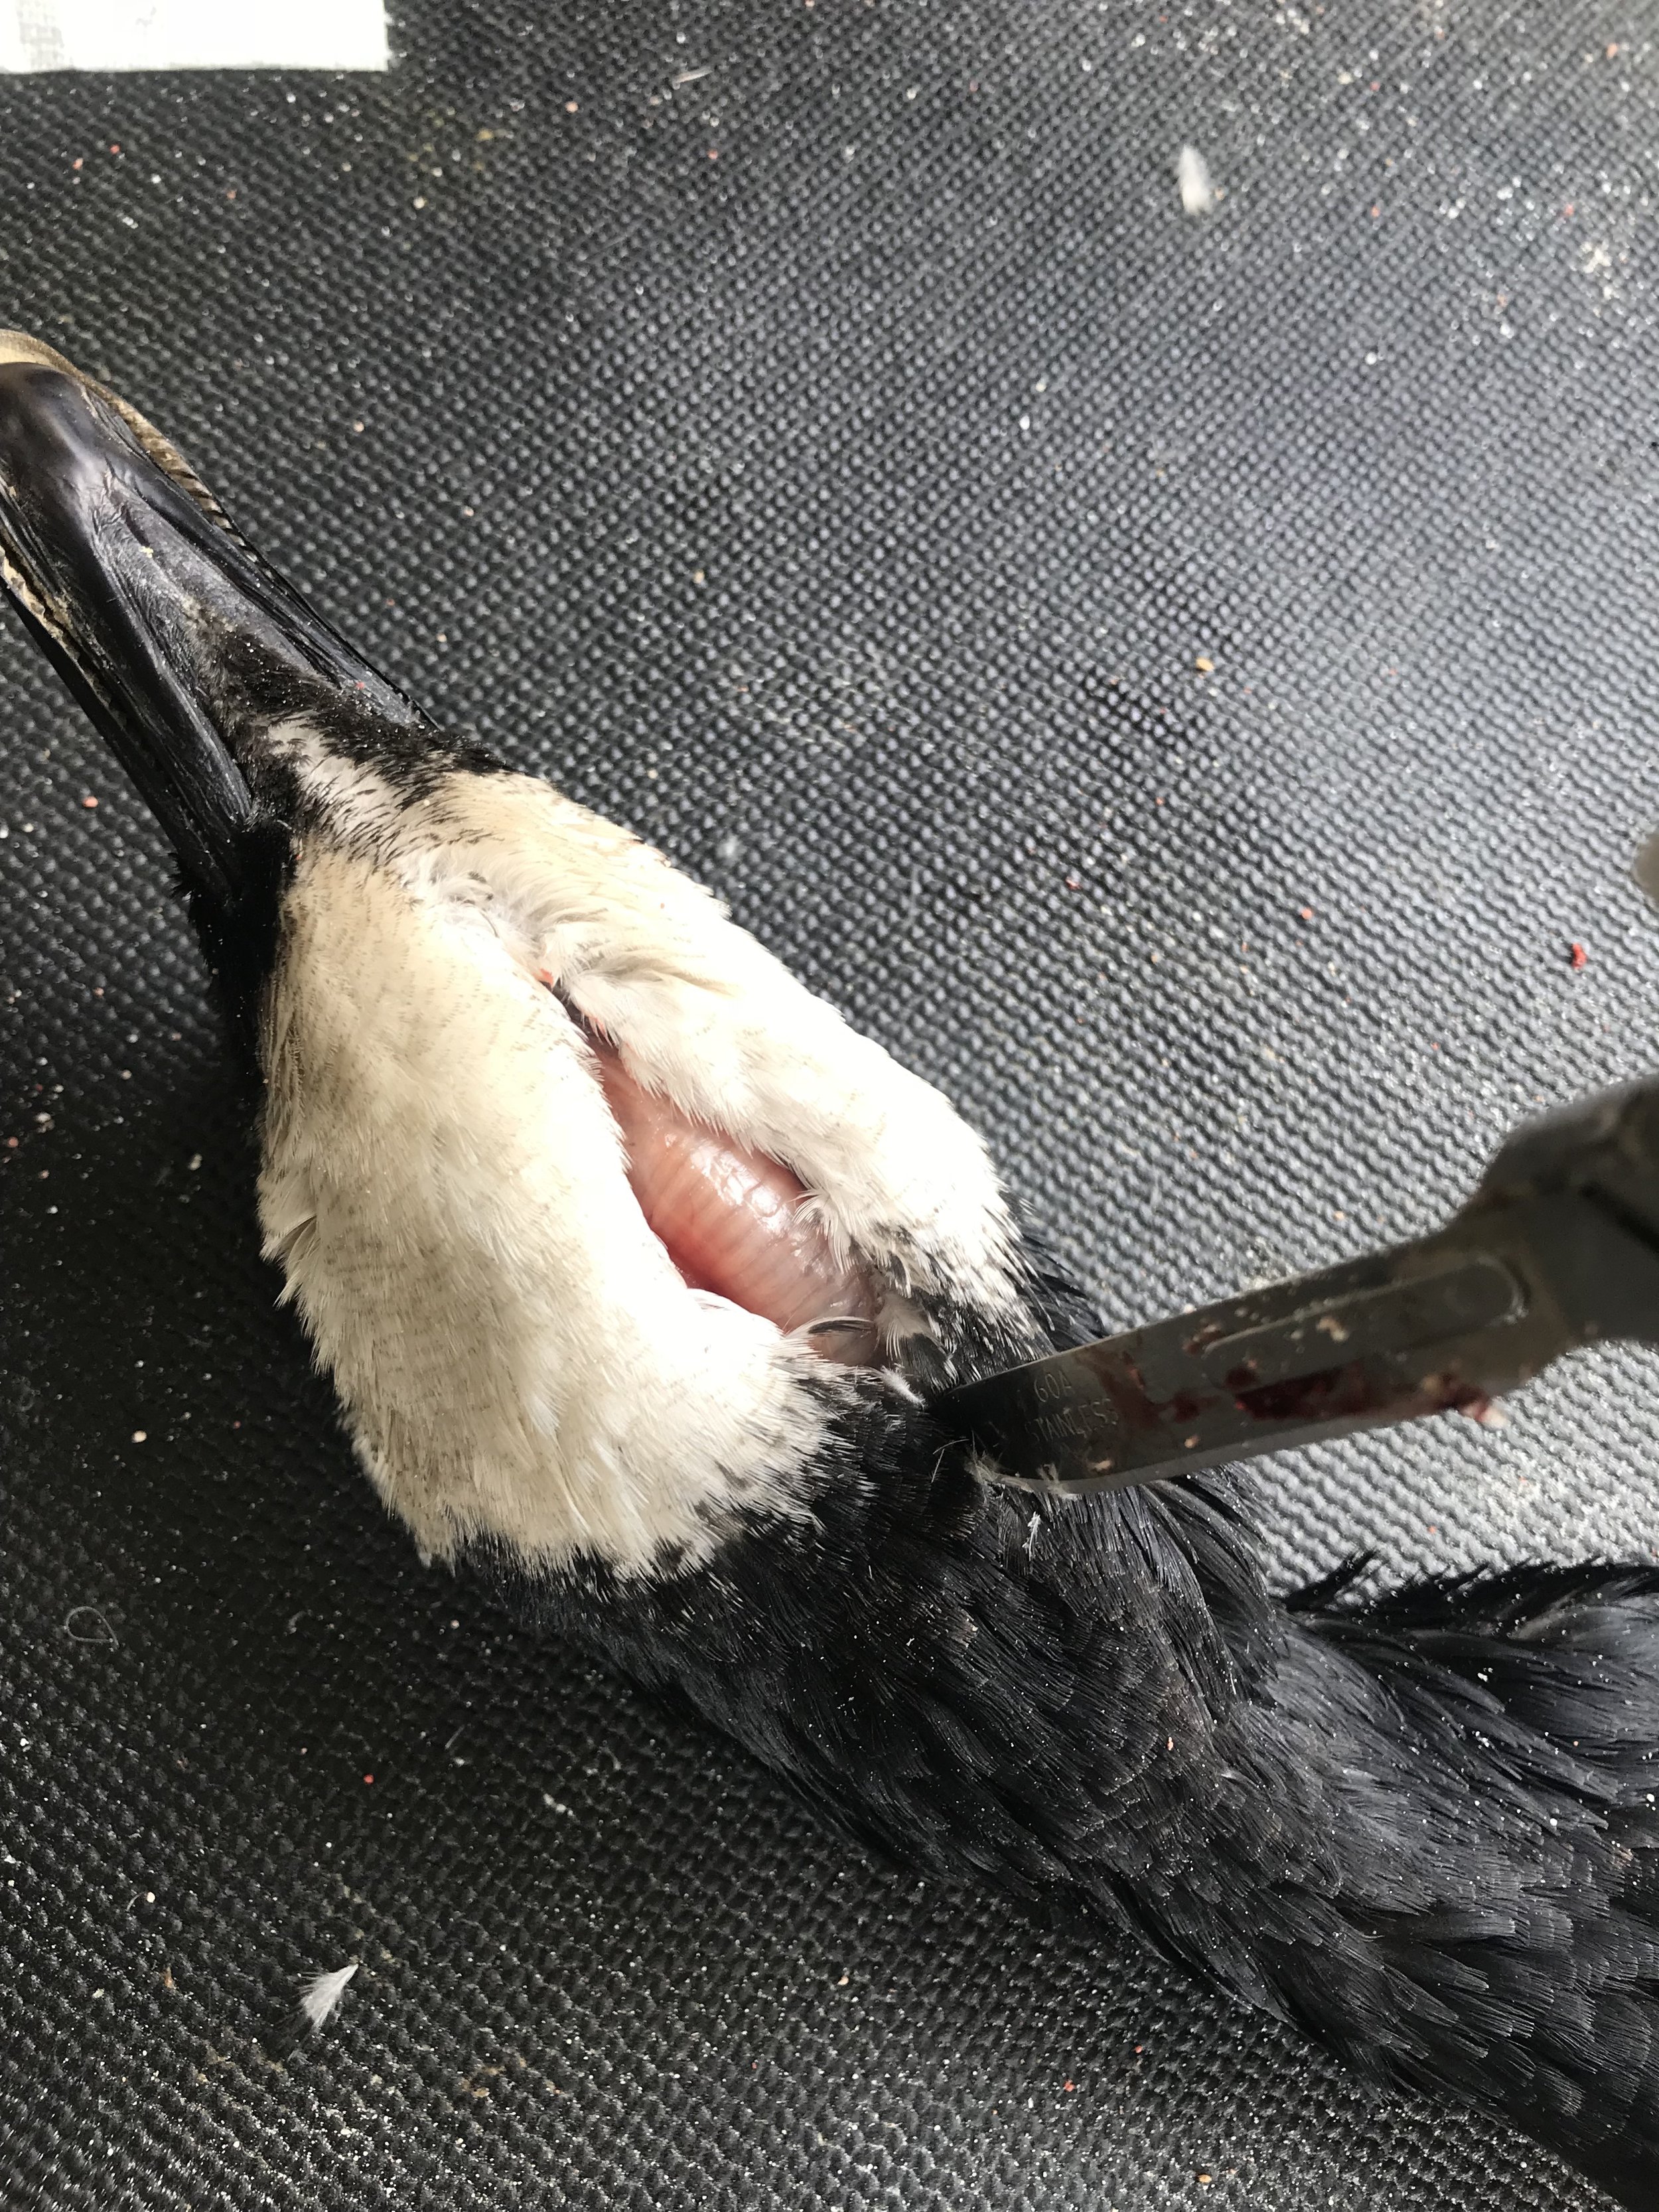
STEP 7: Move to the head and make an incision on the bottom of the bill where the feathers meet the bill skin. Take the incision just past the cheek patch (for a Canada goose). Invert the head and remainder of neck through the incision.
Take your time and use your scalpel to get past the eyes and ears.
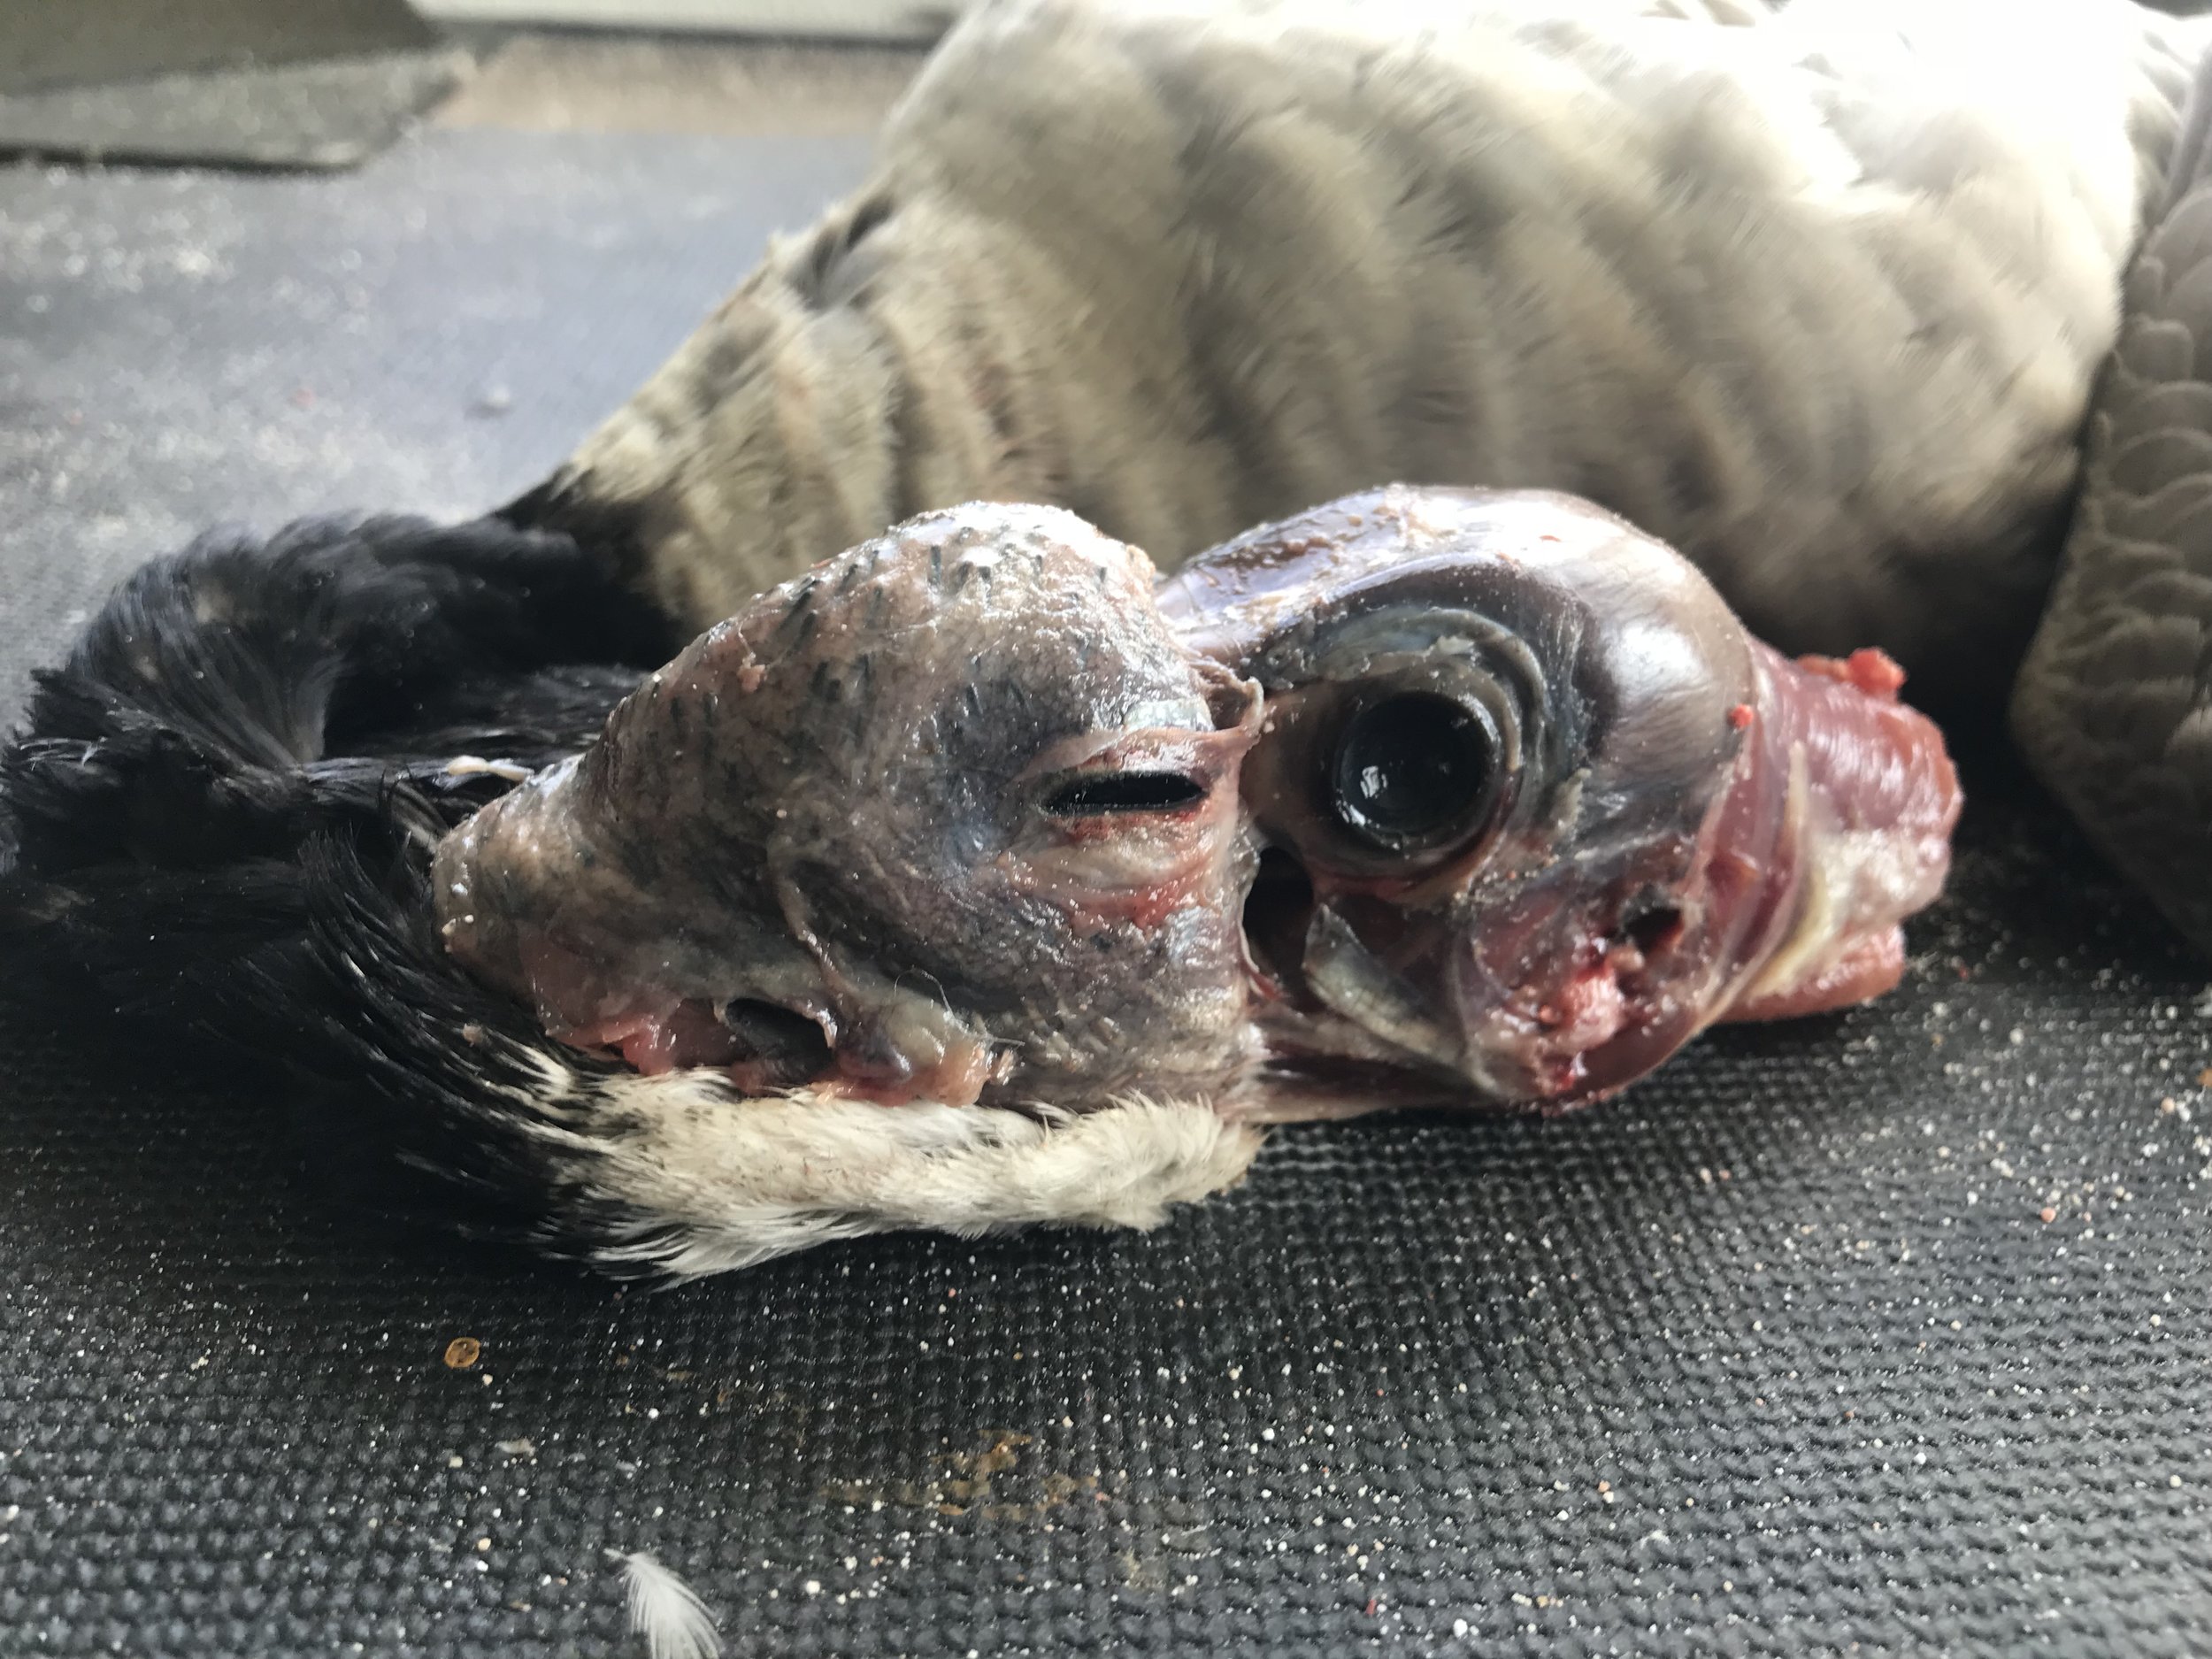
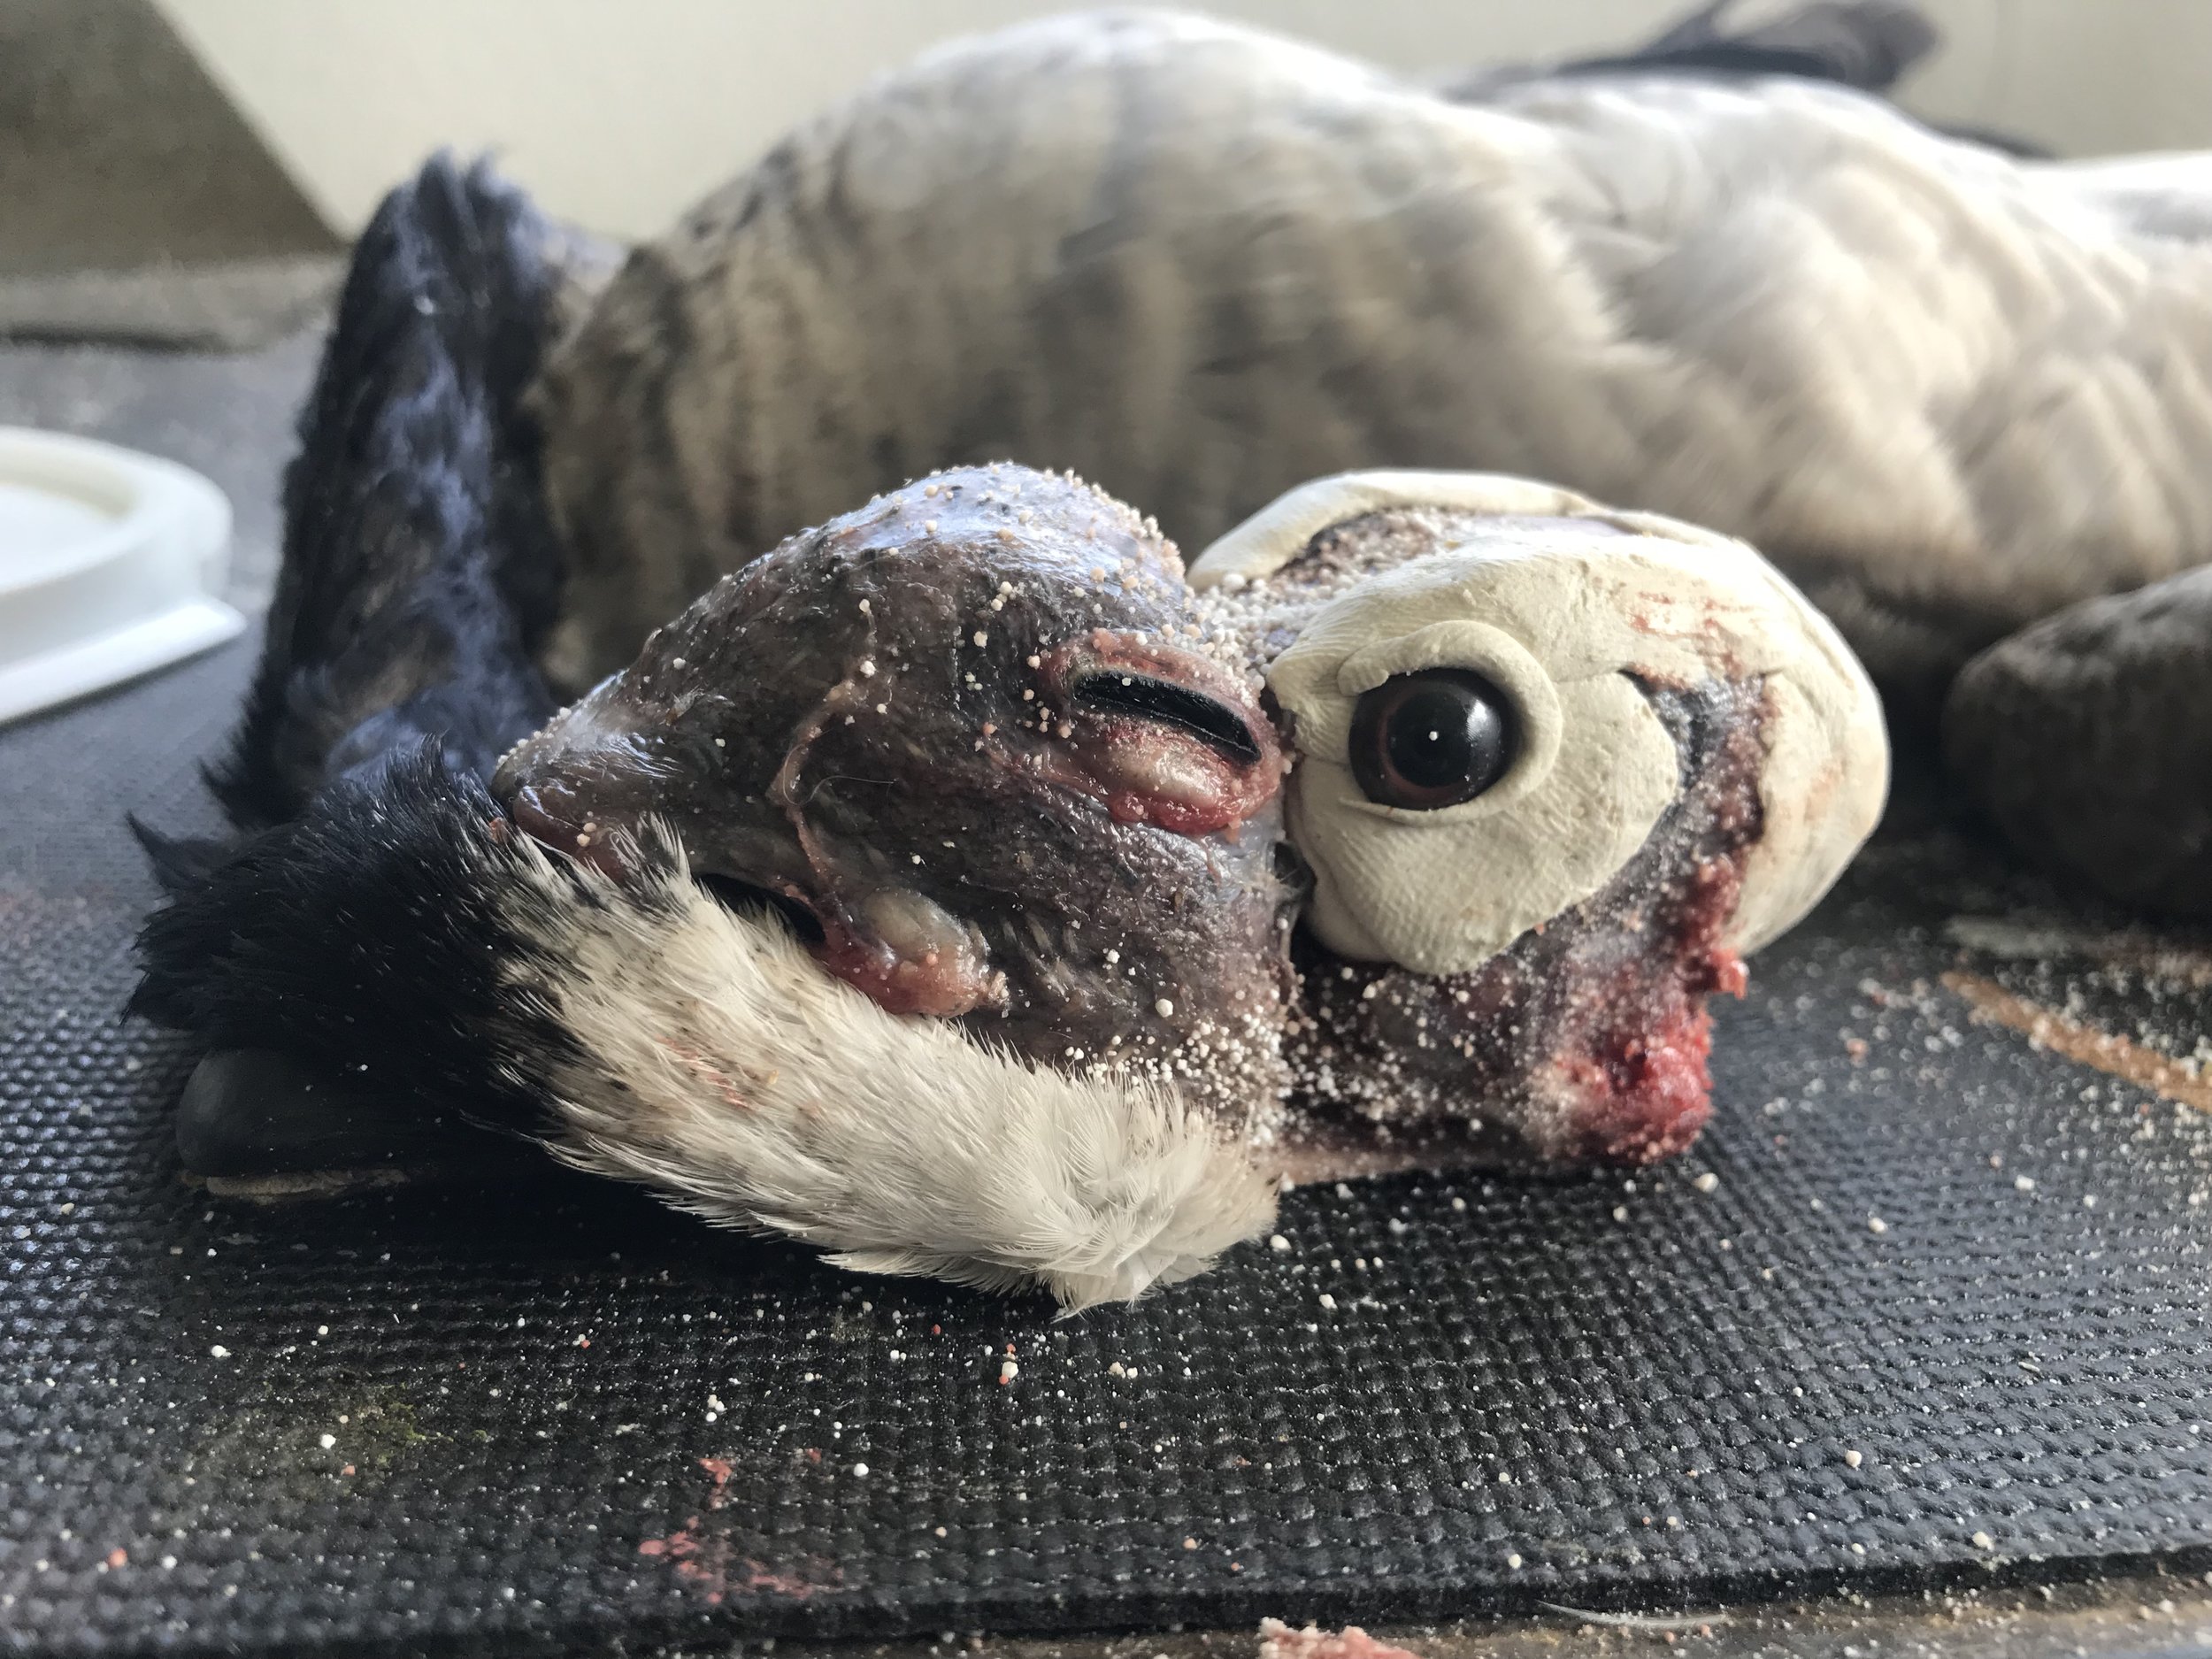
STEP 8: Peel down to the base of the bill just past the eyes. Take hand saw and cut the back of the skull in half and remove contents. Replace the removed skull with an equal amount of air-dry clay.
STEP 9: Scoop out eyes and add clay to the empty socket and place marbles or fake eyes.
STEP 10: Make an incision on both sides under the tongue and remove it. Peel skin back over skull.
STEP 11: Cut backer rod to length for neck. Cut two 14" lengths of wire for your legs and one around 20" or longer for your neck, be sure the ends of these wires are sharp and pointed. Slide your leg wires into leg skin following the back of leg bone till wire punches through the bottom of the foot. create a small "drumstick" against the top of the leg bone with paper towels wrapped tightly with electrical tape. Be sure leg wire is tight to the leg bone but loose enough to pull the wire in either direction.
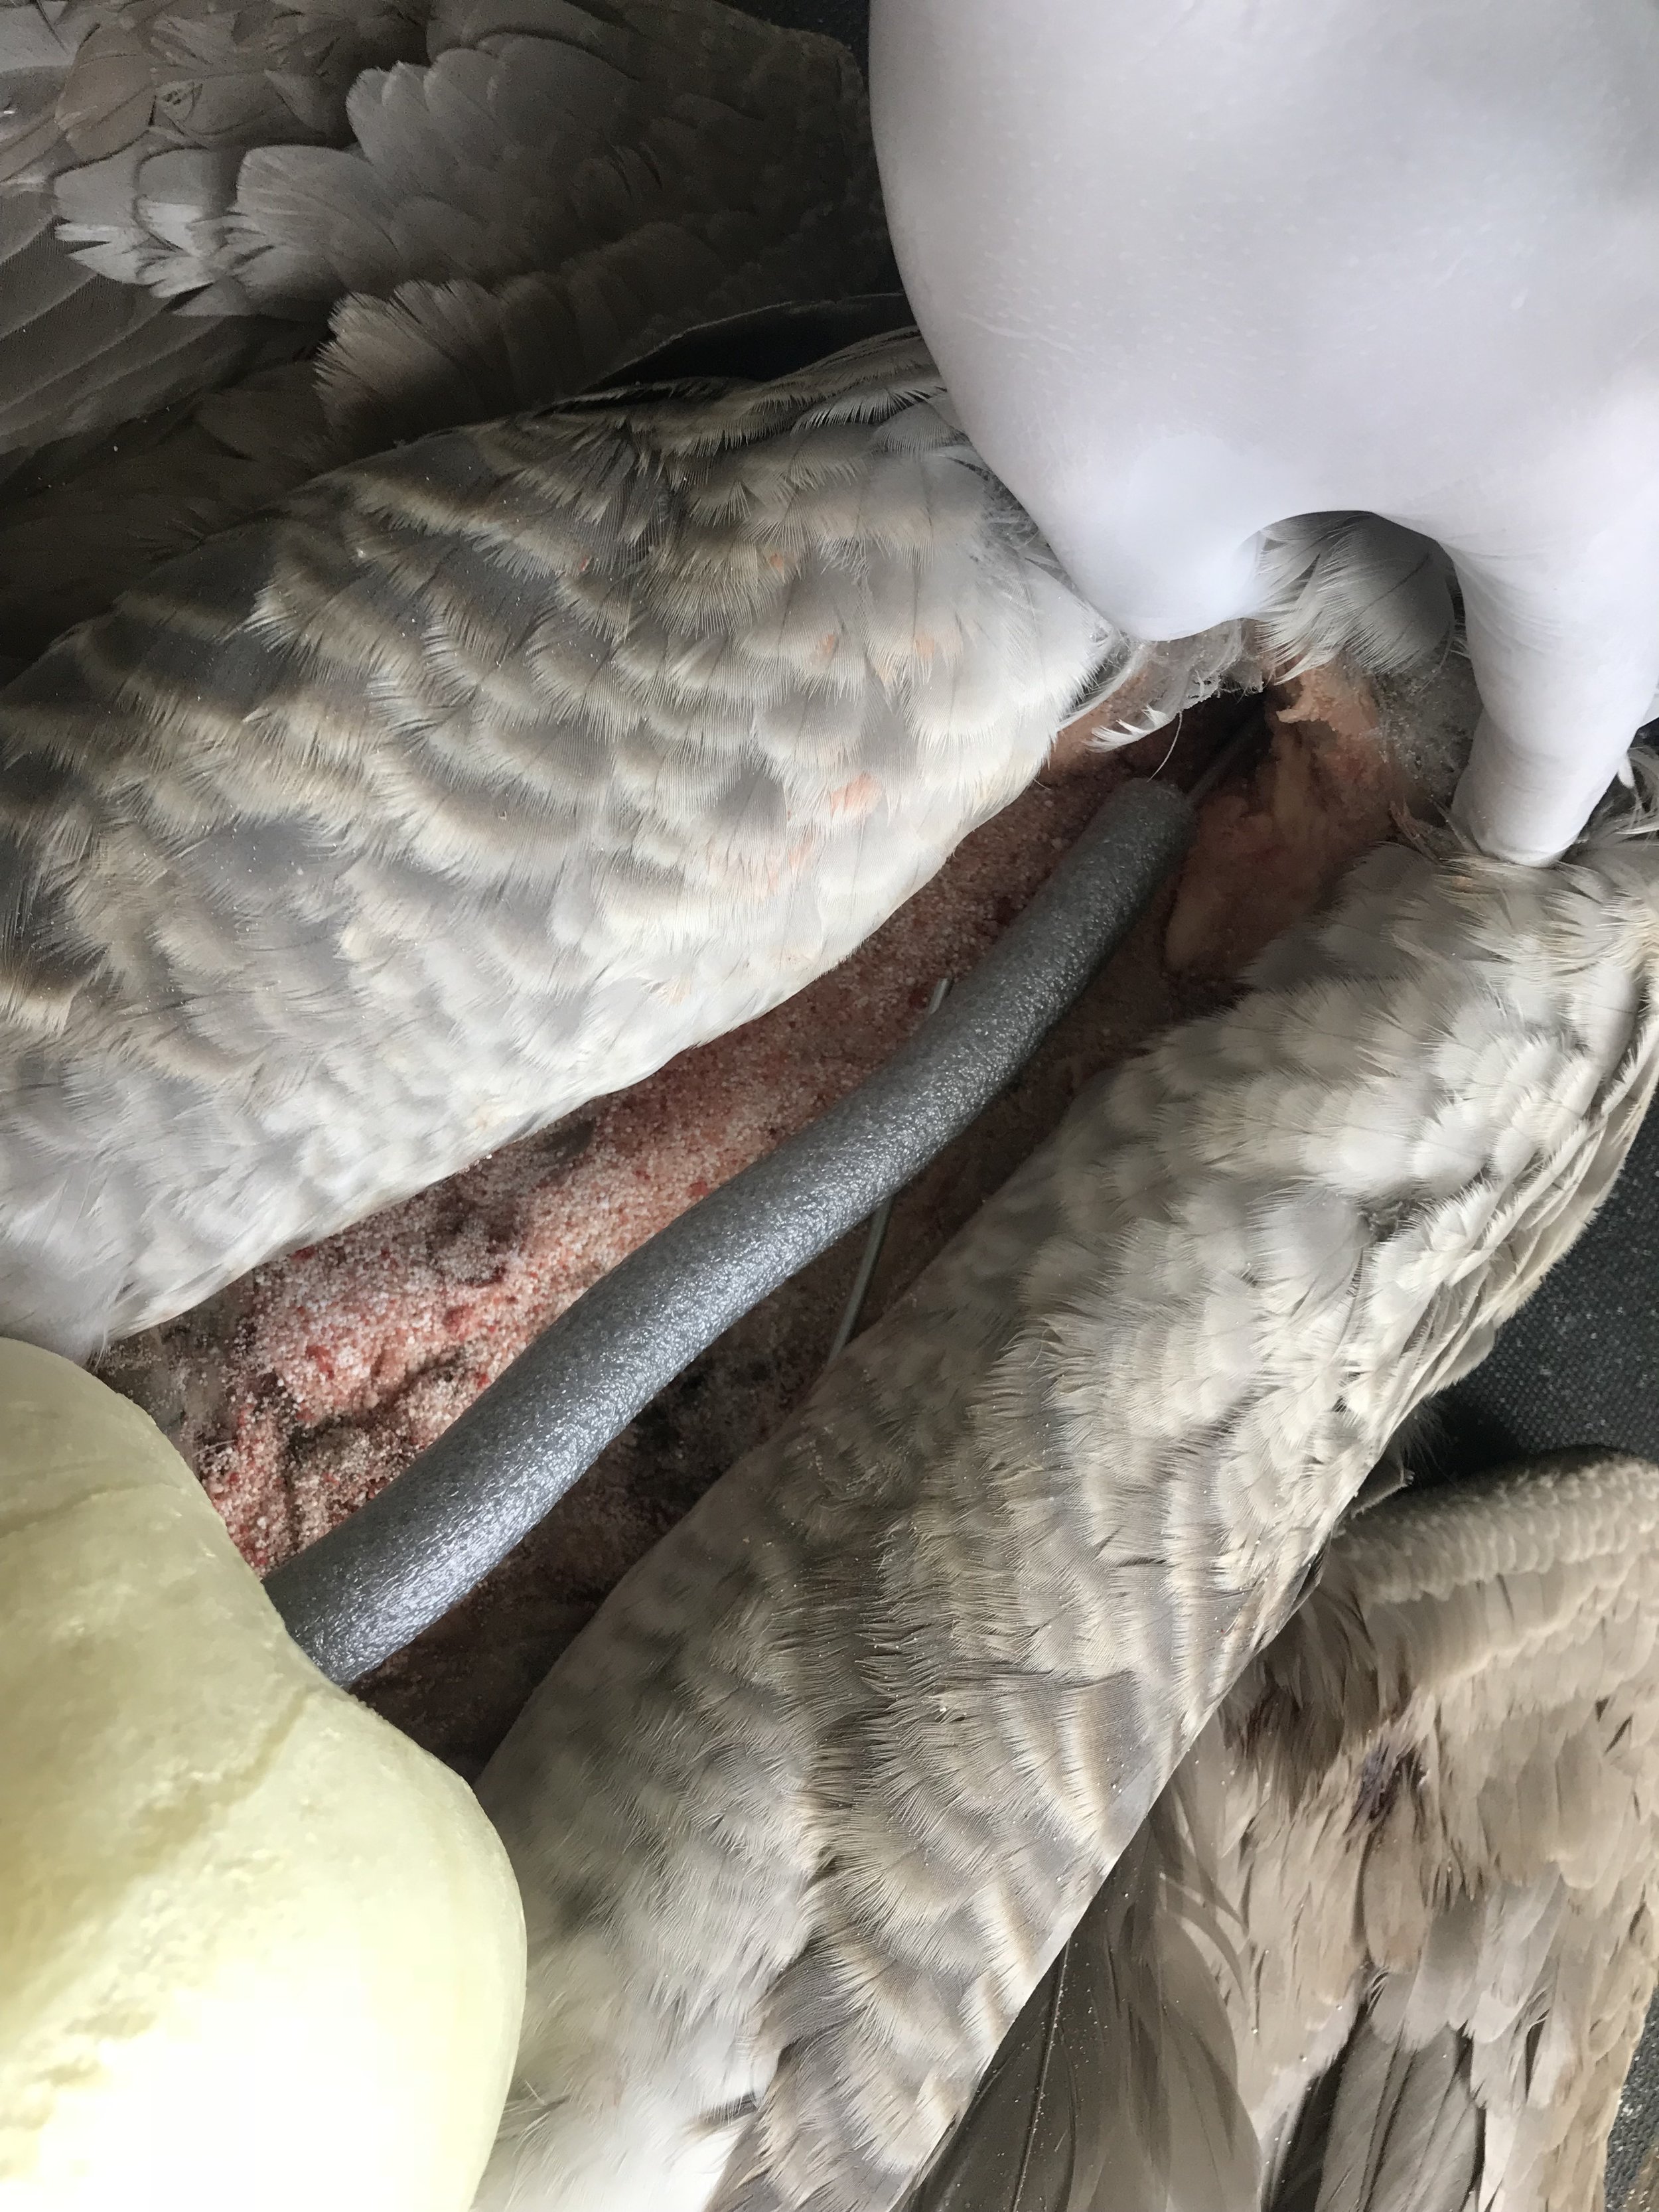
STEP 12: Slide neck wire into backer rod and attach to the foam body. Punch the wire all the way through and hook it back into the body. Slide the foam neck through the neck hole up to the skull. Once at the skull, bore the wire through the skull by twisting it back and forth till it pops through the top (take care not to push the rod through your hand). For honkers I recommend pre-drilling a hole in the skull.

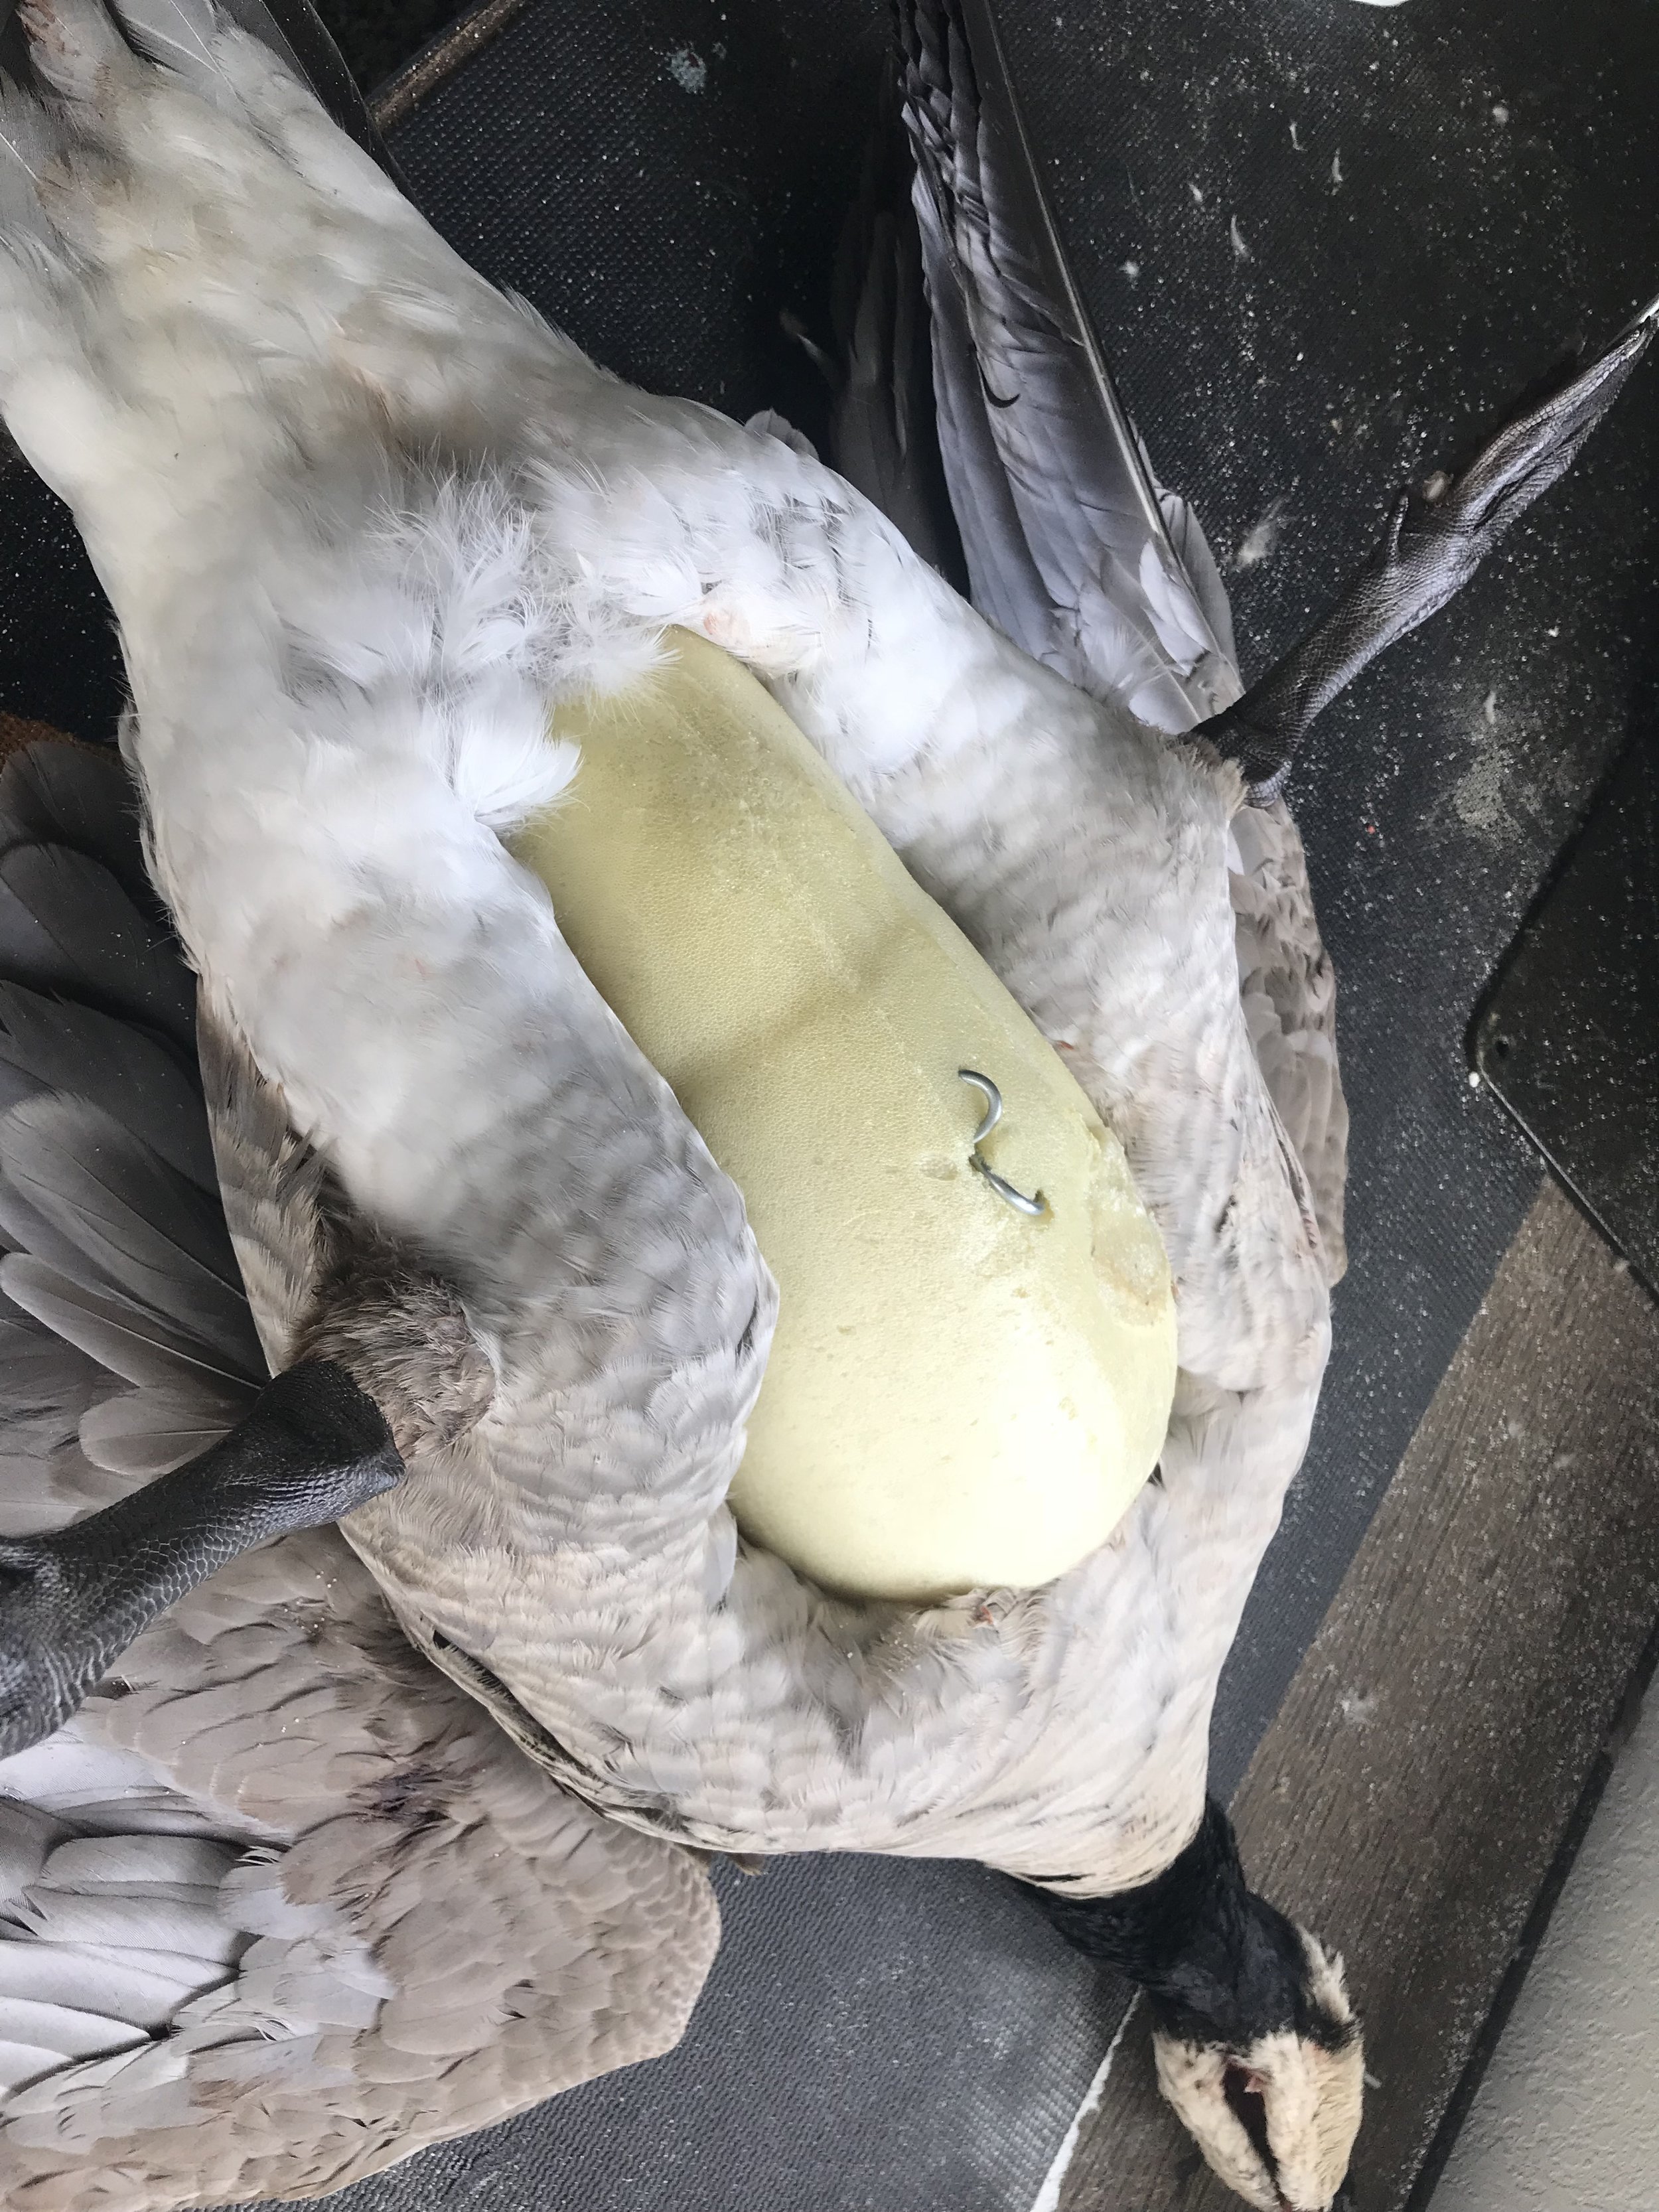
STEP 13: Bring leg wires through foam body and anchor them by hooking them the same way as your neck.
STEP 14: Sew your bird up with dental floss starting from the top of the chest working your way to the bottom, sew head incision.
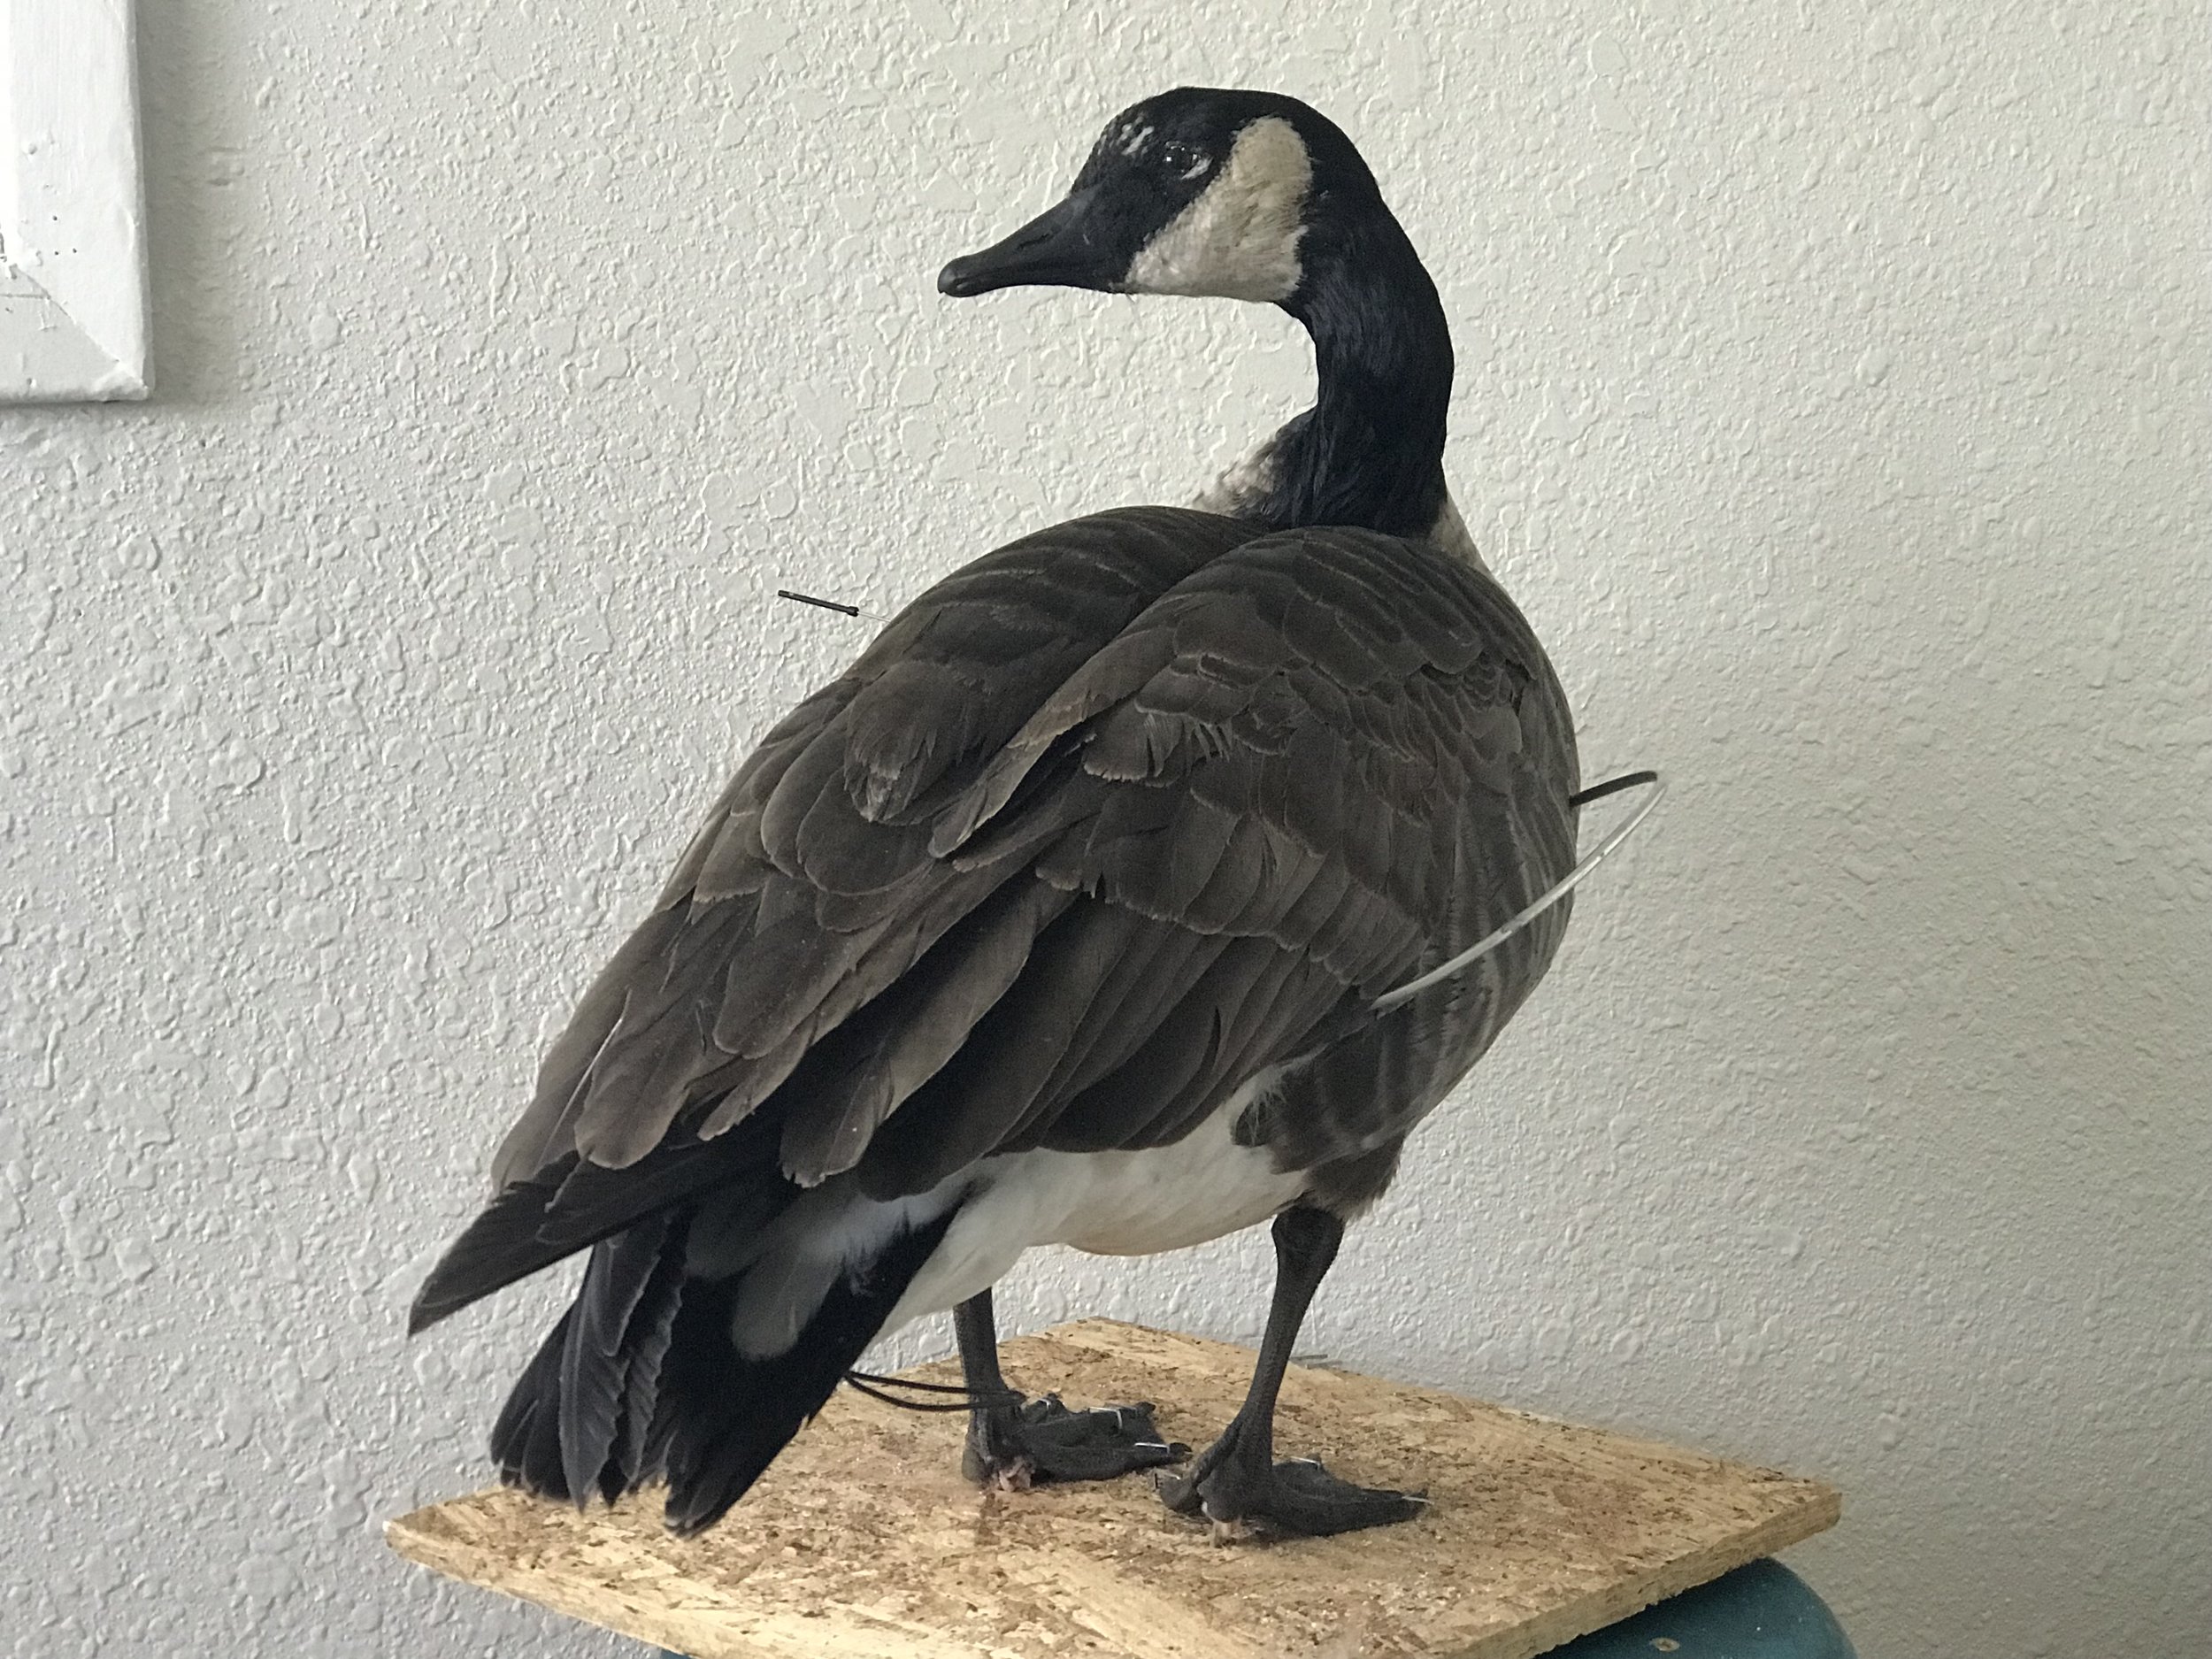
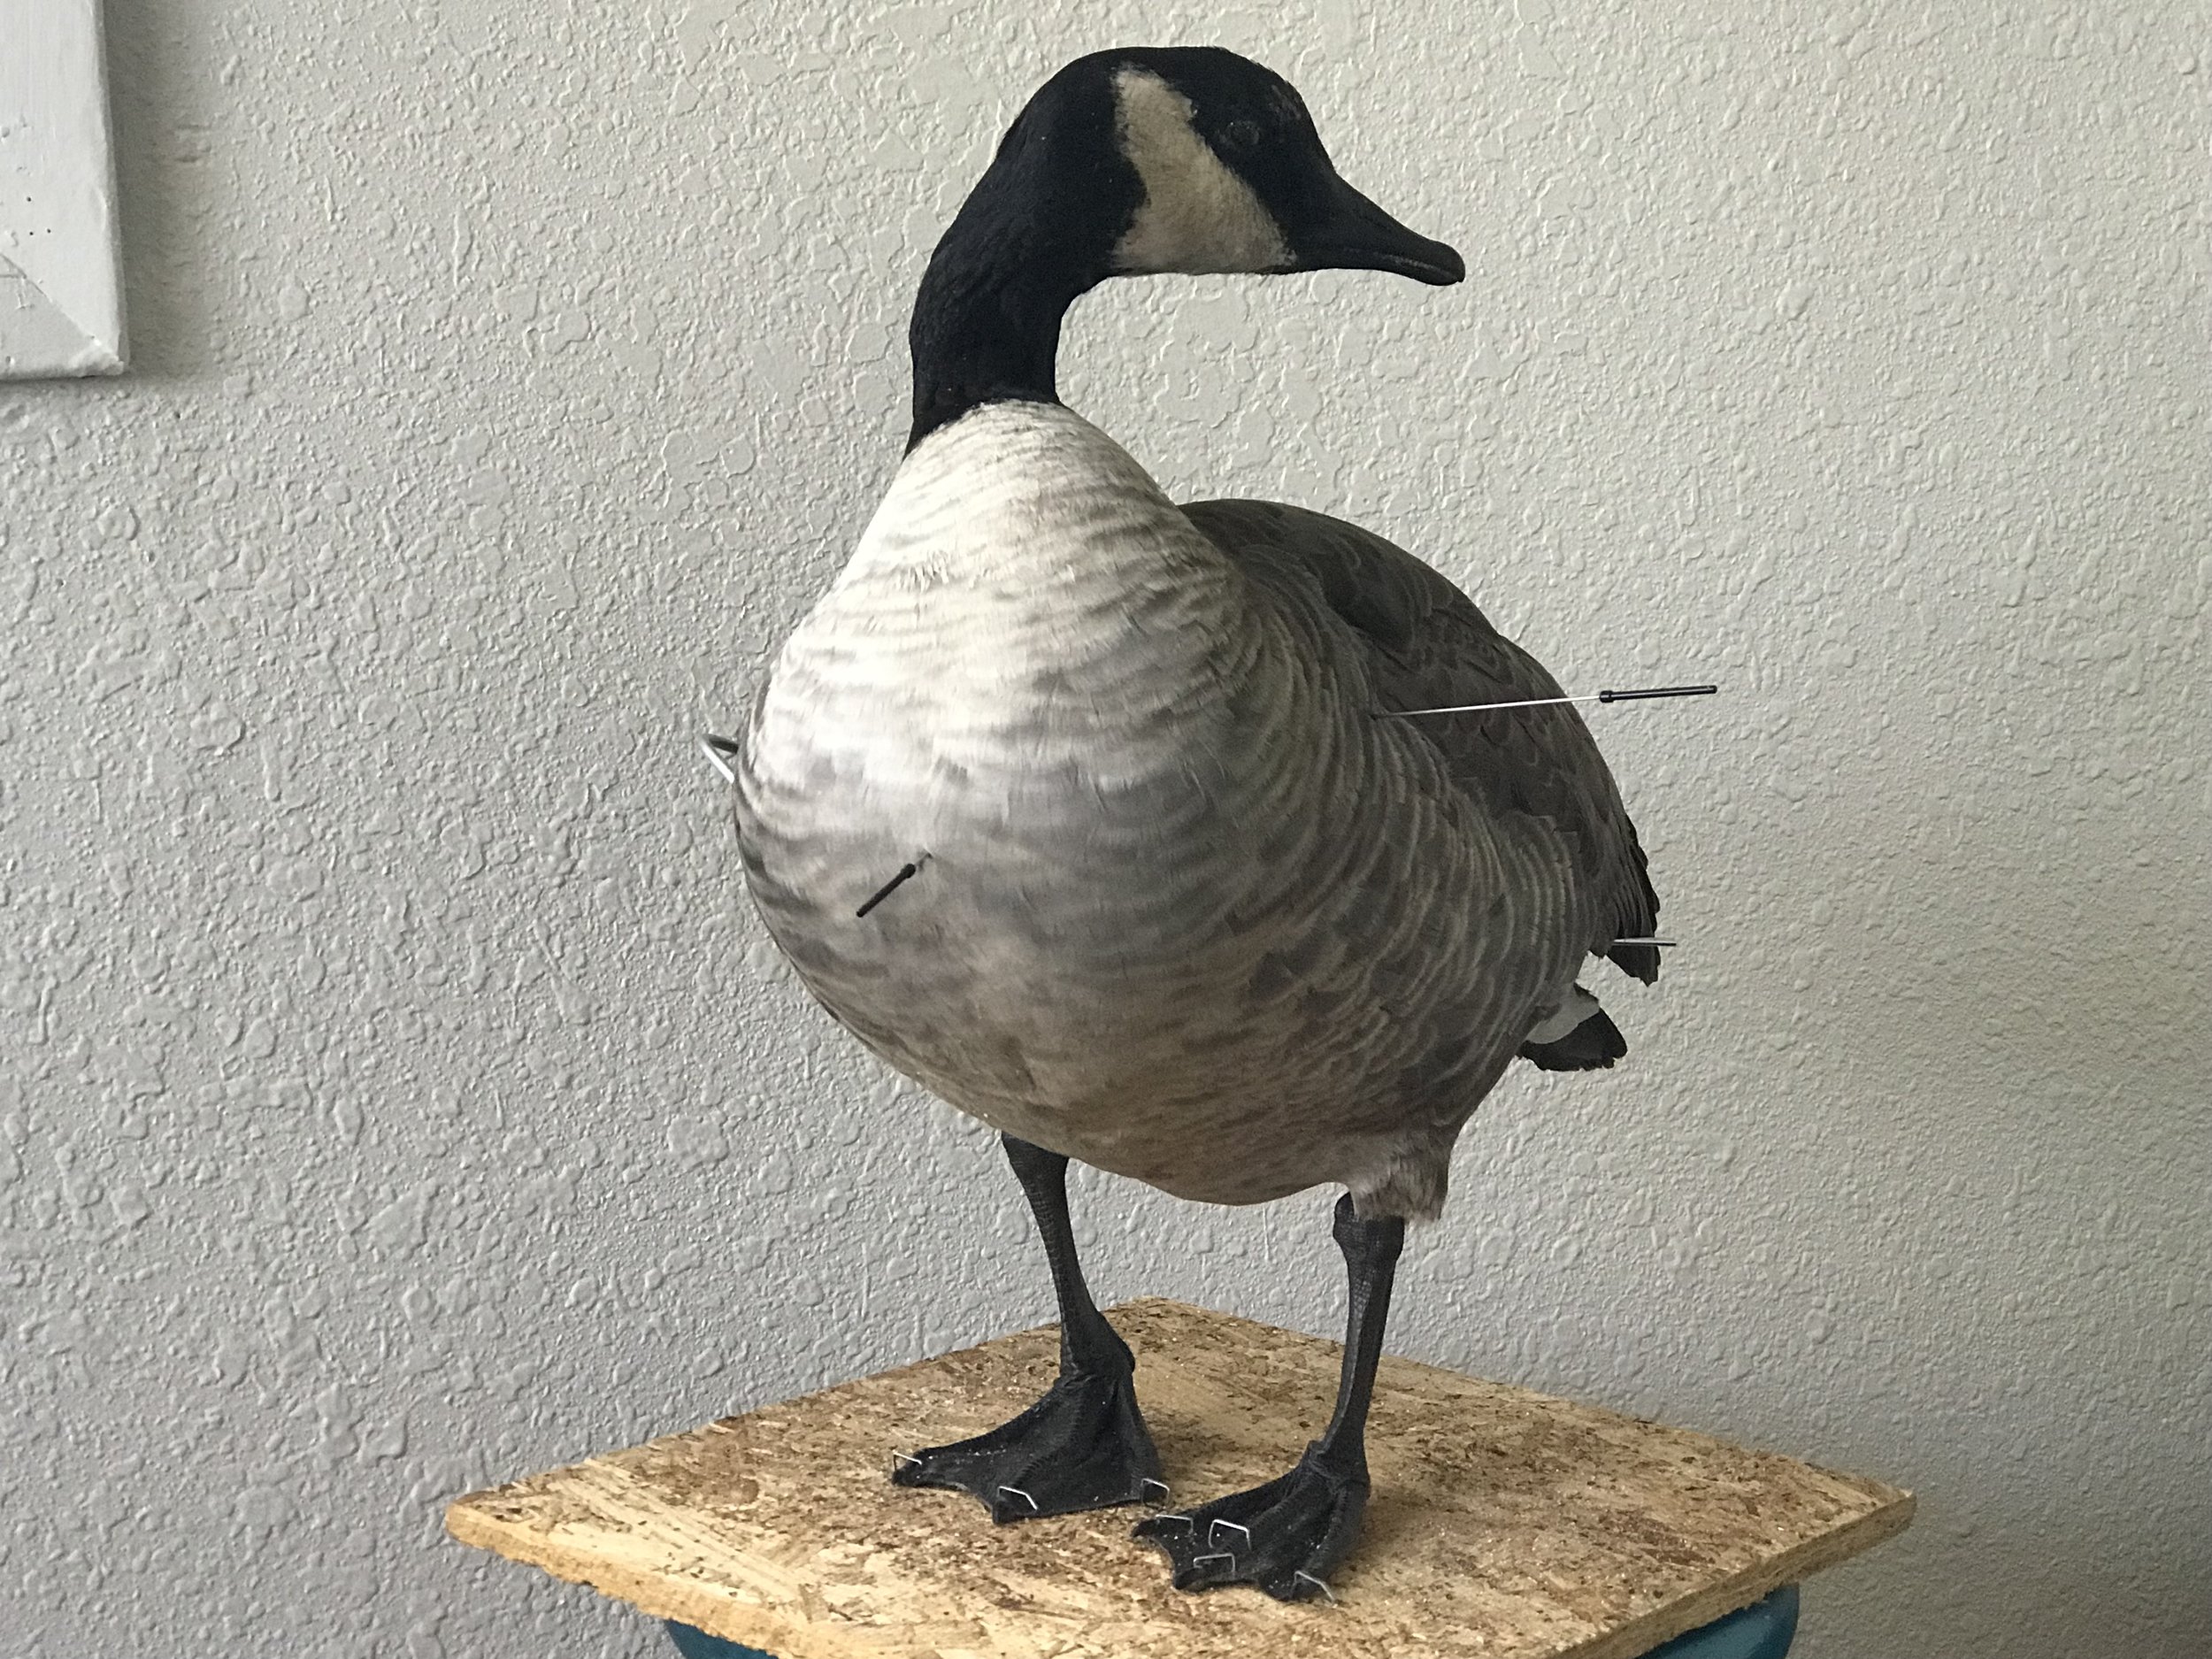
STEP 15: Drill 2 holes into your plywood square a few inches apart, spread depending on species or subspecies. Bring both leg wires through the bottom of the holes in your drying board and staple them to anchor. Cut two 3" wires and make a small L at the top. Use these wires to pin your wings to the body, if primary feathers droop, use painters tape or wire to hold them up in the correct position.

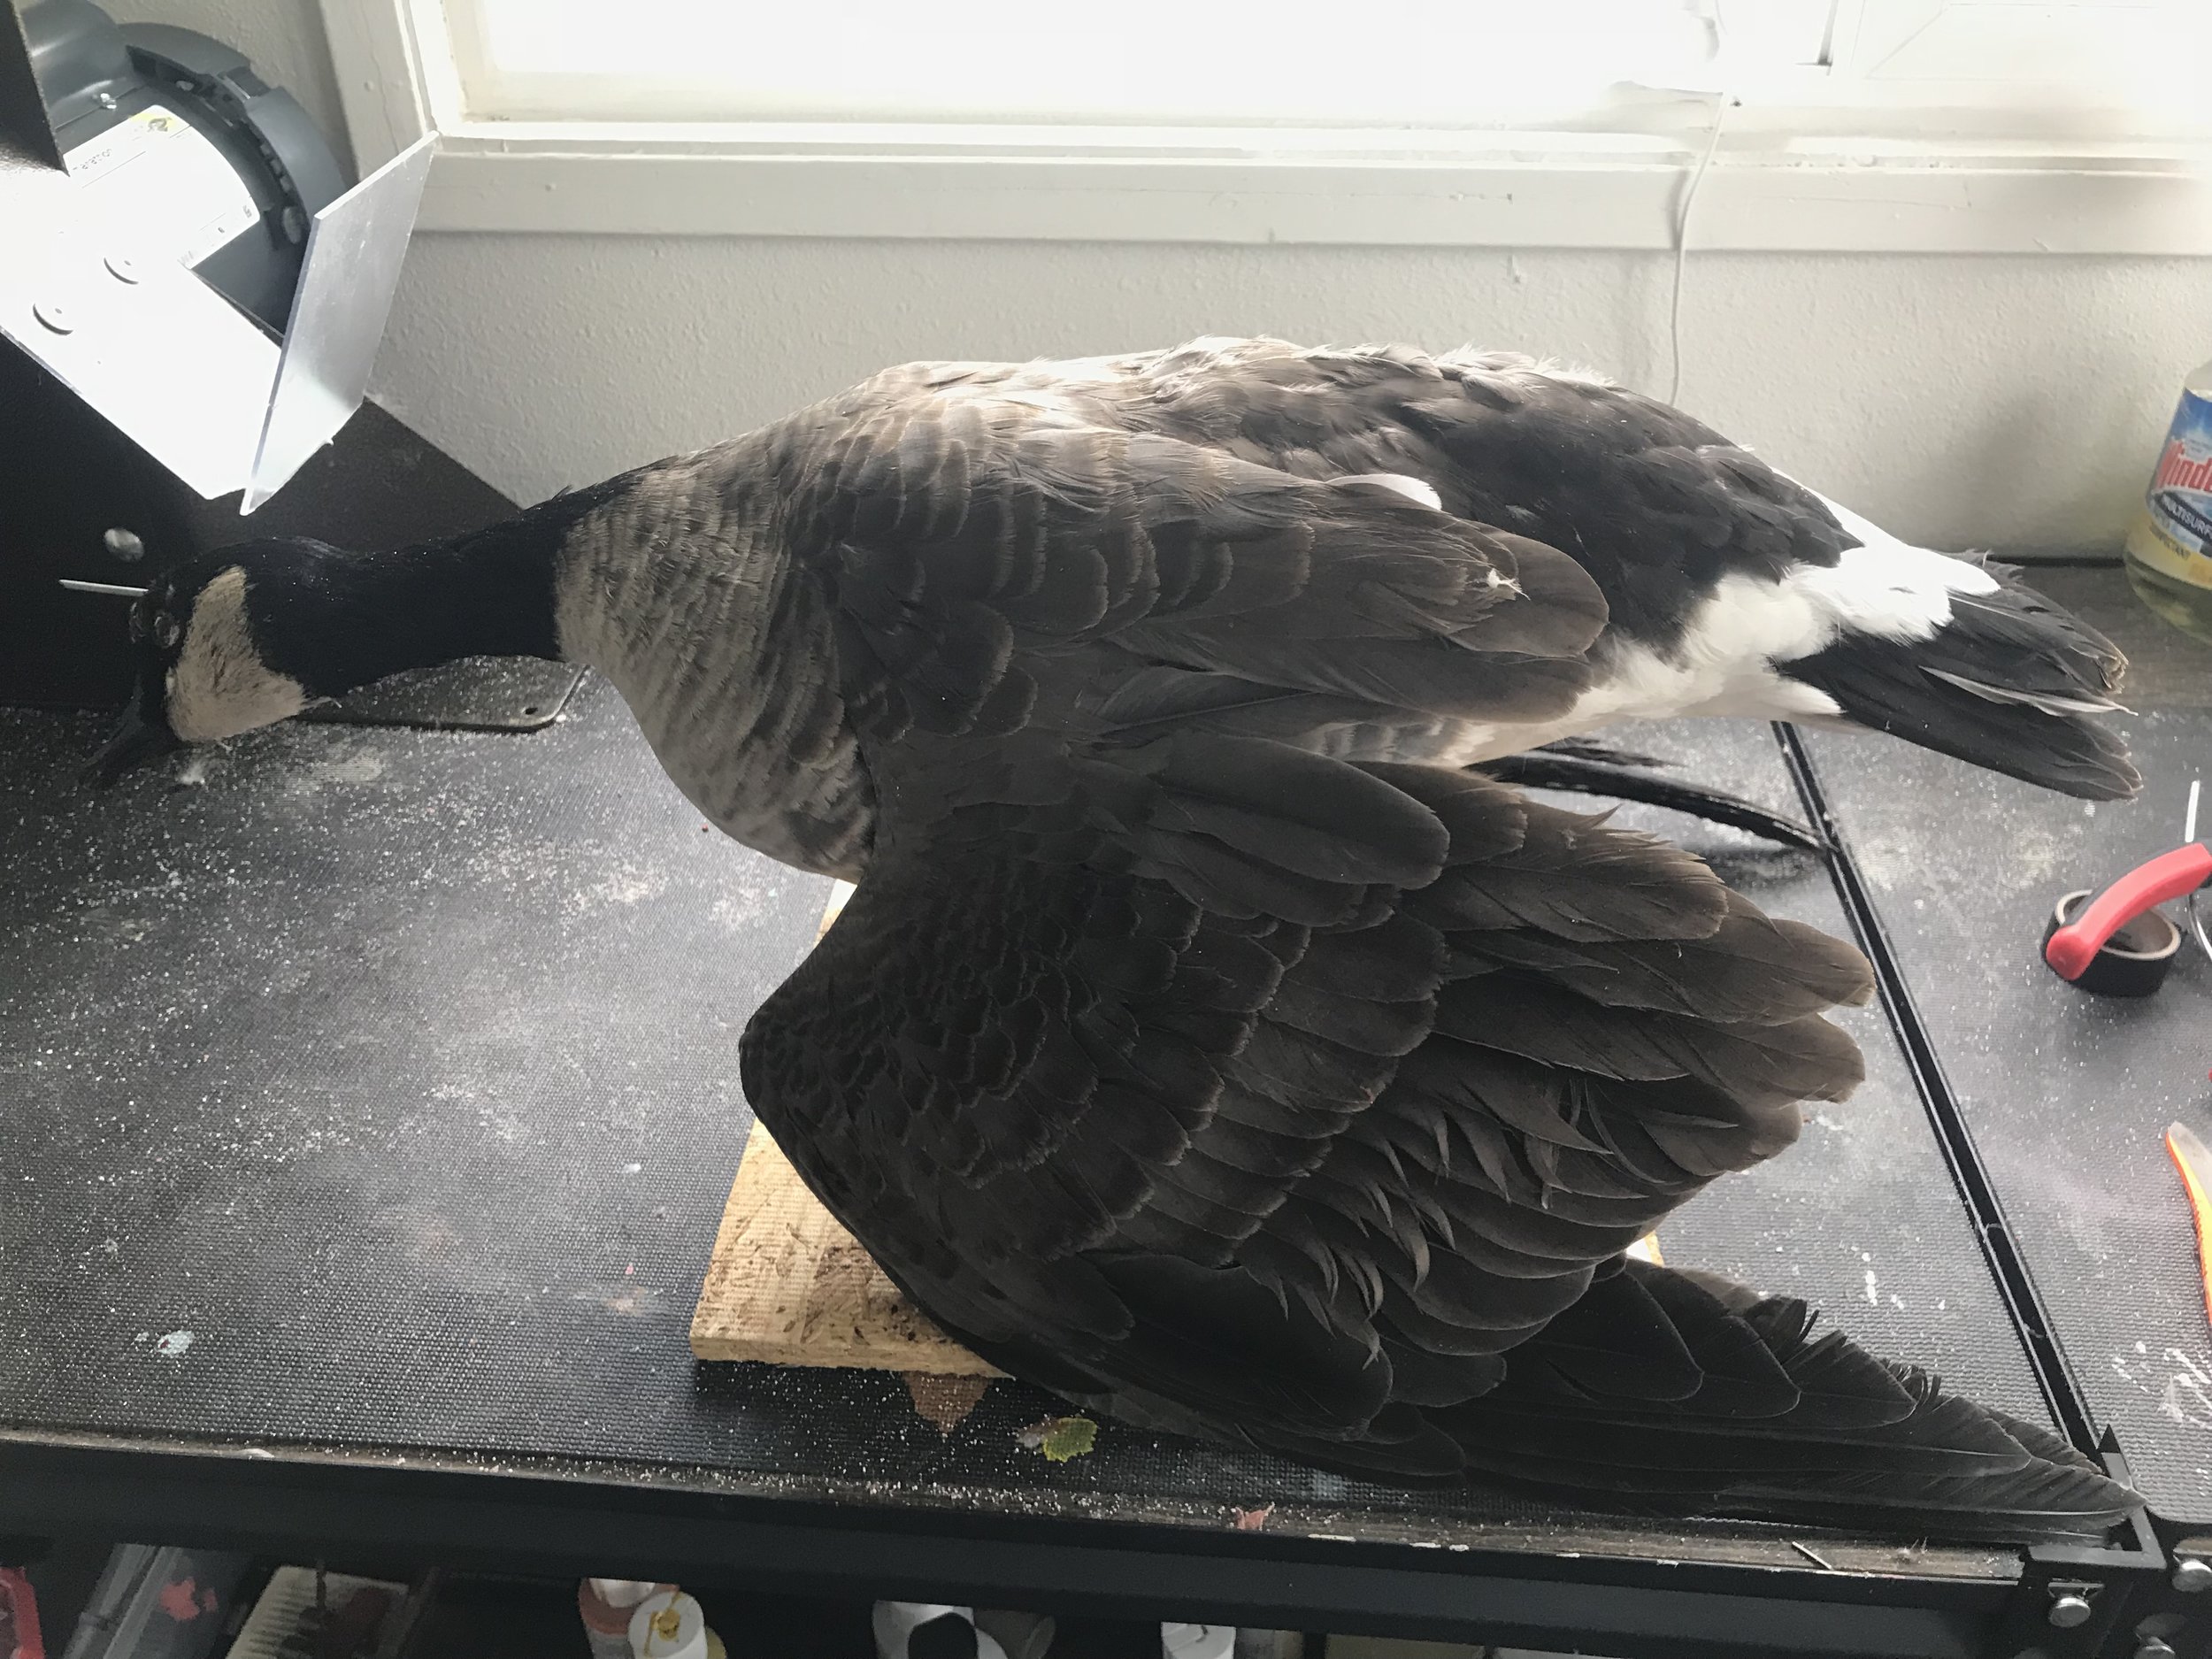
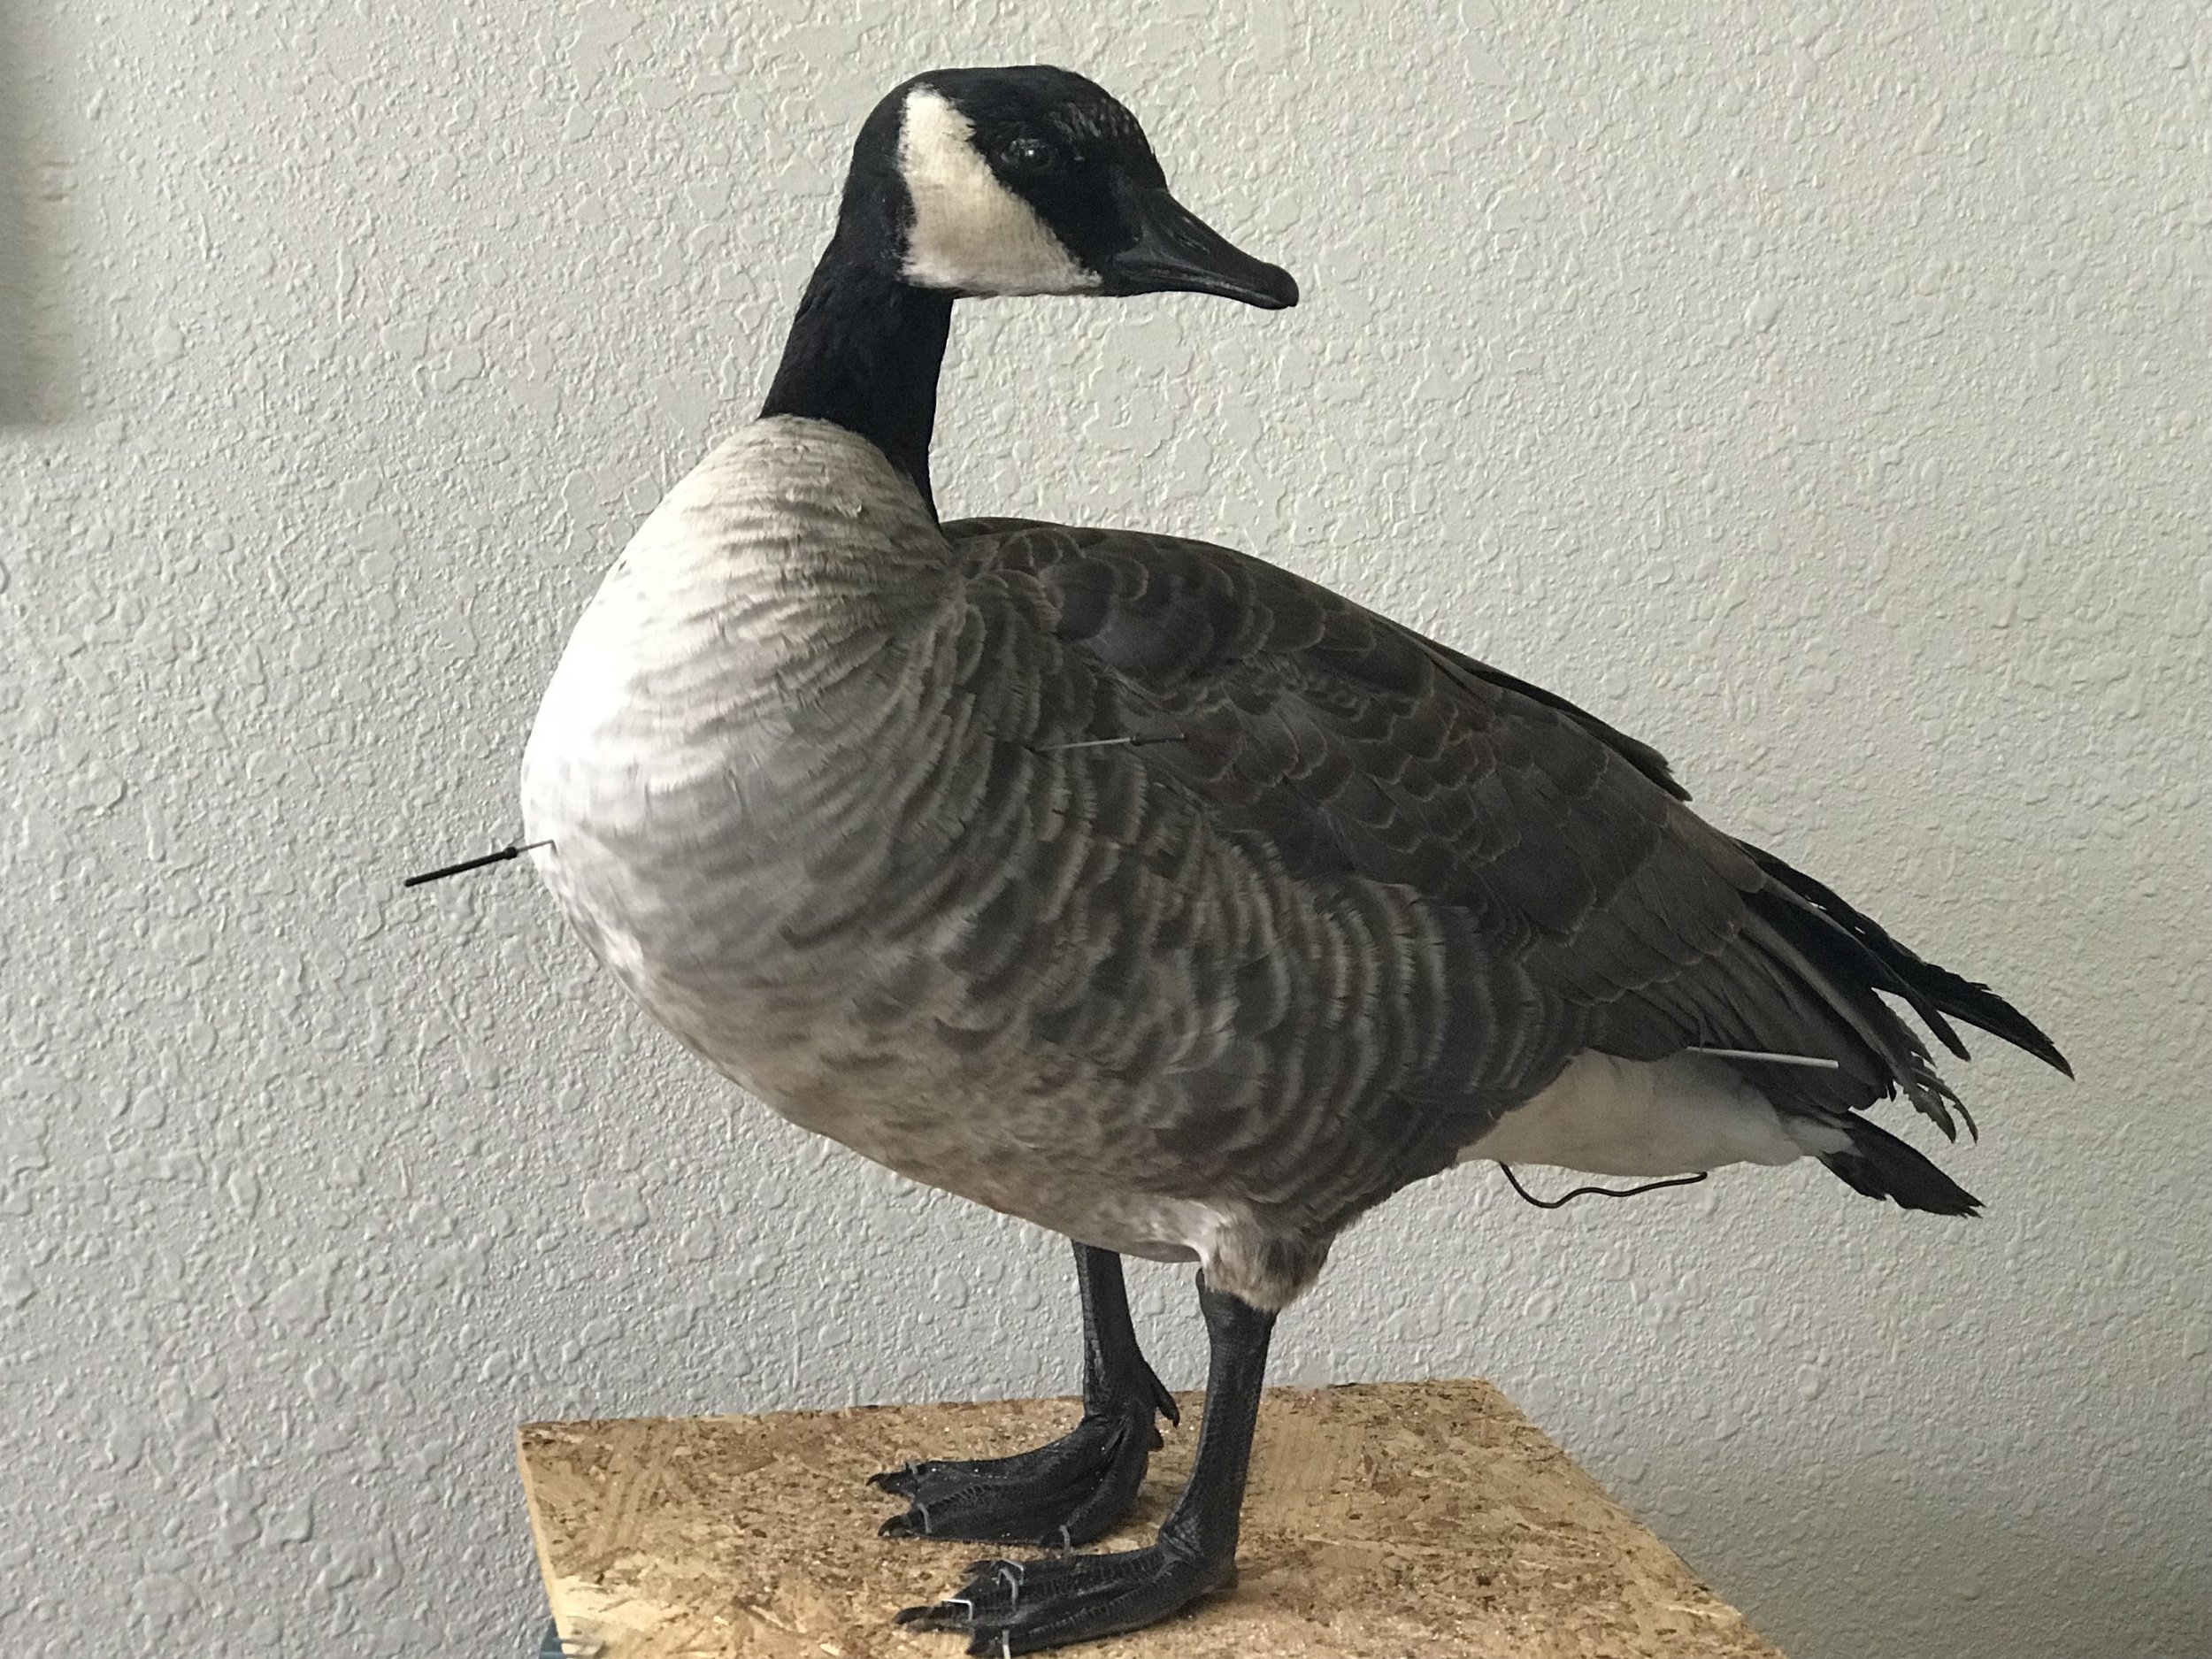
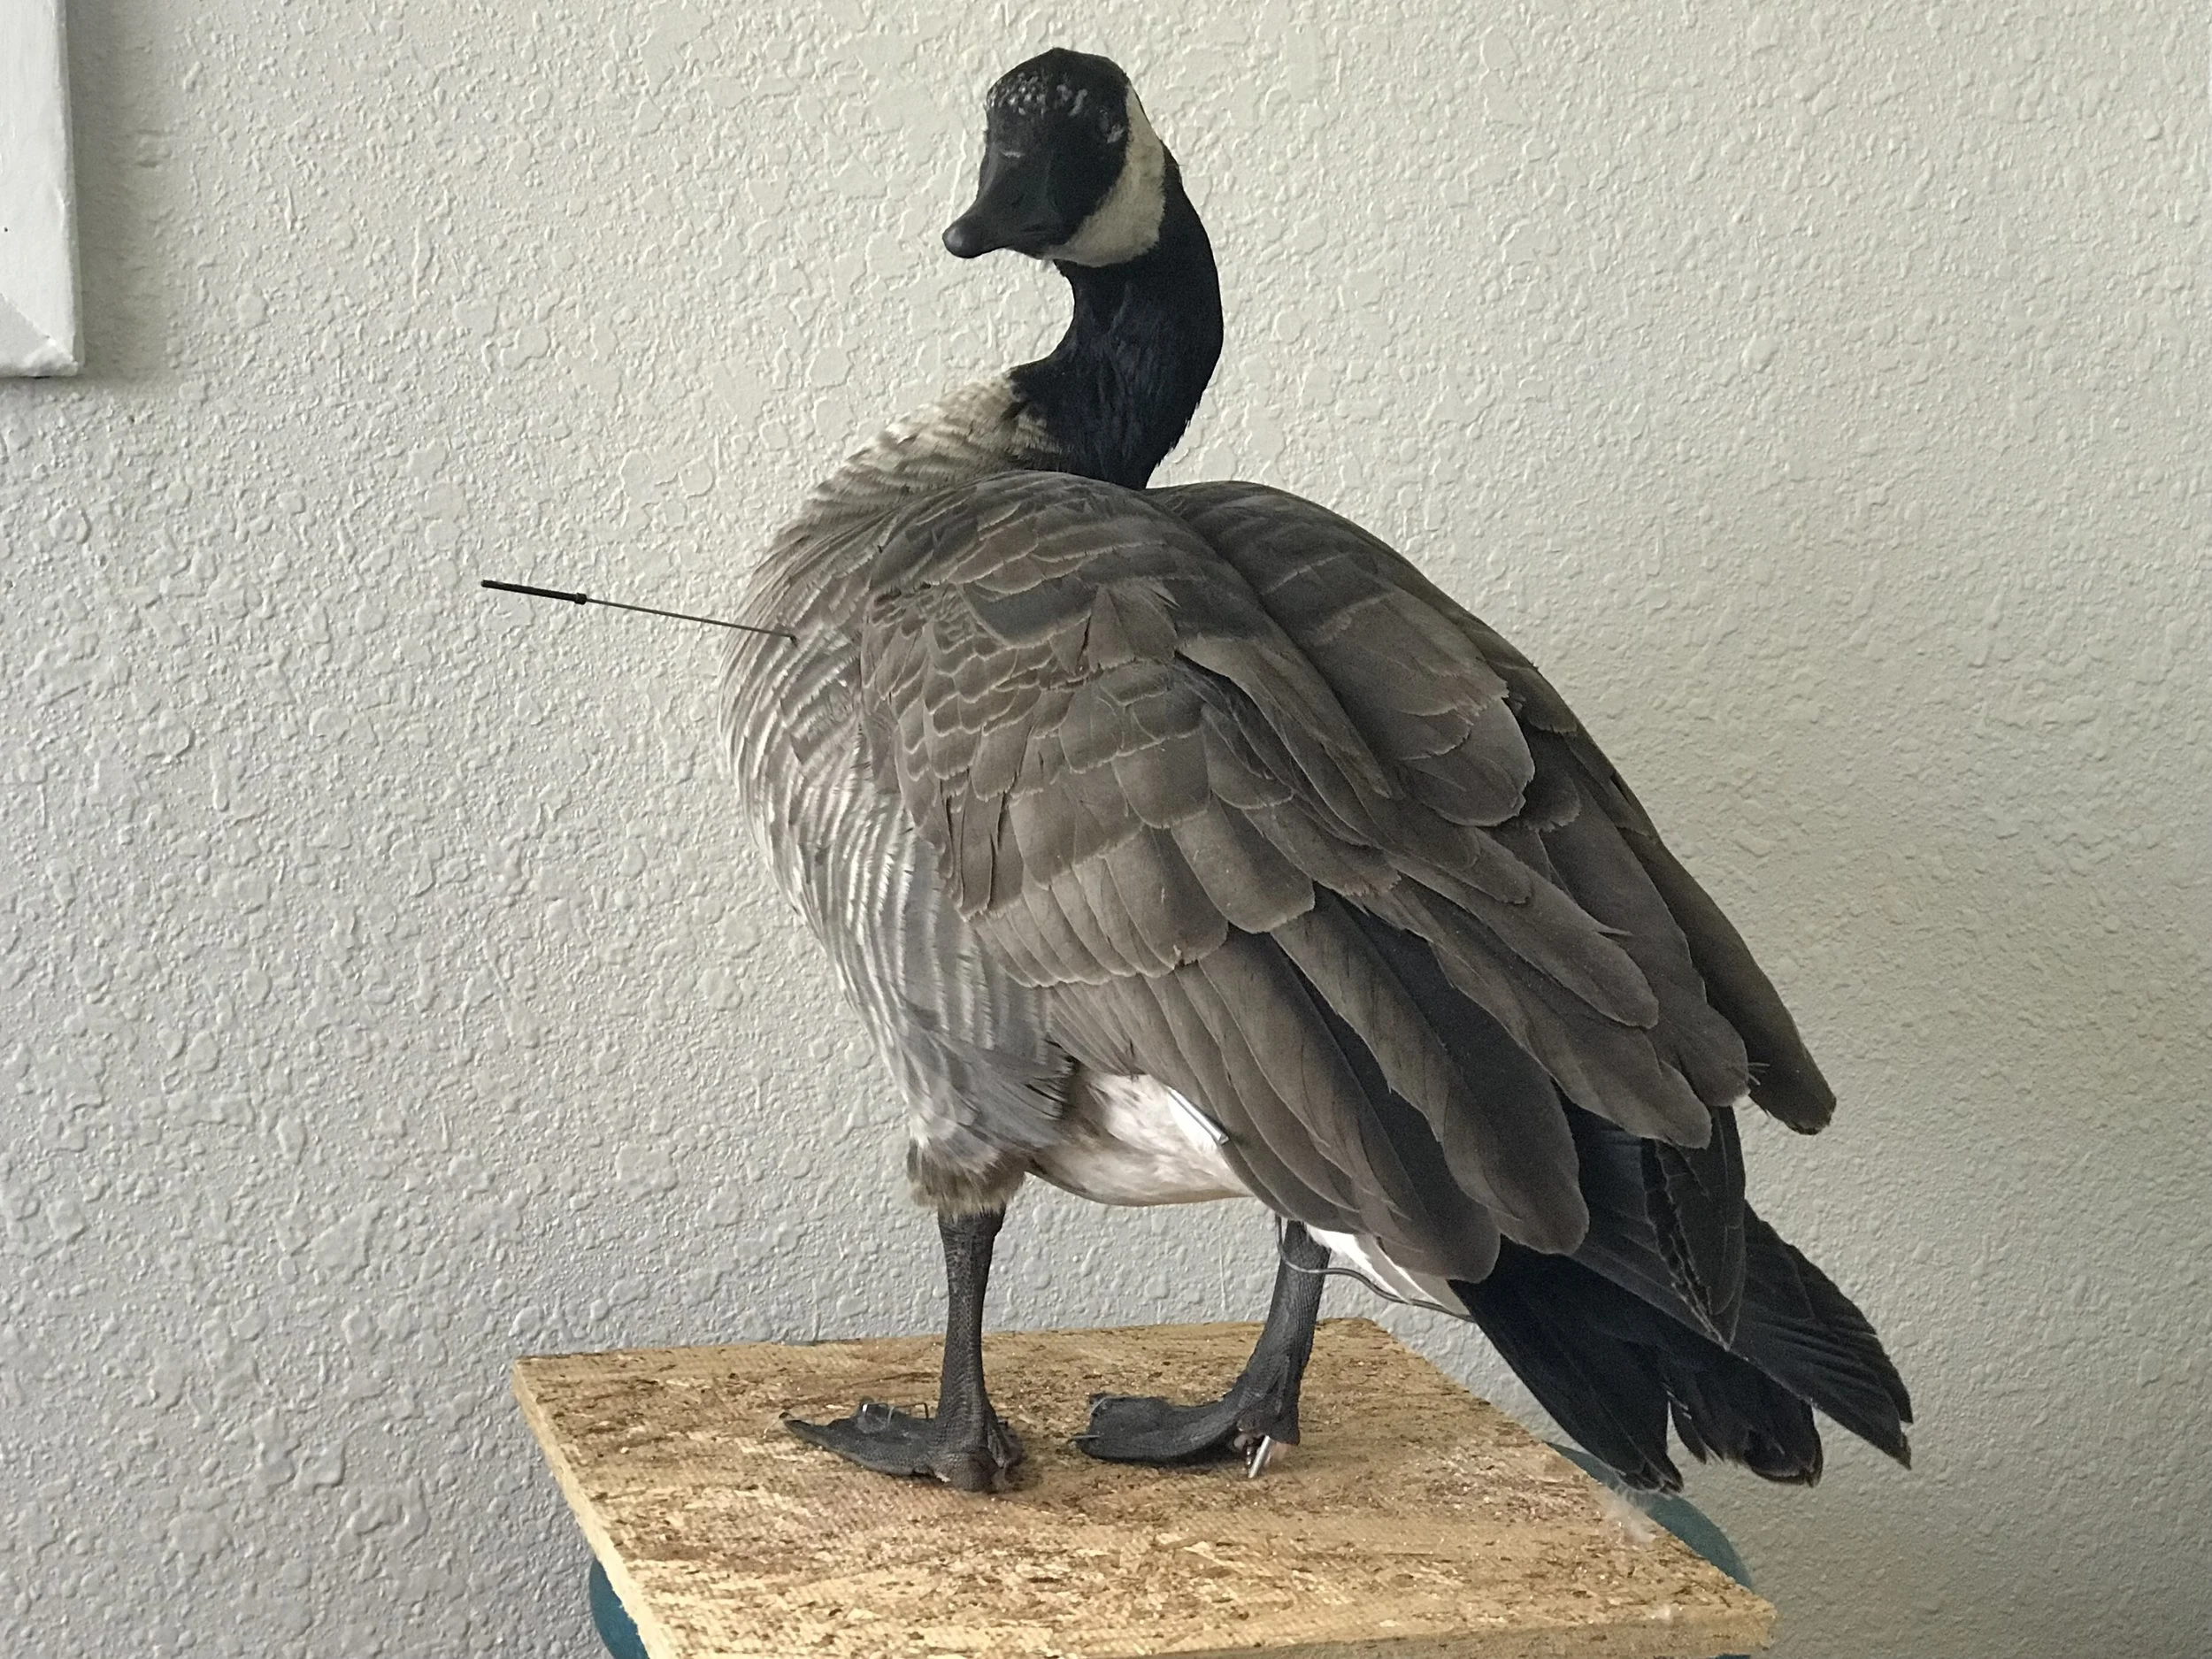
Pose the bird how you like, this is the funnest part!
Allow decoy to dry for at least 3 weeks before hunting.
Some things to take into account:
Check local laws before using taxidermy decoys.
Avoid hunting stuffers in any precipitation.
Store in a dry area, out of reach from mice.
GOOD LUCK!

A couple of lesser Canada geese stuffers drying before deployment.

Click on Mike to Find him on Instagram